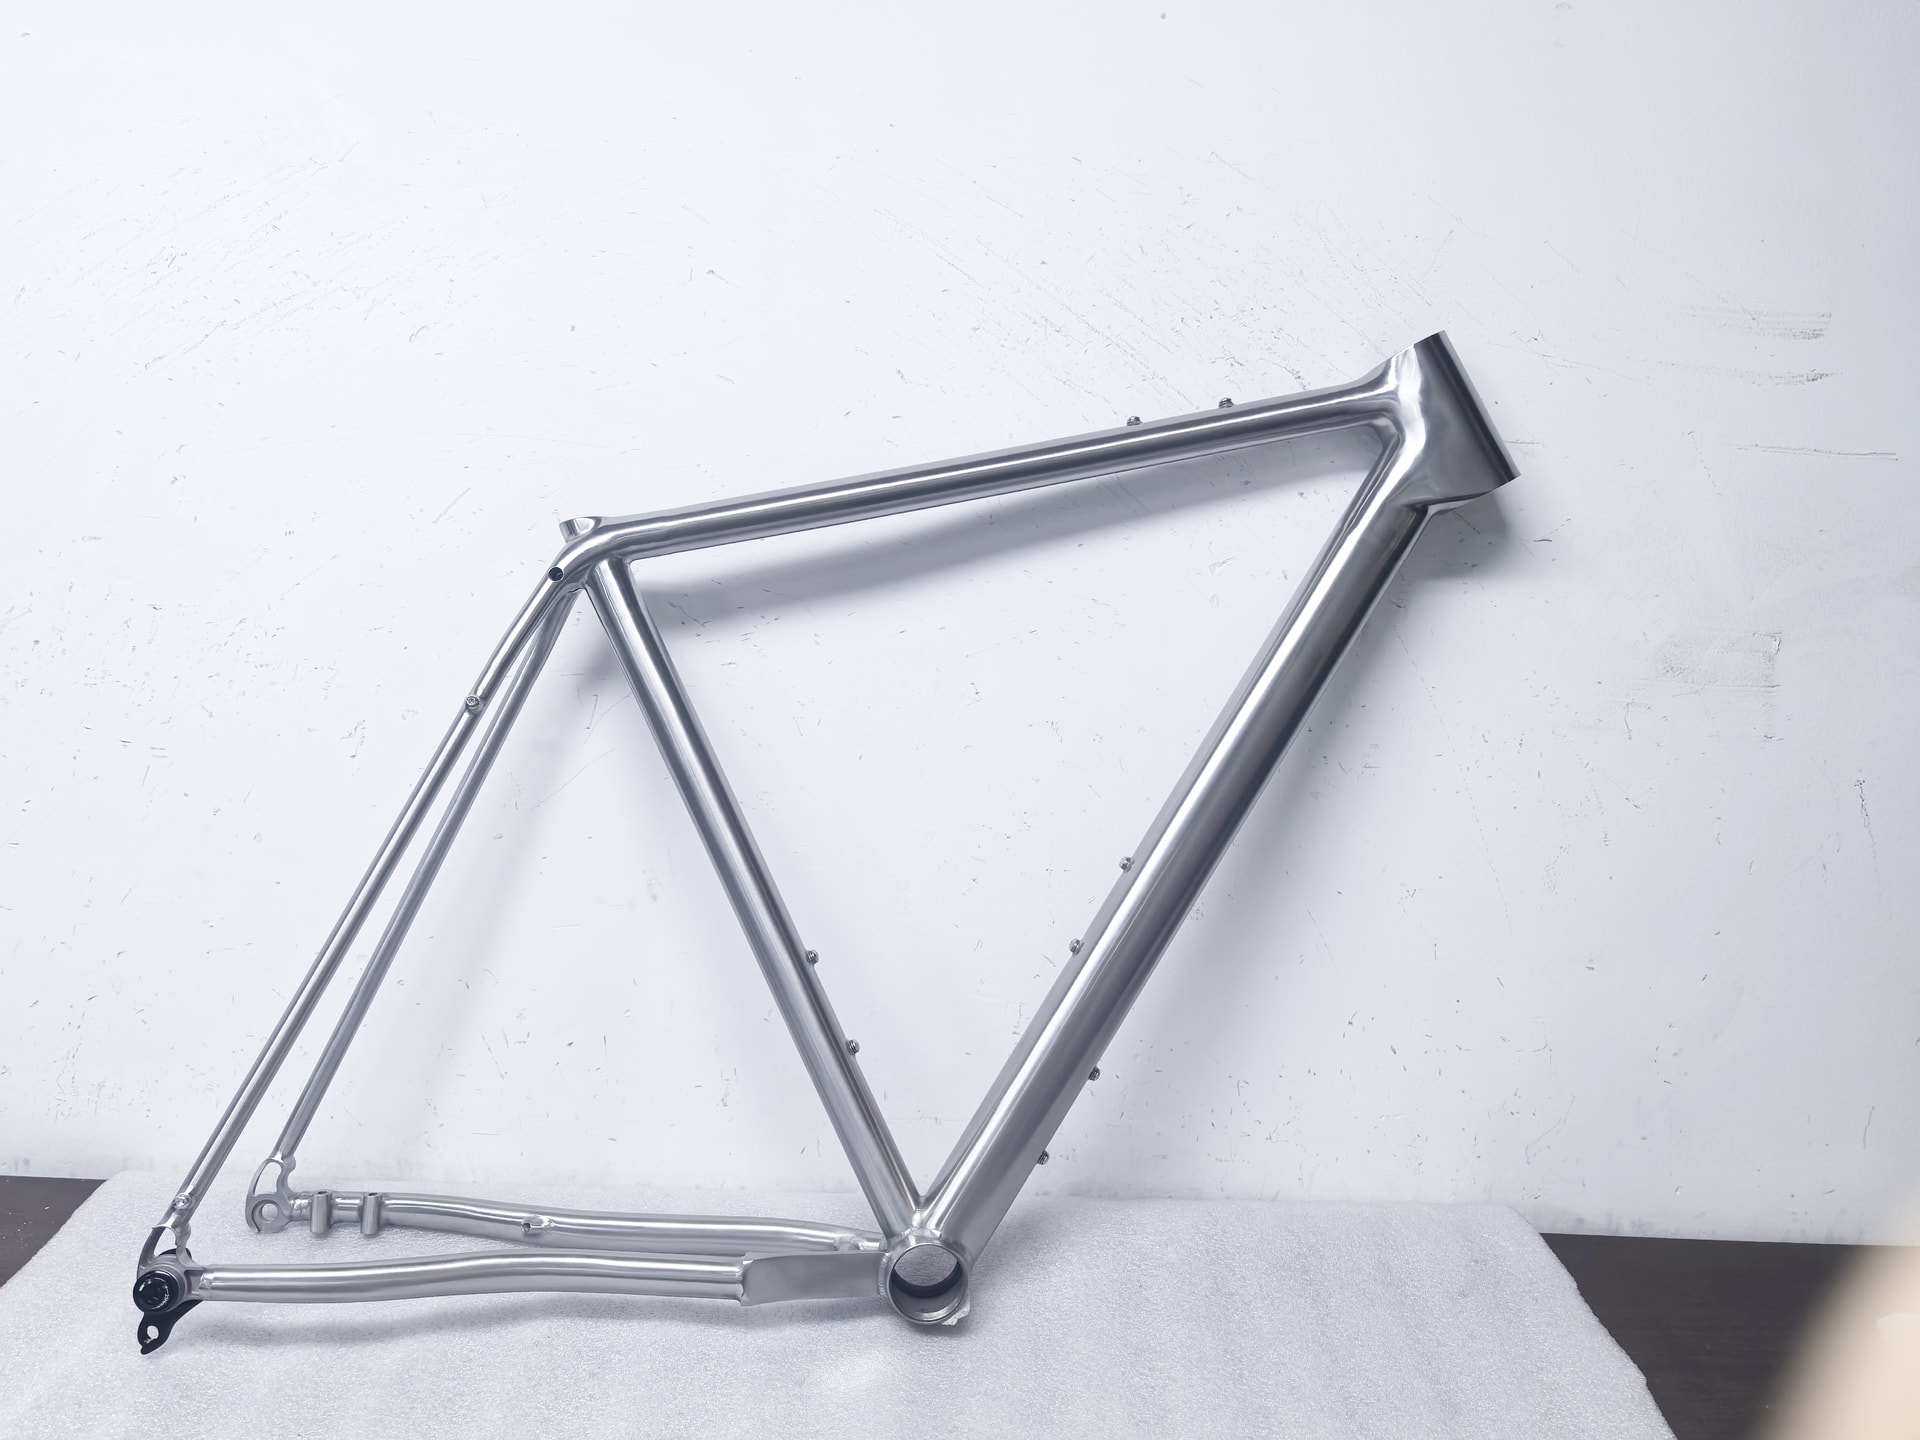
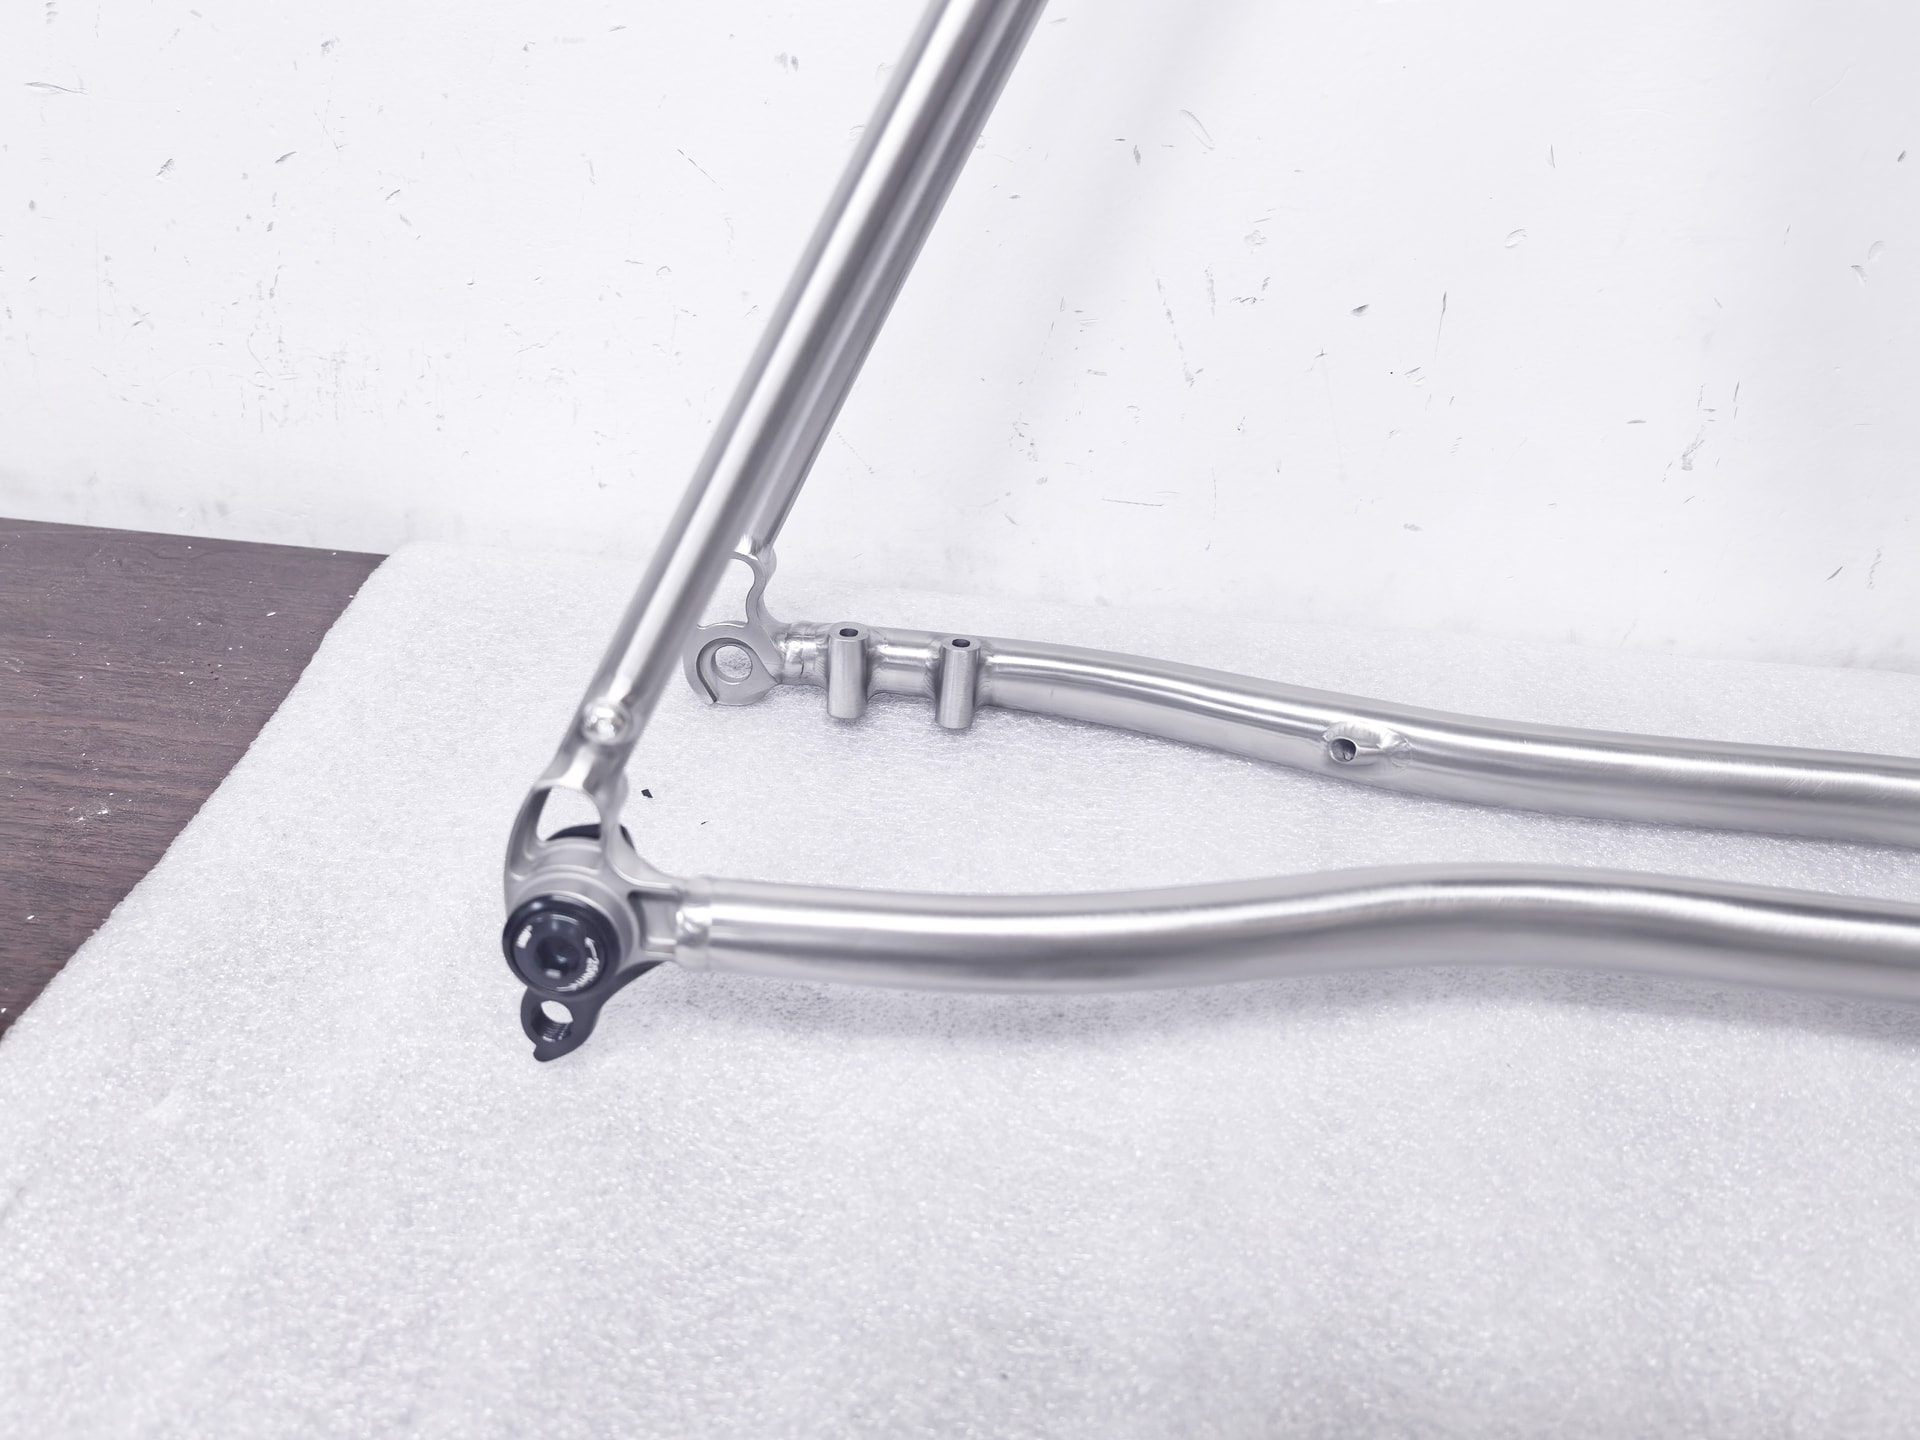
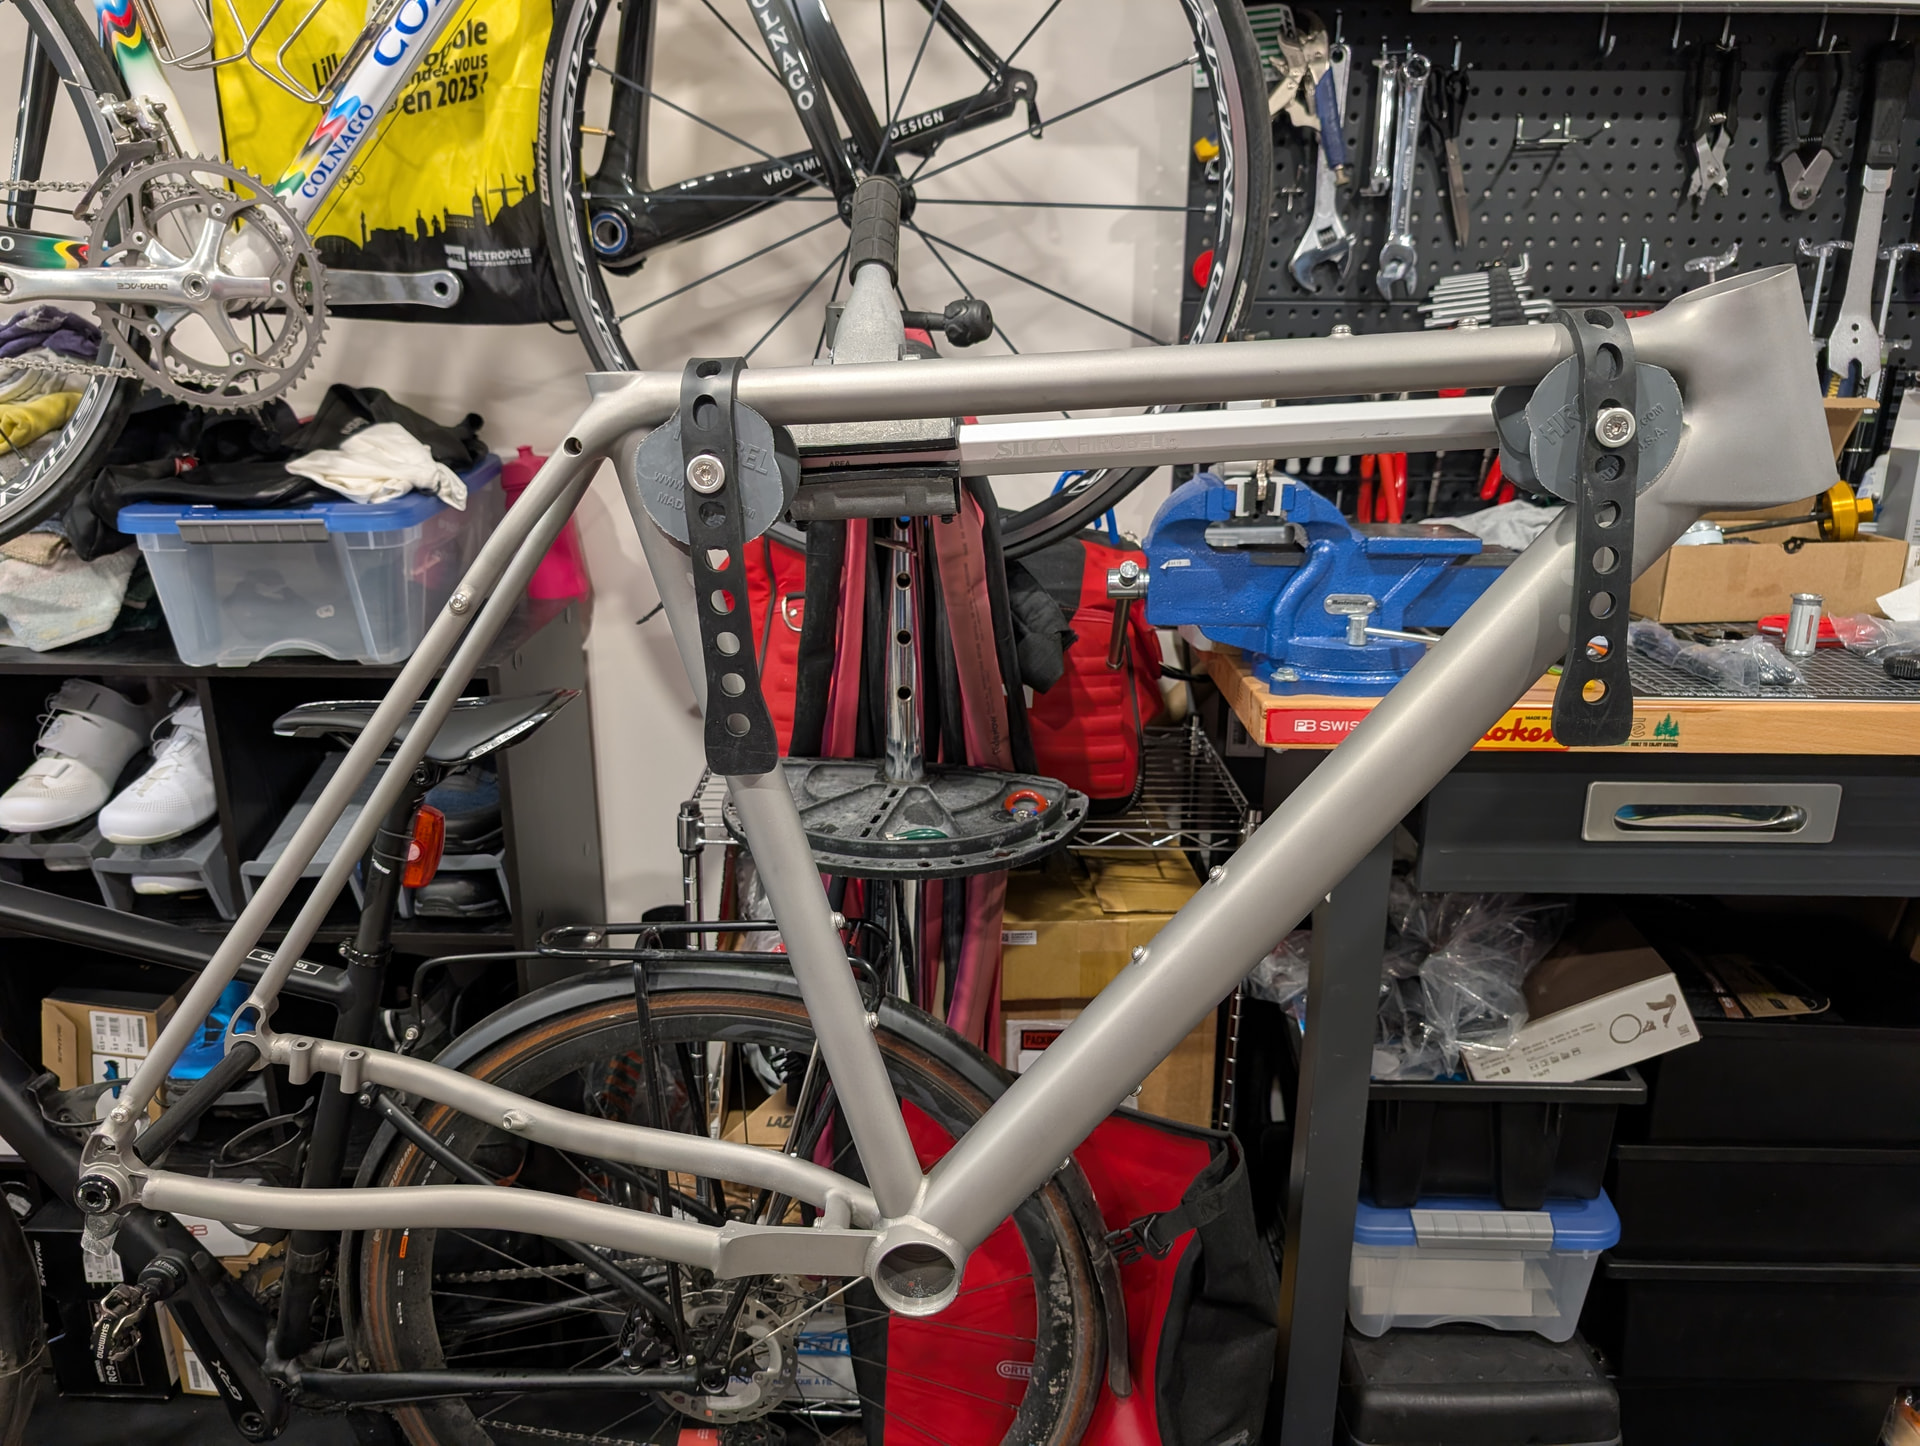
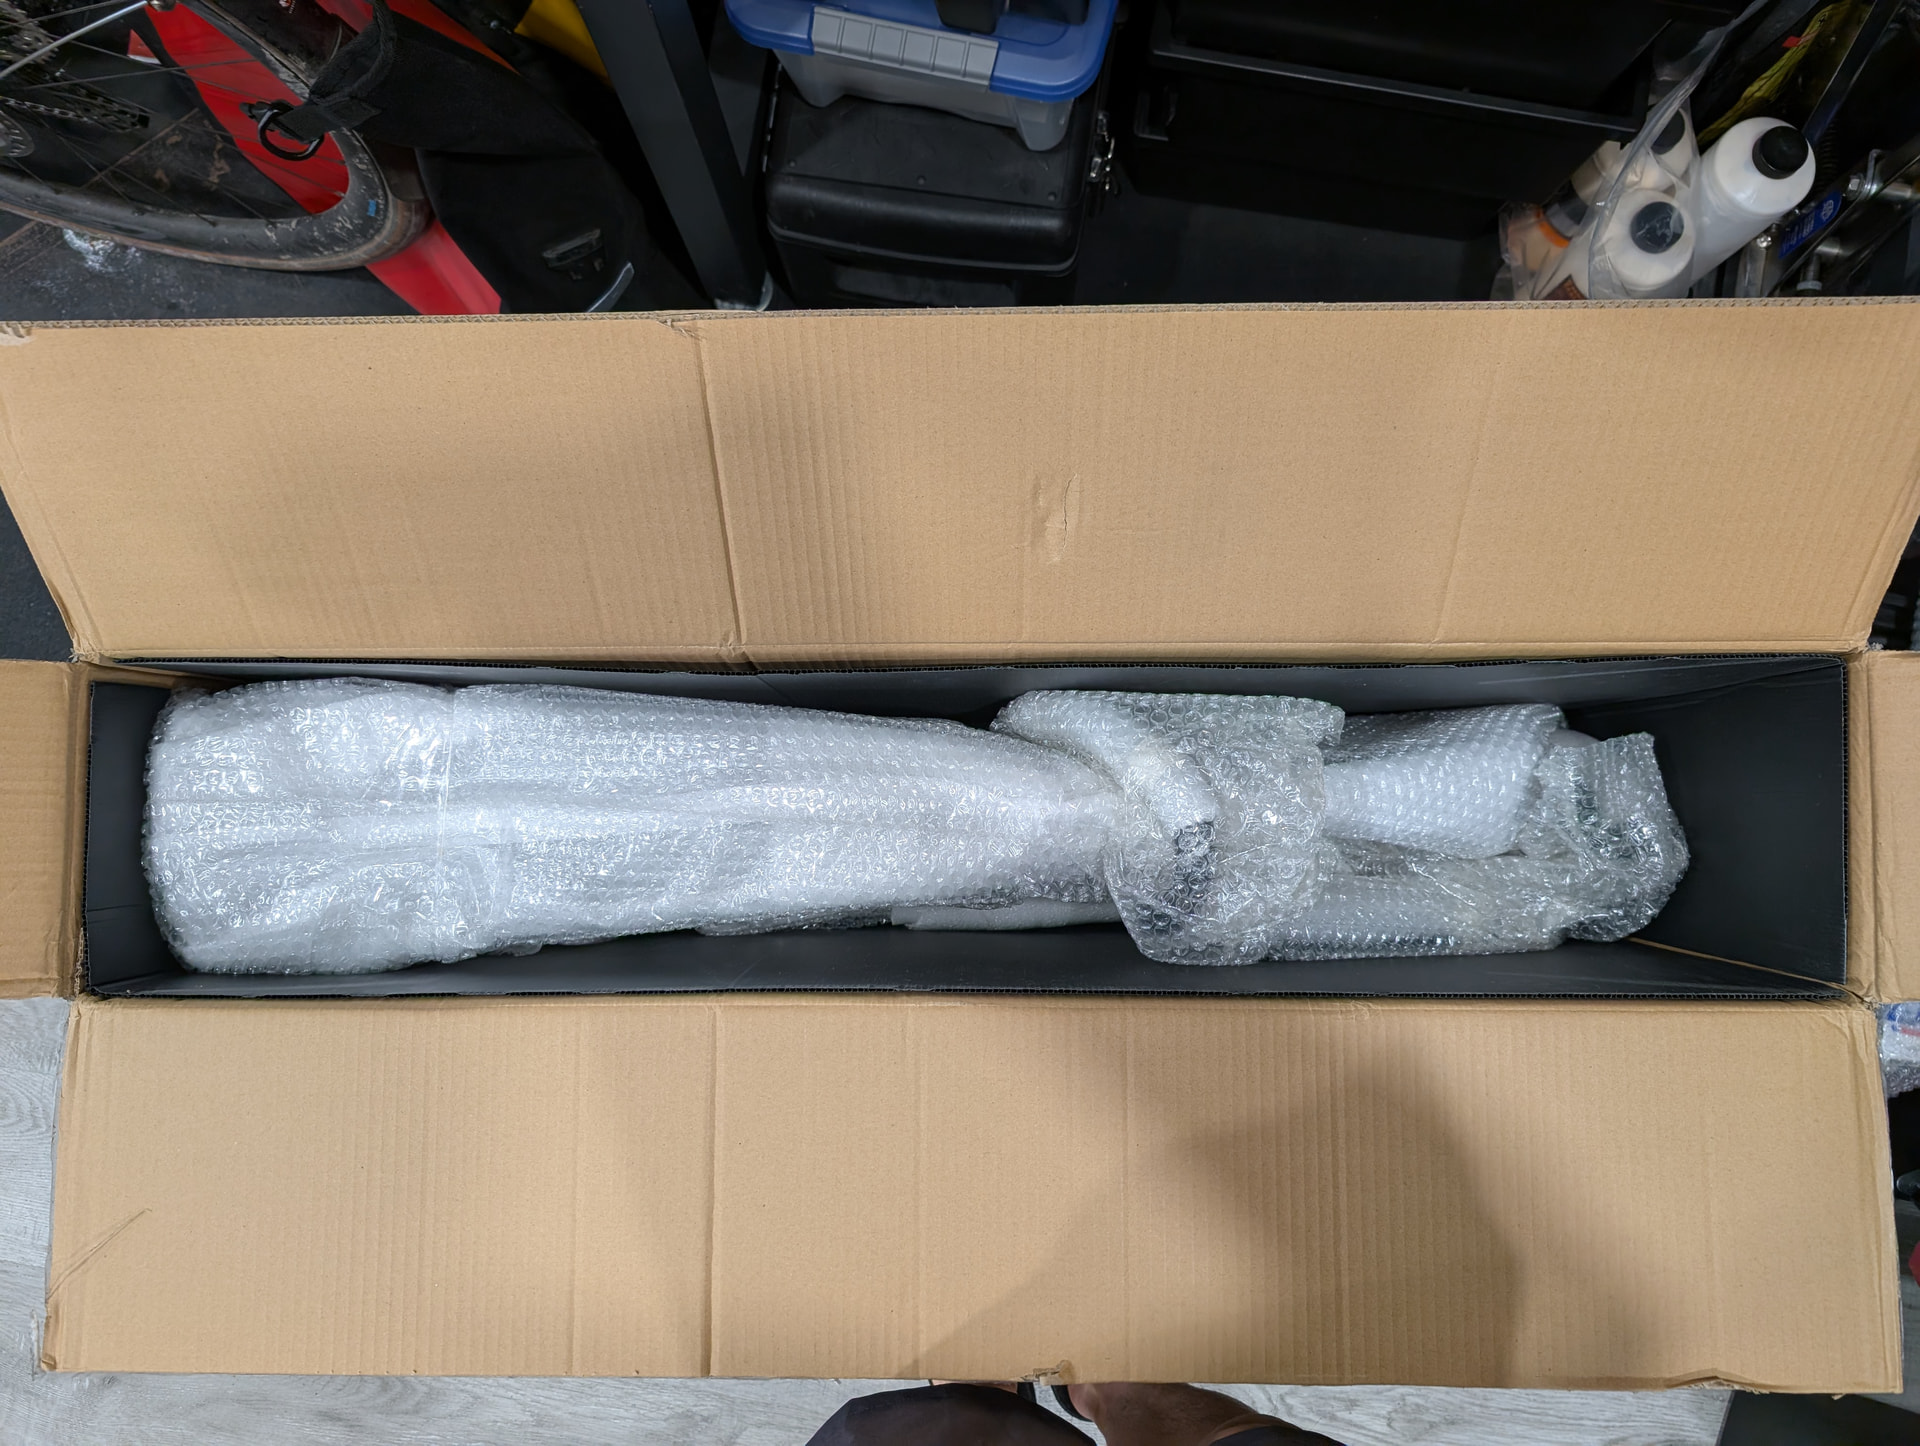
Starting a build thread for my upcoming (truly) custom Waltly 3D printed titanium gravel bike. It’s been a journey working with them to set the geometry and features, but I was notified last night that the frame is now done. Once it arrives I’ll document the buildup here.
Not at all. They have tons of frame designs, this 3D printed one is $1400 USD with a $300 upcharge for custom geometry. Fork ($150) and headset ($40) are extra. They have many other bits too like seatposts, BBs, stems, bars, etc. No drivetrain parts or wheels.
International shipping is a flat $300 supposedly with taxes and duties included. I’ll confirm that once I get it.
I didn’t tell them I’d be sharing my experiences here. The design process was generally positive but lengthy because of geometric restrictions with their 3D printed parts stemming from my geometry choices. I think the majority of people would arrive at a production ready drawing before I did.
Communication was pretty quick minus the twelve hour timezone difference. I would get replies within a day. They occasionally miss things in e-mails with multiple questions which burns another day to seek clarification. The language barrier is also notable as some things do get lost in translation. I found marking up drawings with redline revisions to be the most straightforward way of communicating changes.
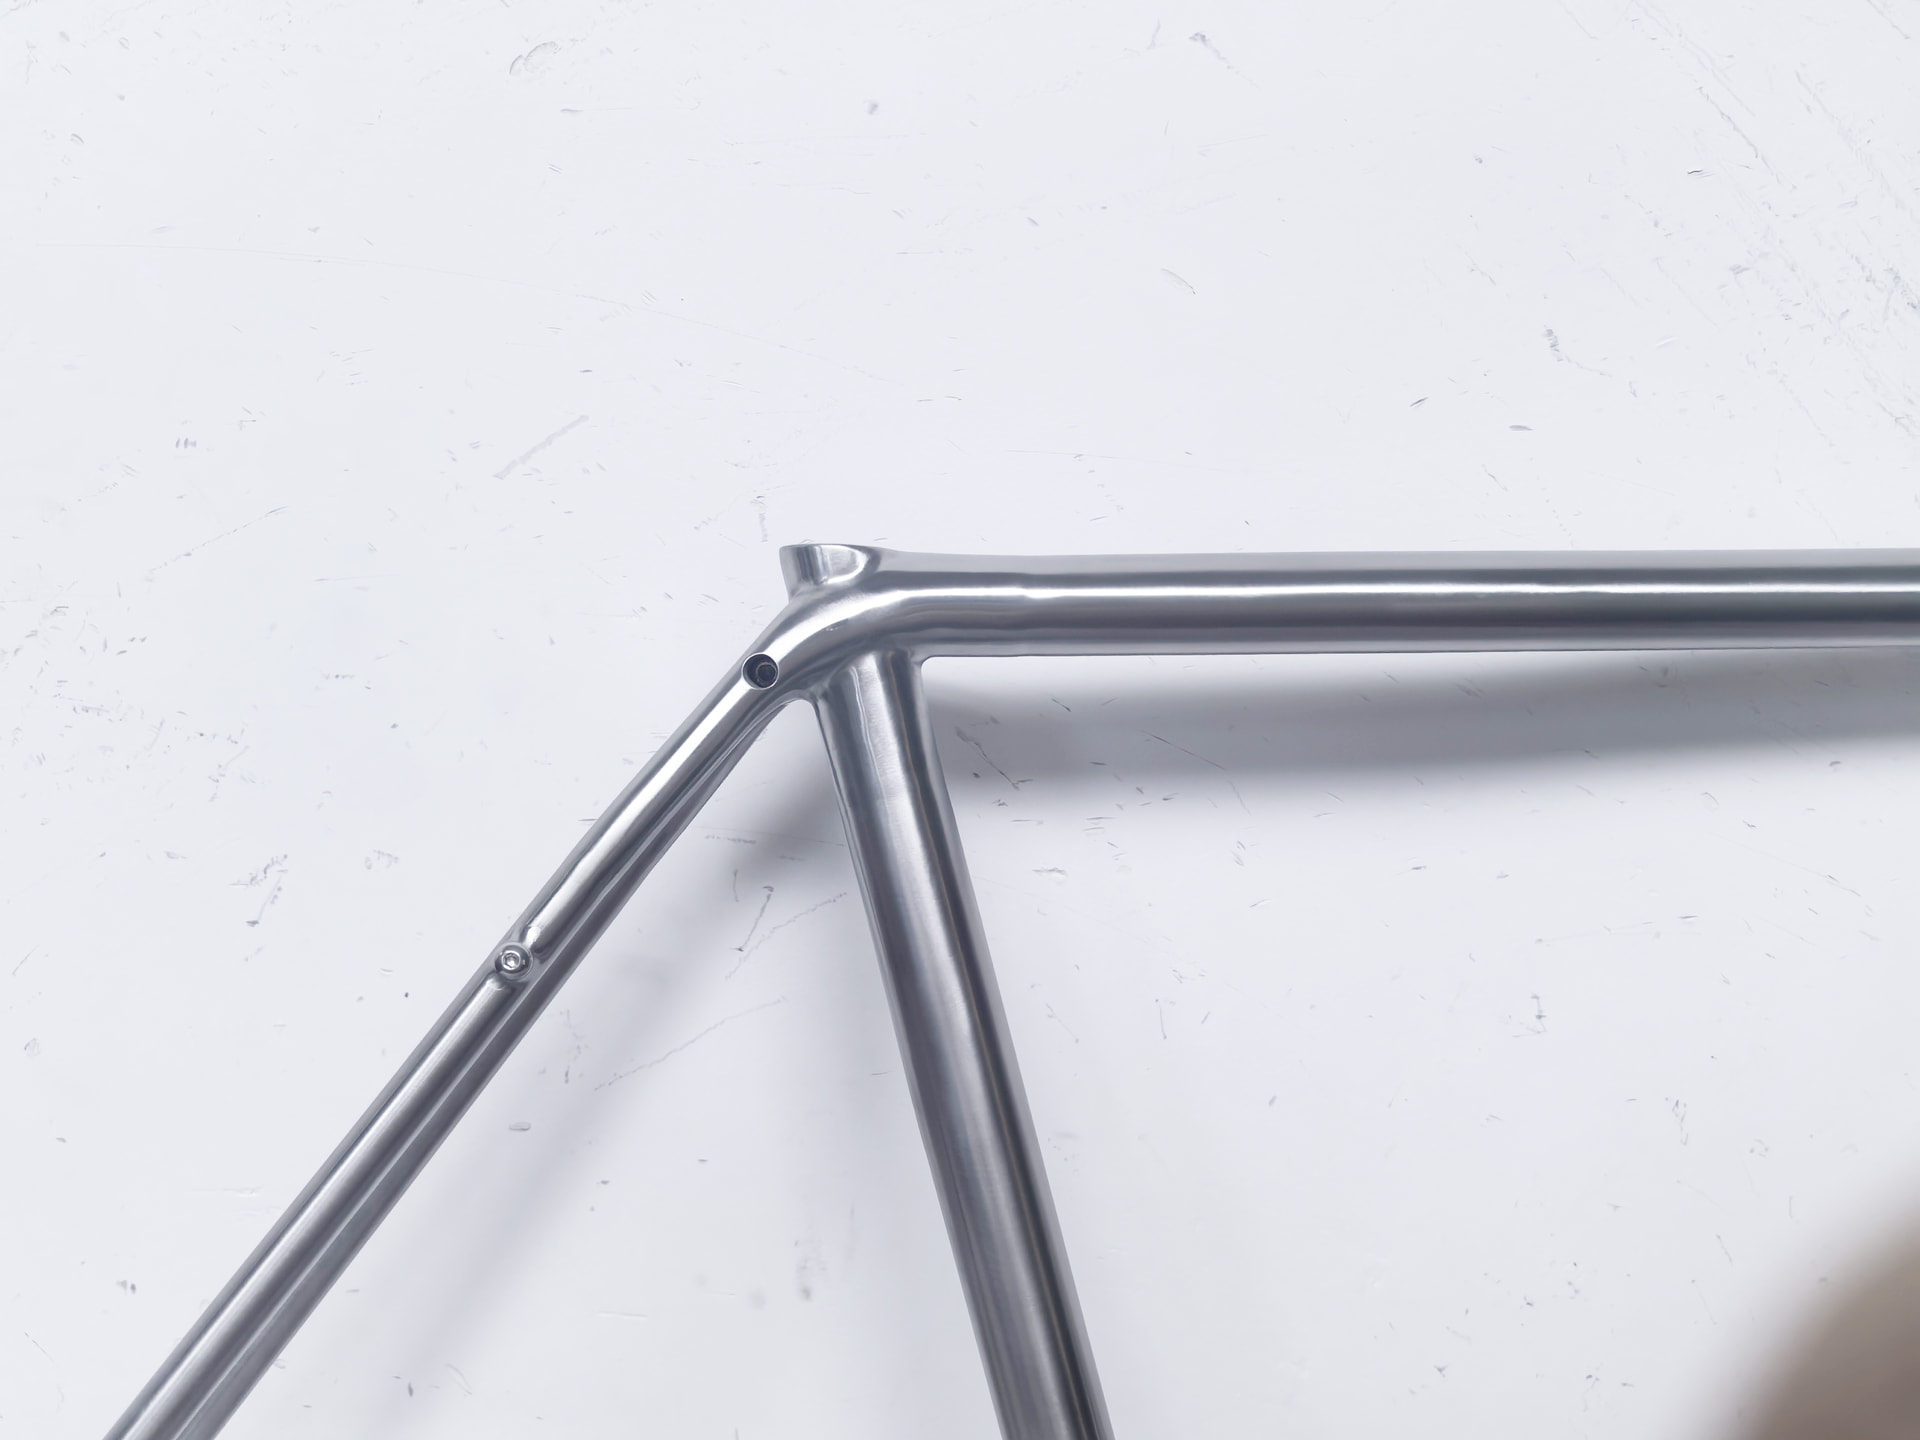
My main stumbling block was that my geometry resulted in downtube and top tube angles that were outside the acceptable range of their 3D printed head tube. This wasn’t immediately apparent - they initially told me that they recommended a longer head tube with no explanation and I wasted about a week trying to get to why. I ended up changing my front end geometry a bit and increasing BB drop to get the tube angles to where they were OK with it. My suspicion is that their 3D designs were tested only within certain parameters and my choice of a really short HT complicated things.
This brings me to an important point: Waltly will only tell you if there’s a manufacturing restriction. They will not tell you if your geometry is ridiculous and they won’t have much to suggest if you ask for recommendations. You need to know exactly what you want and what effect changes will have because in all likelihood they will do exactly as you ask.
Don’t know exact weight but I did see another 3D frame come in at 1600g in a similar size
Thanks for that, @Drew. It certainly sheds quite a bit of light. My context for sourcing titanium fabricated parts from China, from other established firms, weren’t overly positive, which cooled me off Waltly (largely due to over generalisation on my part). On the flip side, I’ve seen their work on a few bikes that came through, as well as from friends that bought them.
The overall impression was that the manufacturing was exceedingly good, especially given the price. Weights weren’t too bad either, but from what I’ve heard/surmised, the offered geometries are often quite generic, based on tried and tested figures, and try anything too radical/unique and don’t expect any sort of cautionary advice otherwise, unless a limit is breached, as was the case in your experience.
In any case, thanks for the insights, and keen to see how the build goes.
I have a bike that I dearly love and have considered having it re-rendered by waltly. But the original is in aluminum and carbon, so simply replicating the dimensions won’t replicate the bike itself. How did you work thru the minutia of choosing tube dimensions, wall thickness, etc in order to achieve a specific goal?
I started with my existing gravel bike, a T-Lab X3, and an analysis of how it felt, conditions I typically rode, and things I wanted to address. I definitely wanted more tire clearance. I was using a 120/-17 stem and still felt rather upright. My road fit is much longer and I’ve found success there so I wanted a slightly dialed back version of that without getting into much longer stems which would compromise quick handling offroad. Still, much of my gravel riding is on straight roads so I didn’t need super nimble.
WIth that, I decided on a much longer reach and naturally the wheelbase followed suit. I also opted for more steering trail for general stability, thinking it an acceptable tradeoff versus sharp handling. To help offset that I’m going to use a 90mm stem to at least sharpen the steering input. The chainstay length grew longer for clearance, and I wasn’t dead set on the shortest possible because stability isn’t a bad thing and I wanted room for fenders.
The main drawback to all this is it might not be a very nimble handler and I’ll have to get used to some more wheel flop. Again, though, since my rides are mostly straight roads hopefully it’s not too big of a negative.
Tube dimensions and wall thicknesses I left as default - the 3D printed junctions require the main tubes to be a set dimension. Wall thicknesses were already very thin and I’m not a very heavy or punchy rider so I left that alone as well.
I gave a lot of thought to the parts so here’s a list. My theme is “Kind of Blue” after one of my favourite albums.
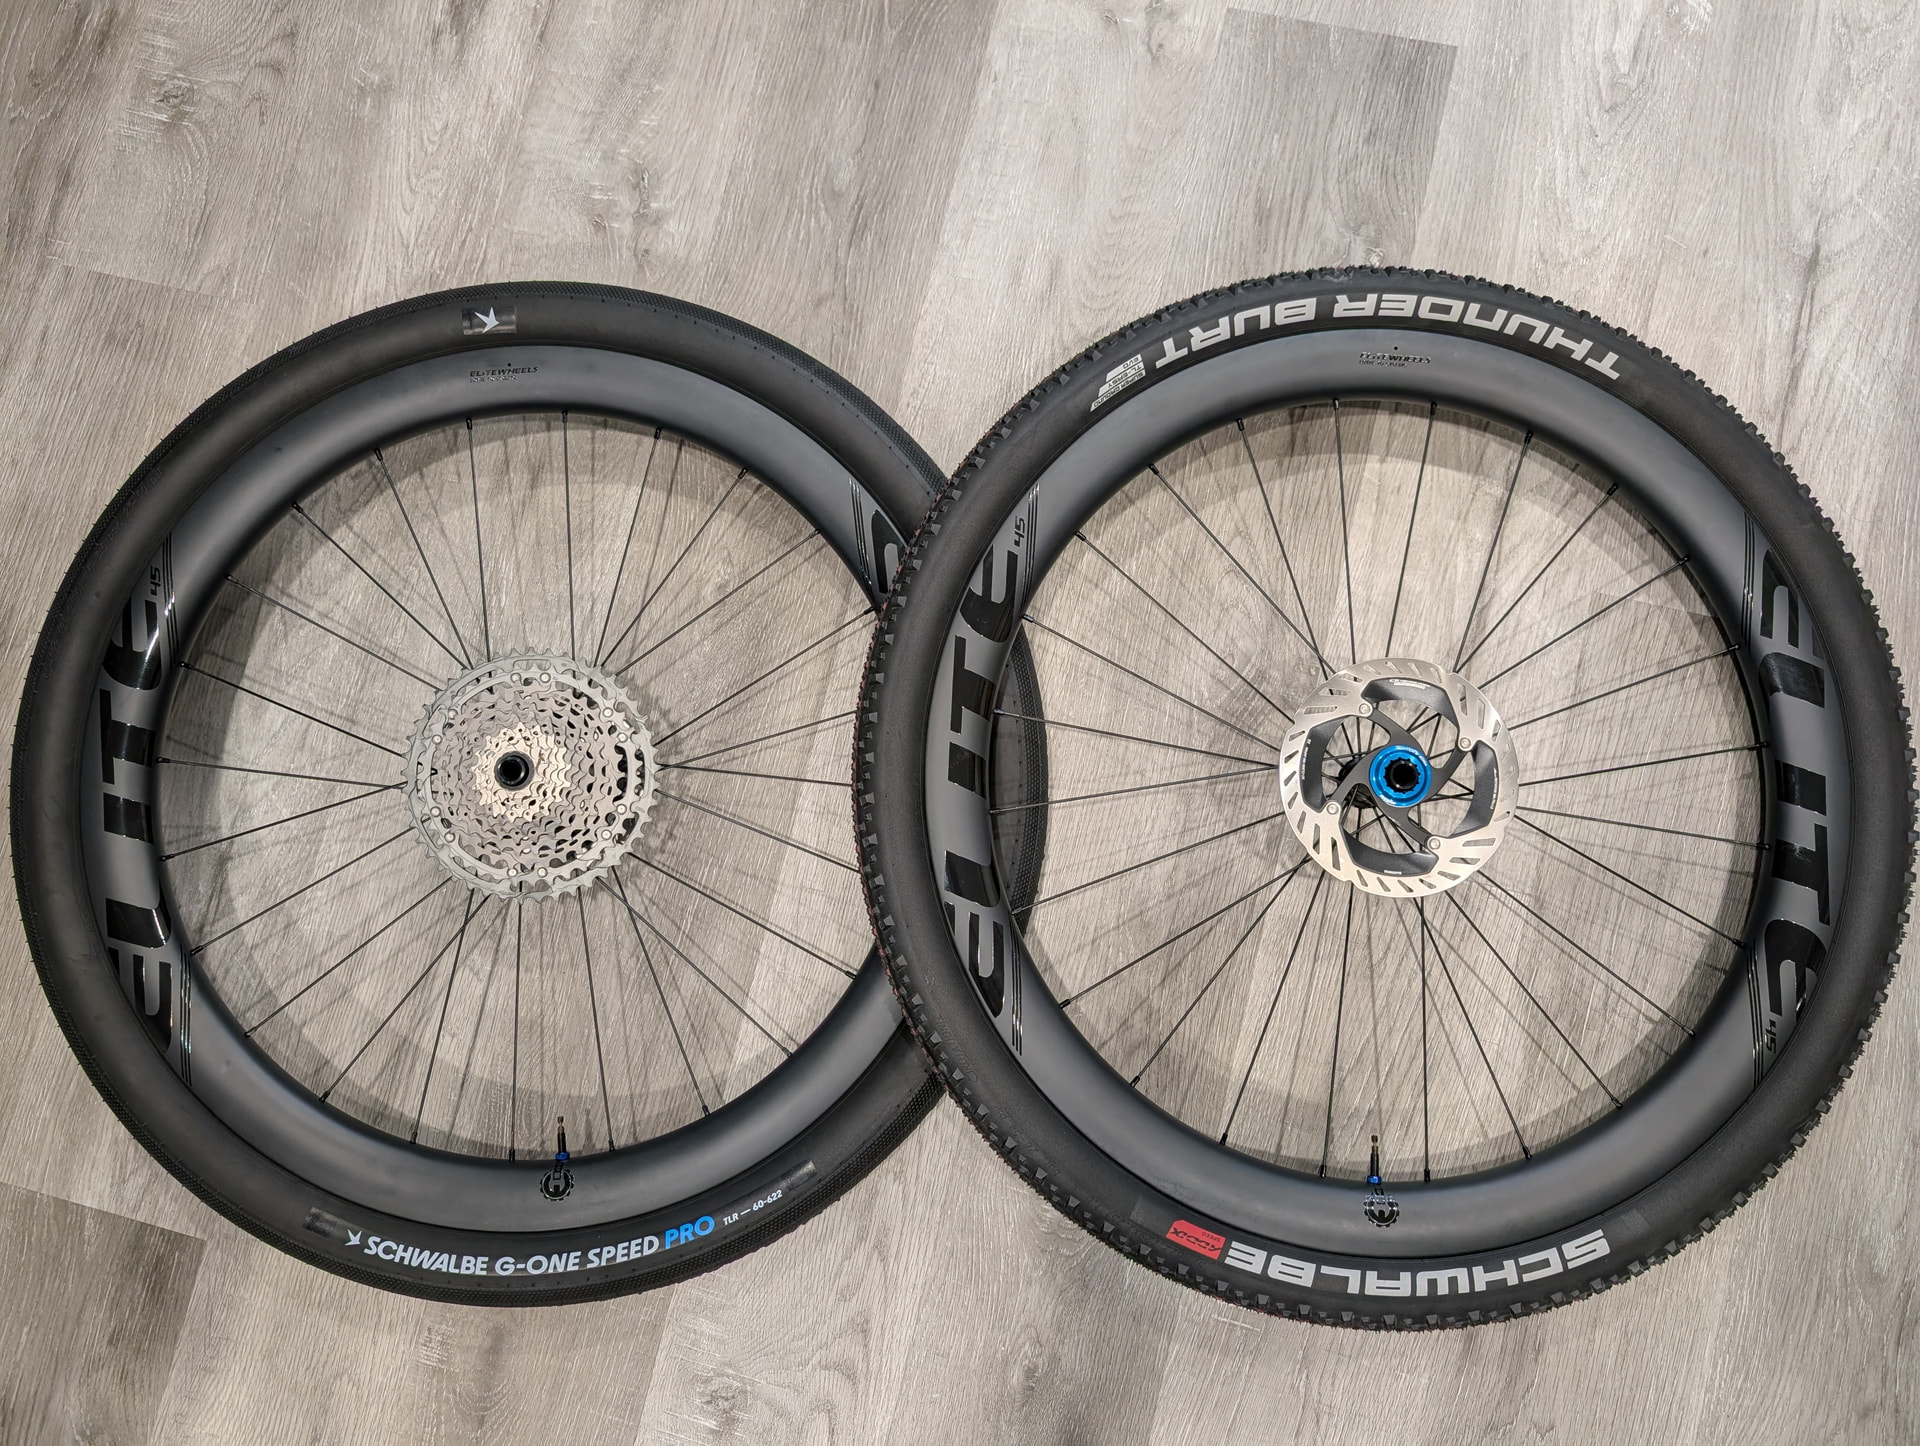
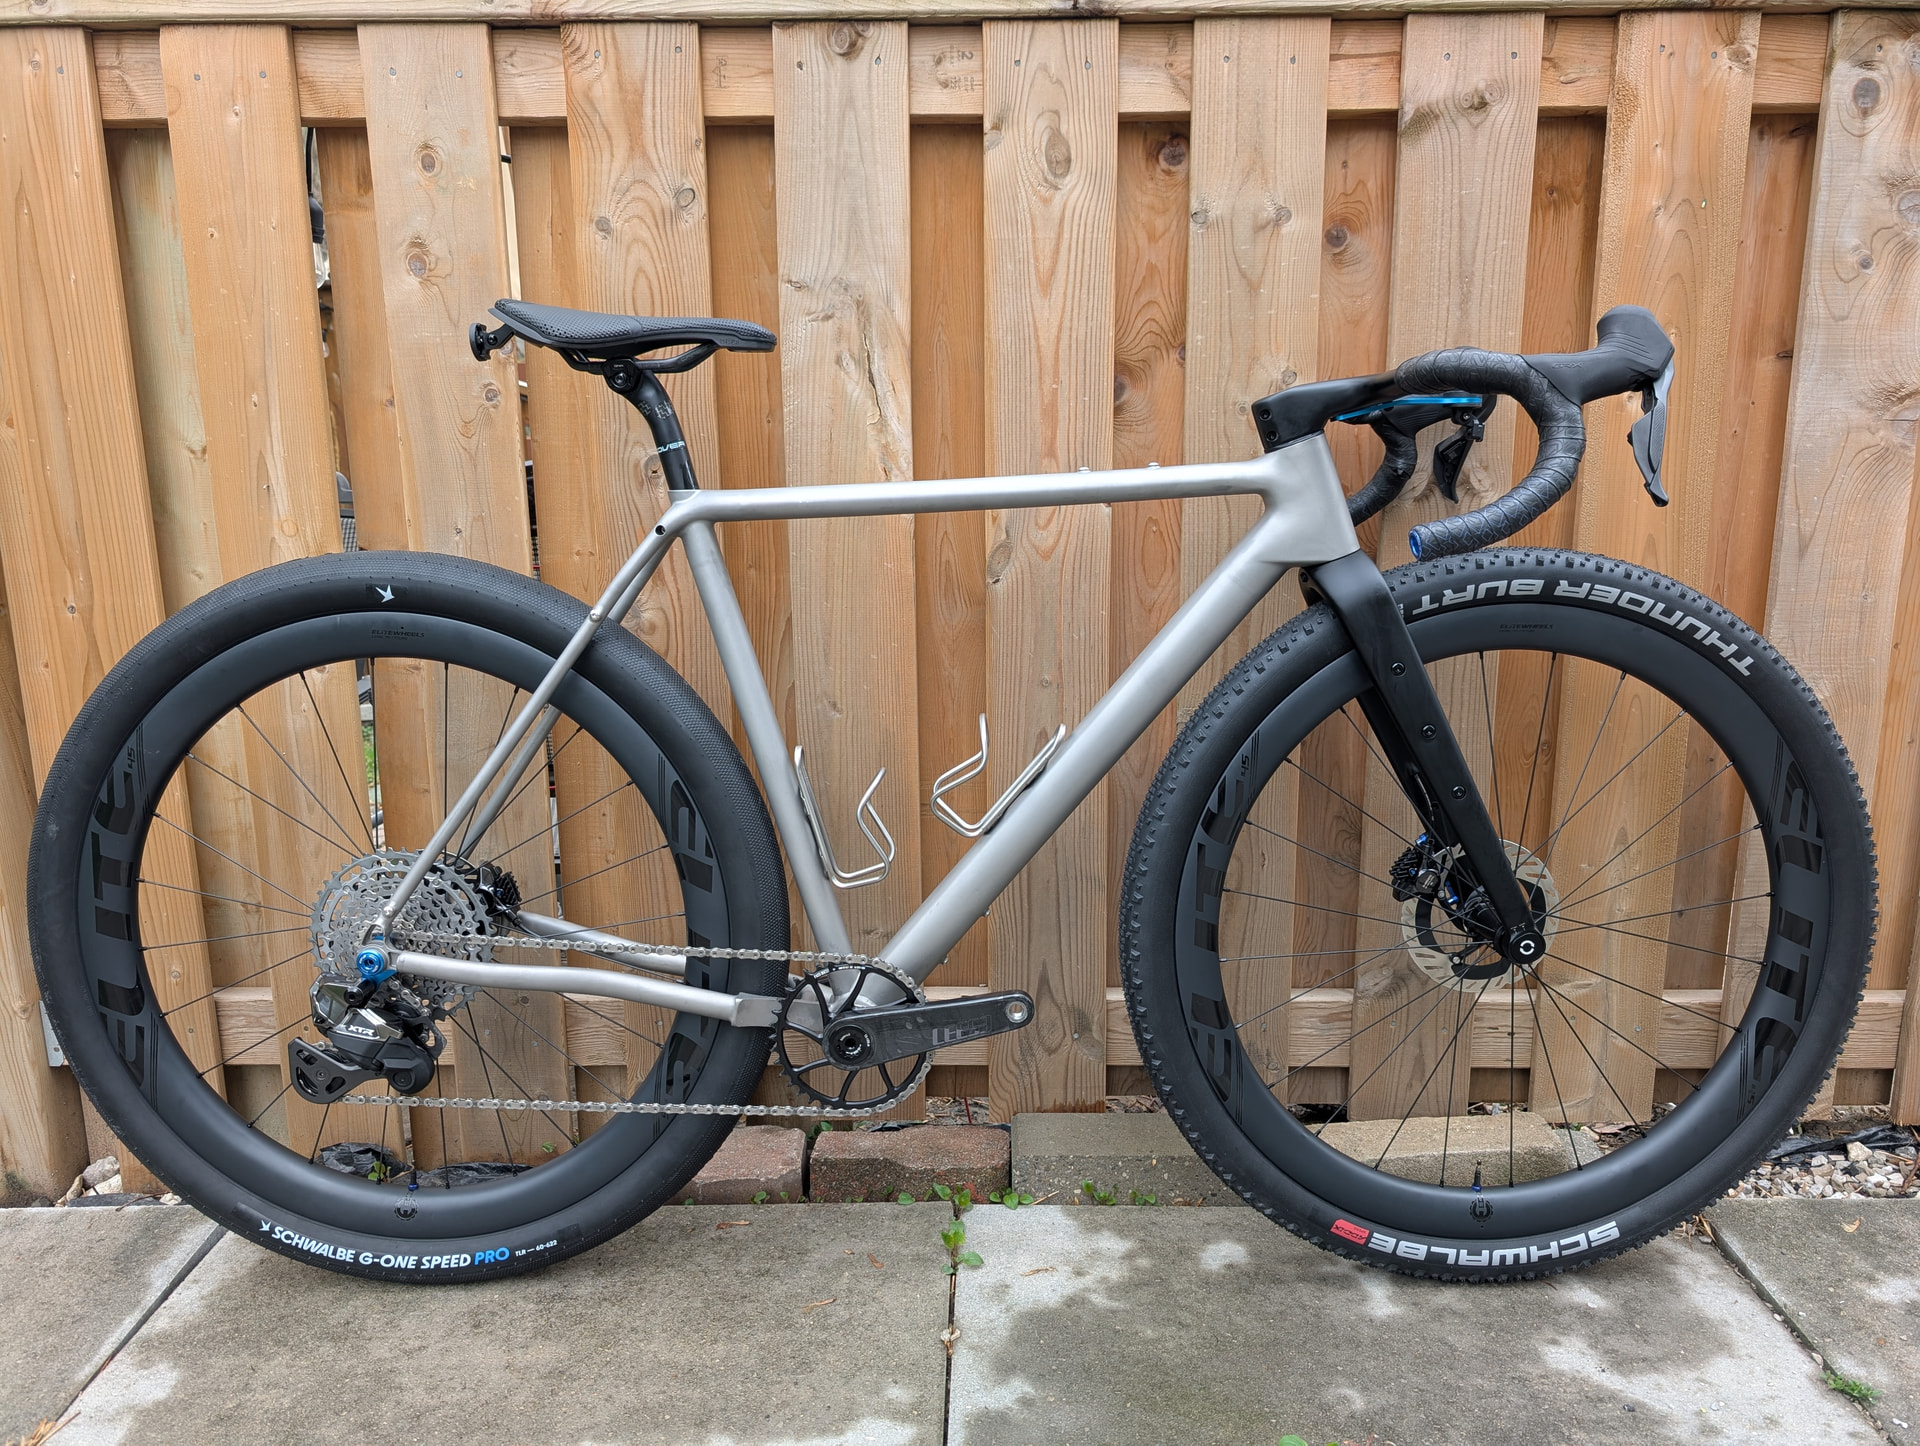
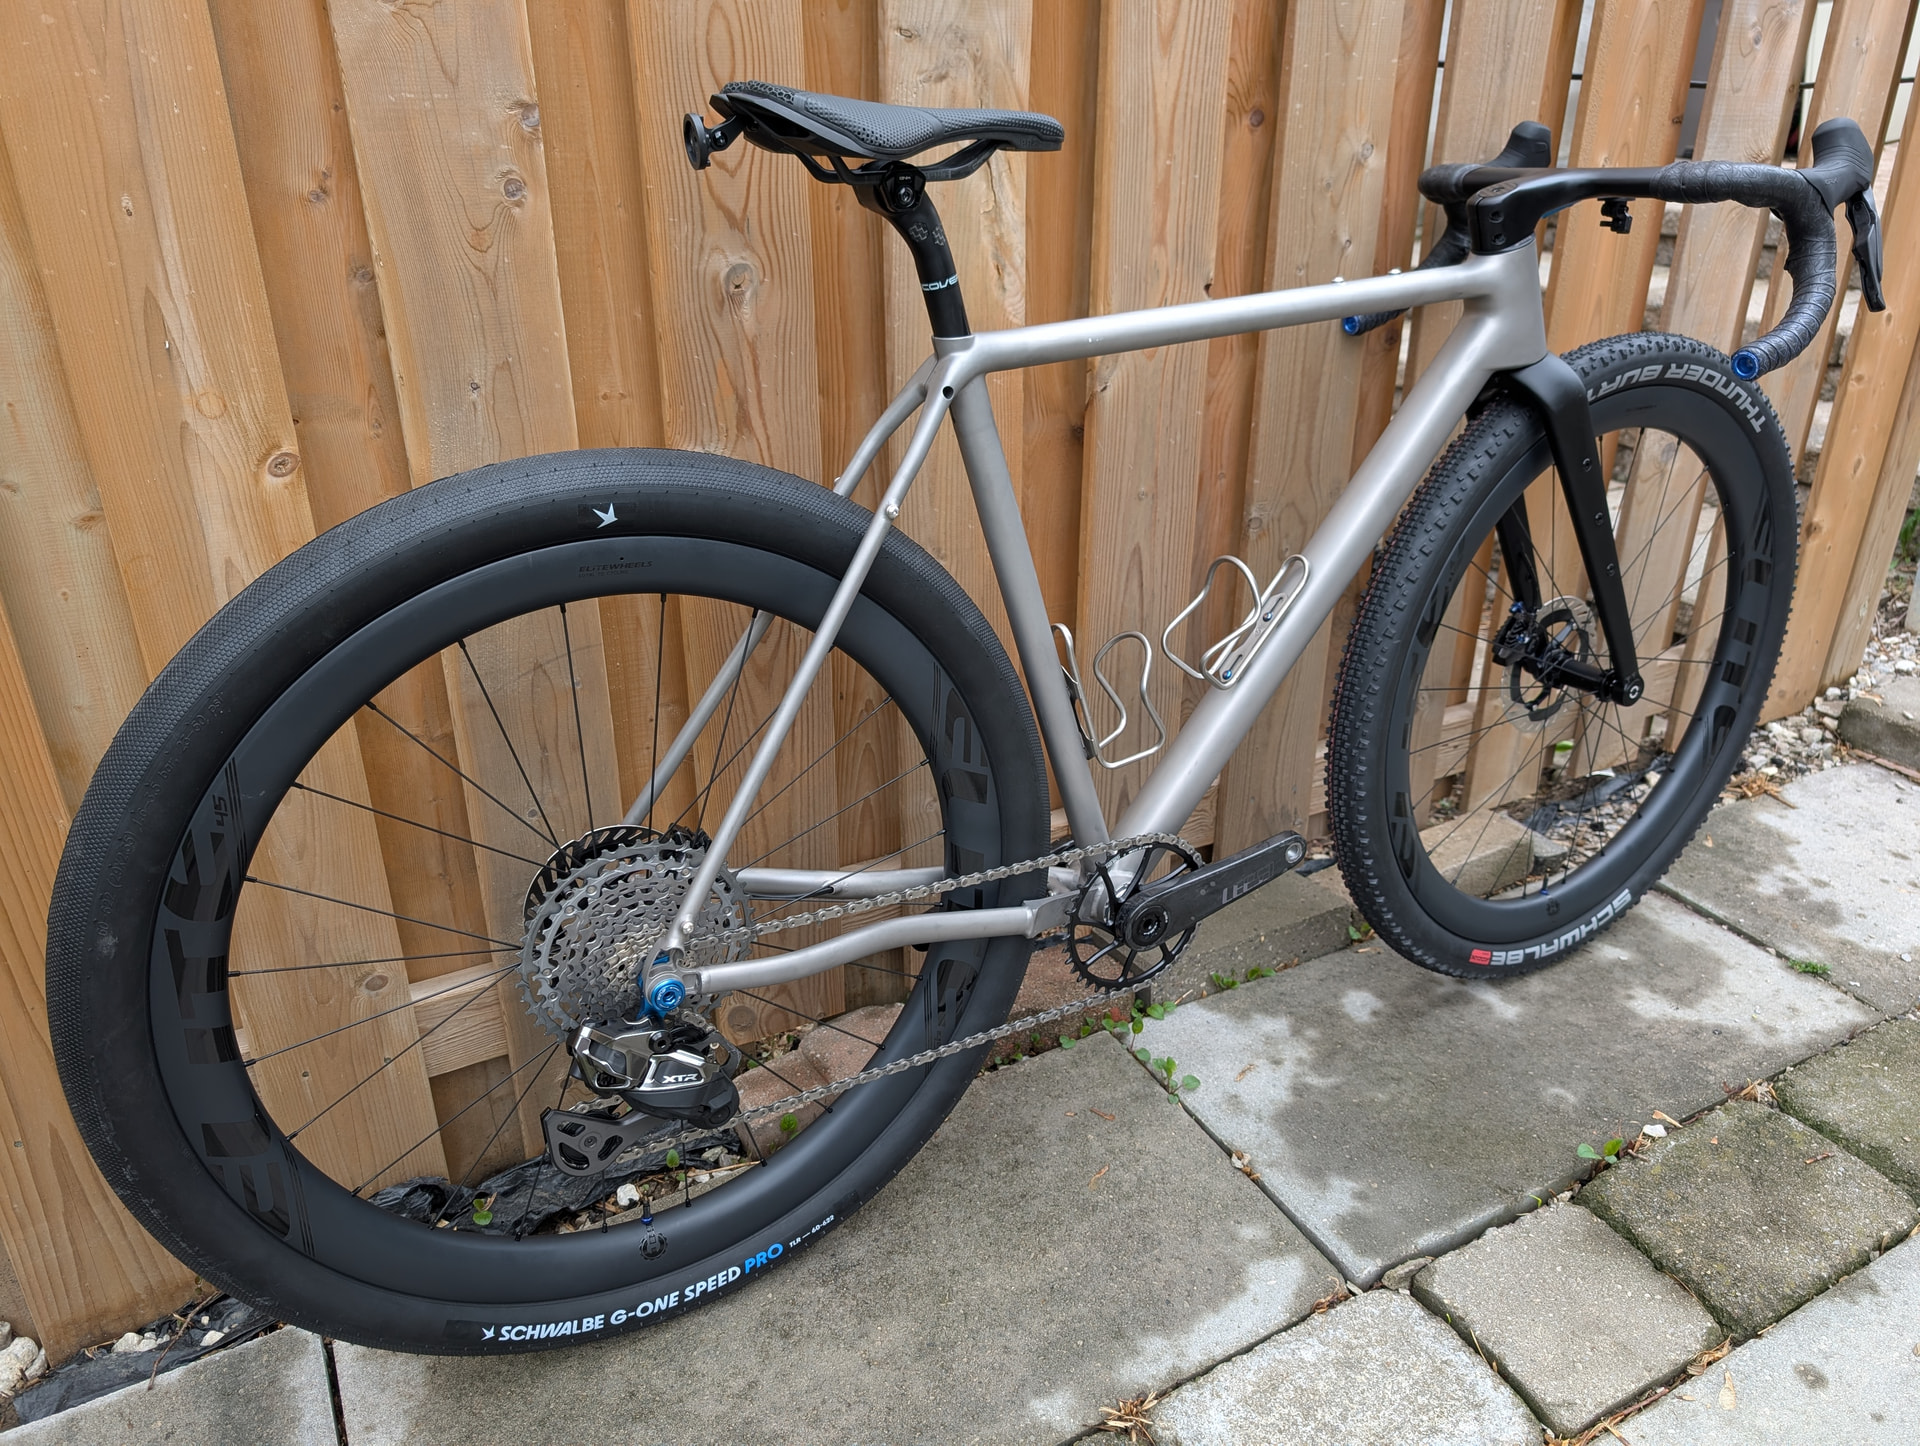
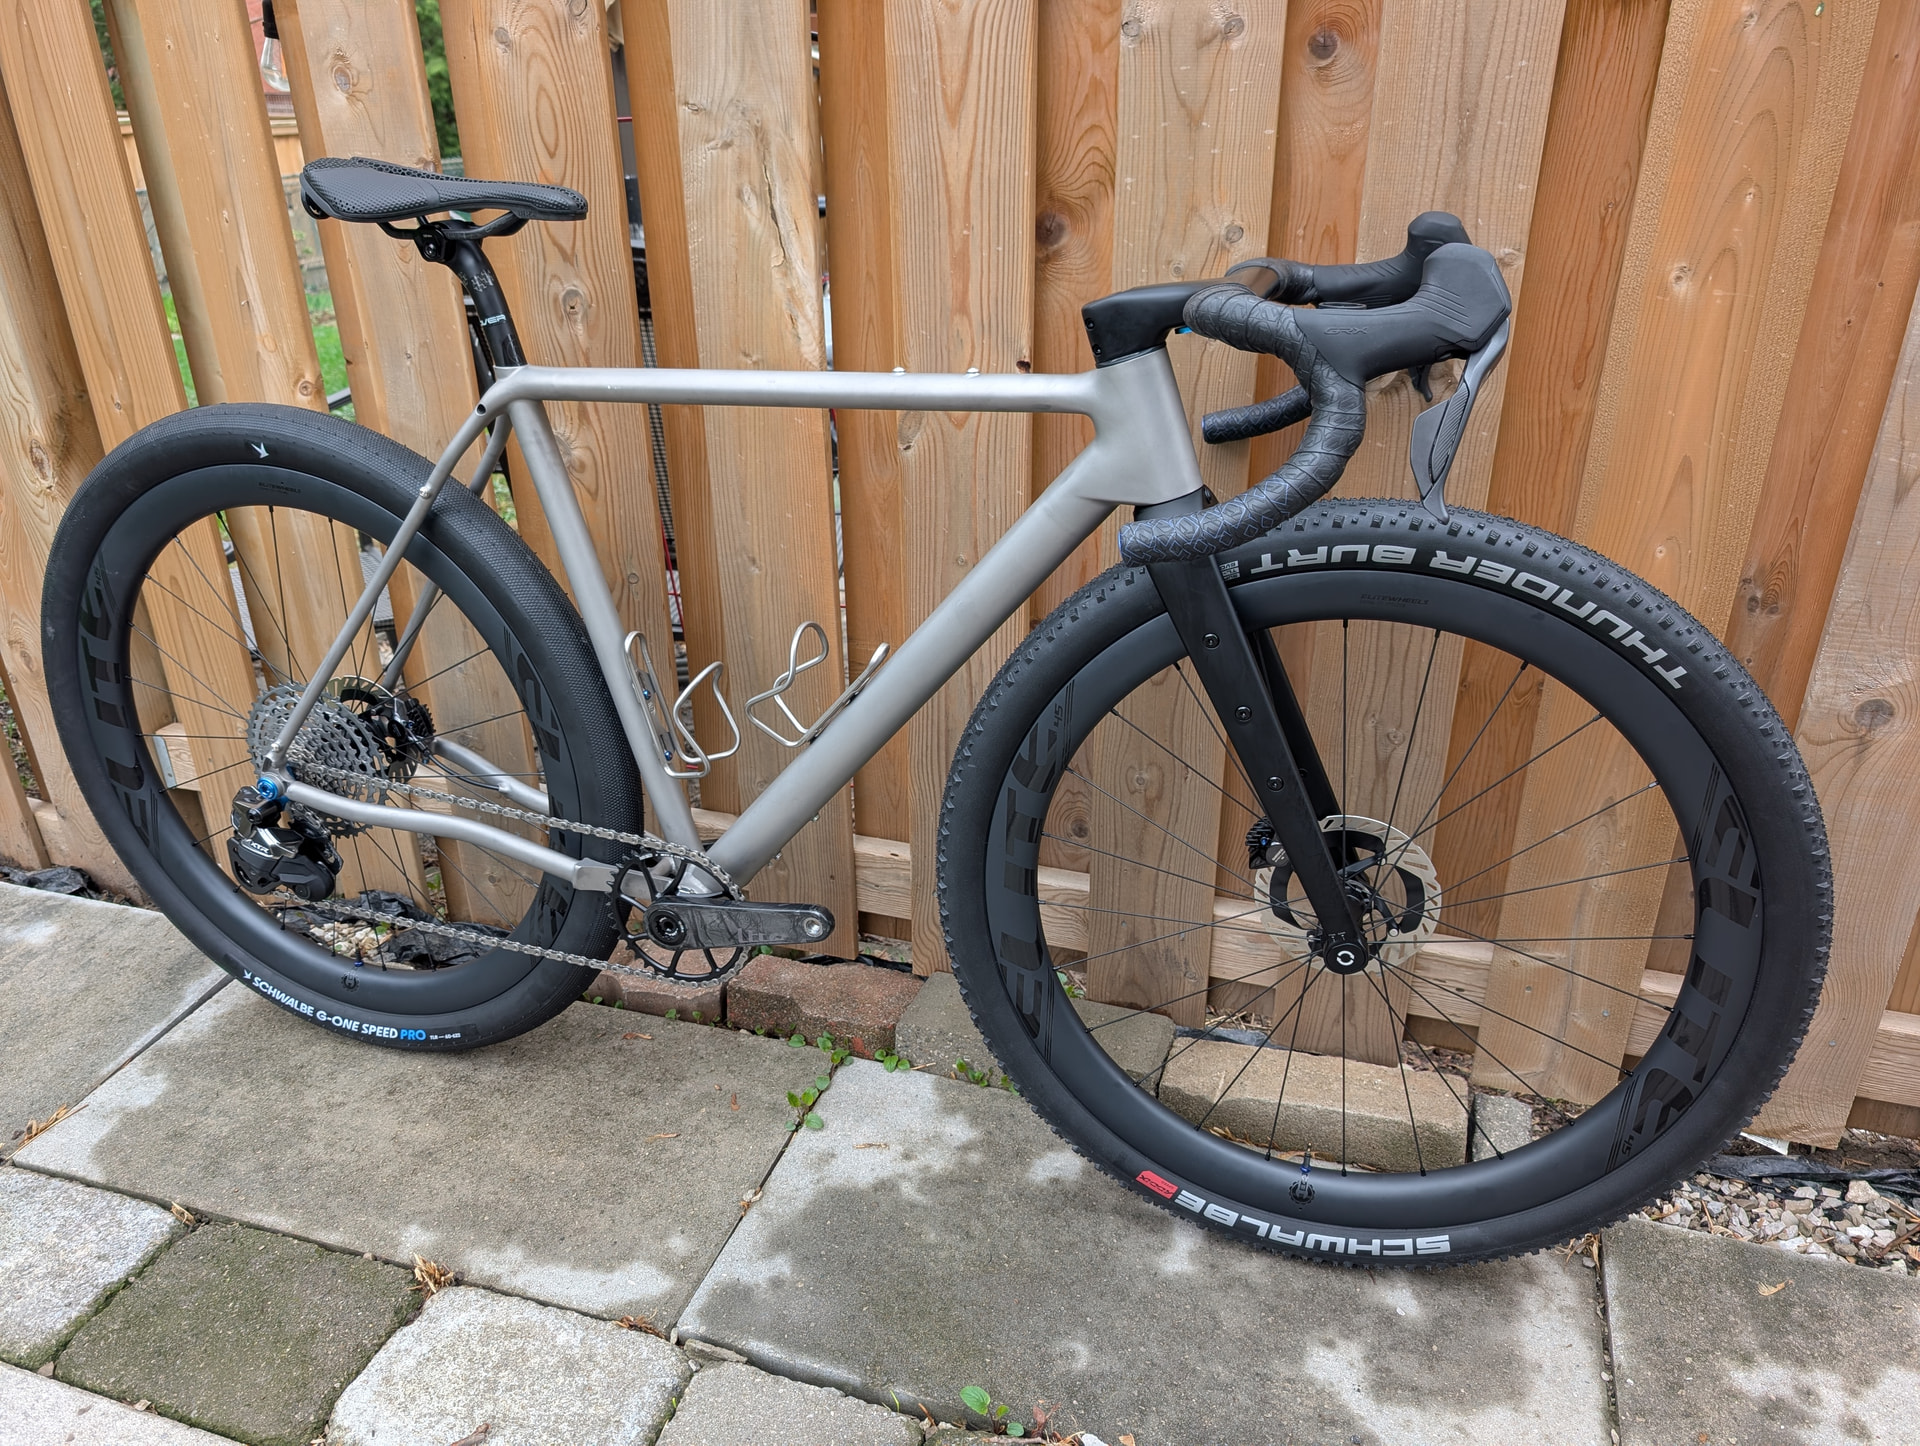
Gravel wheelset: Elite Gravel Aero+, 45 mm depth, 32 mm internal, 40 mm external. Very similar to the Zipp 303S XPLR. Are they comically large and excessive? Yes. Do they make me giddy? Yes.
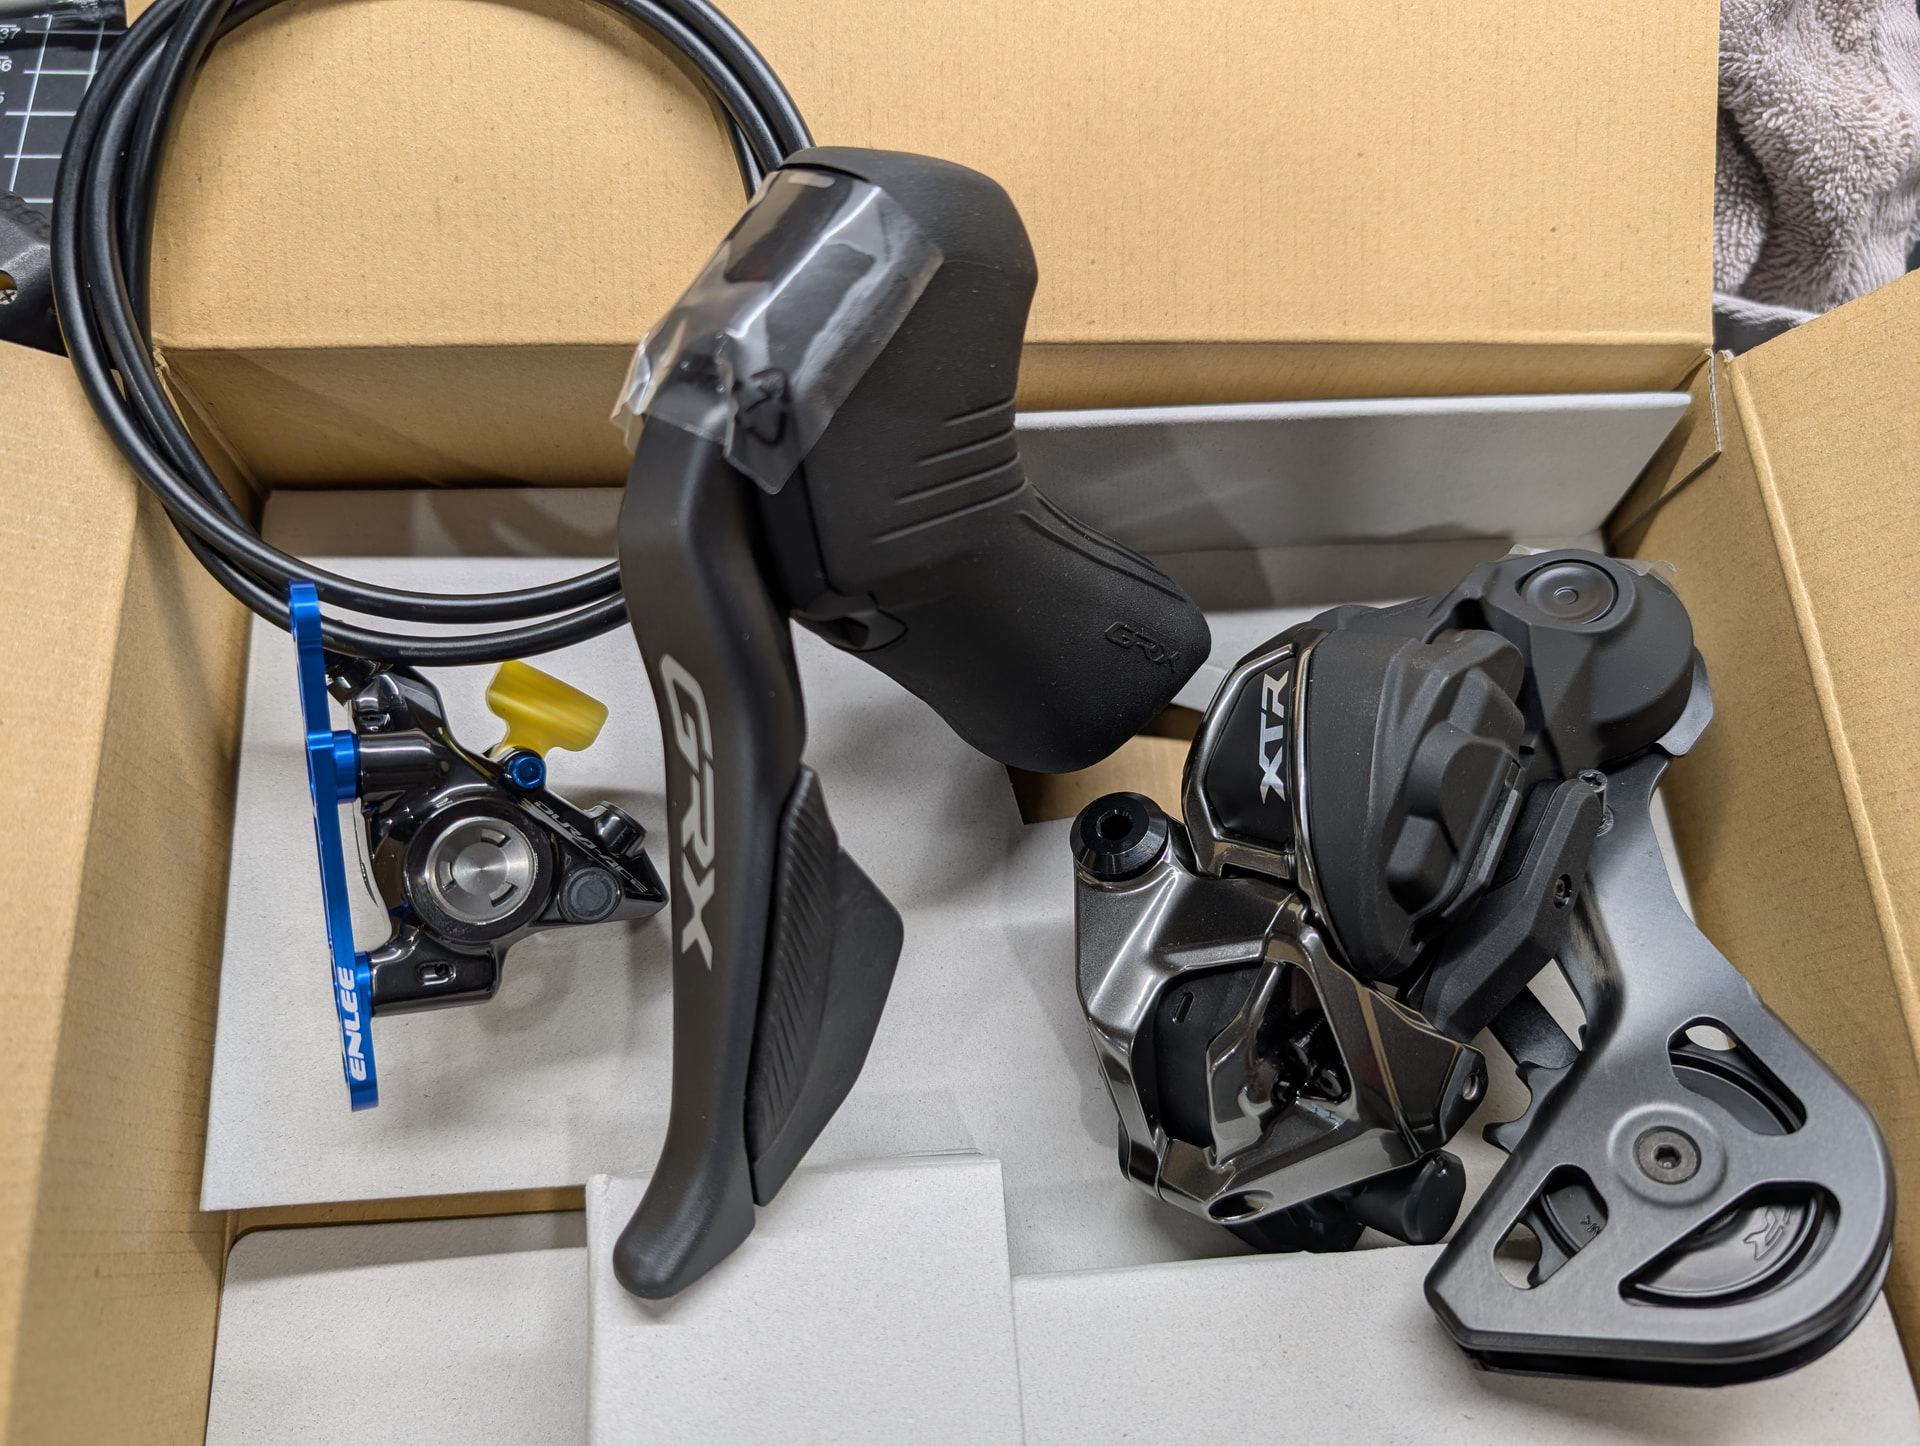
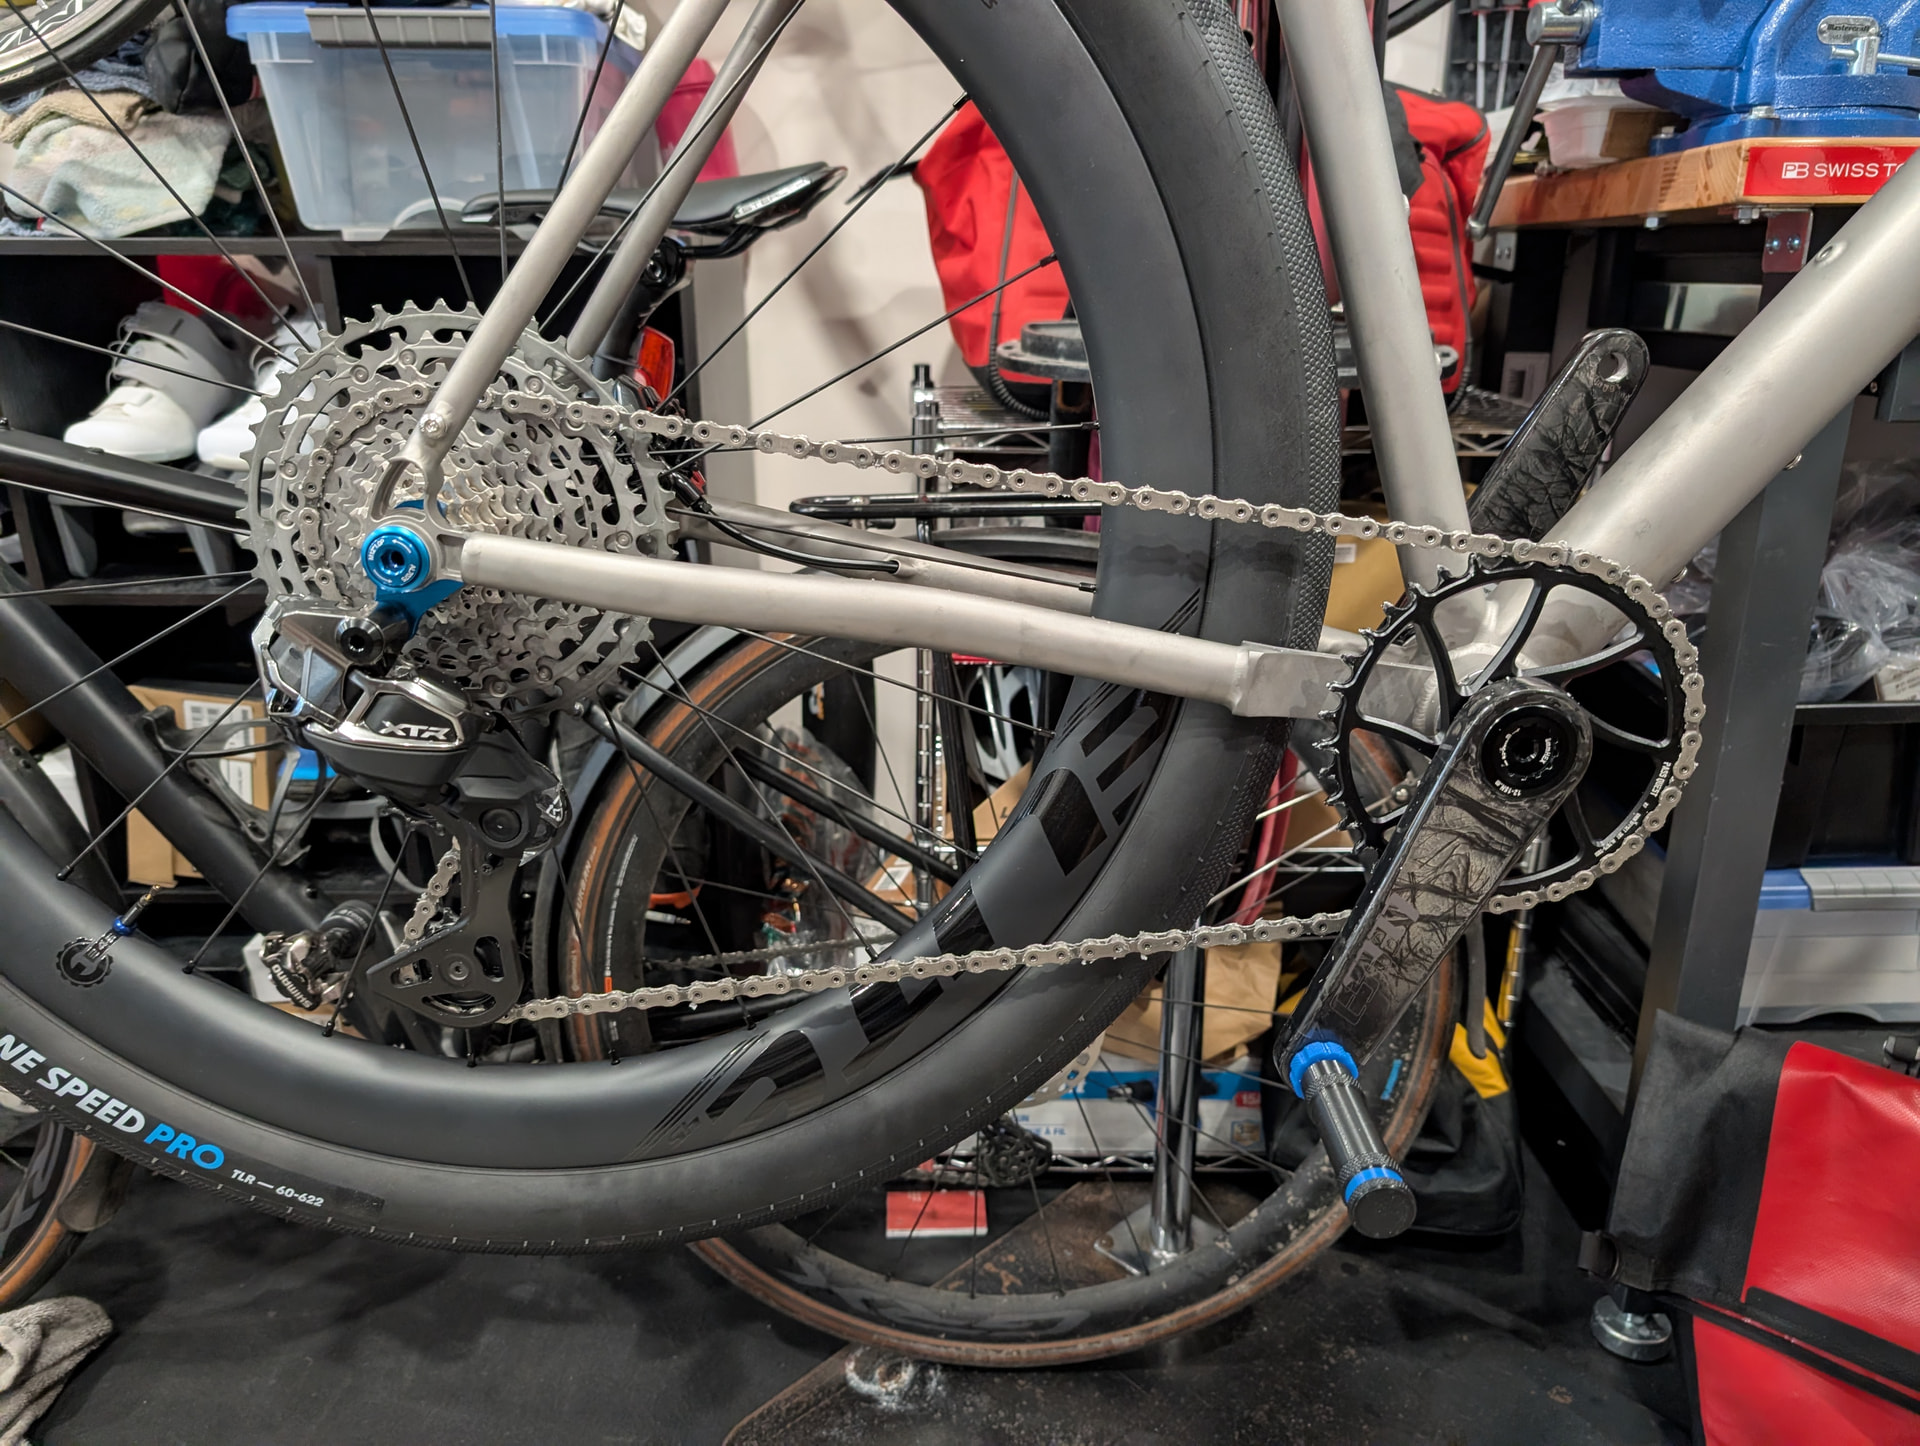
Cassette: Shimano XTR 9-45T
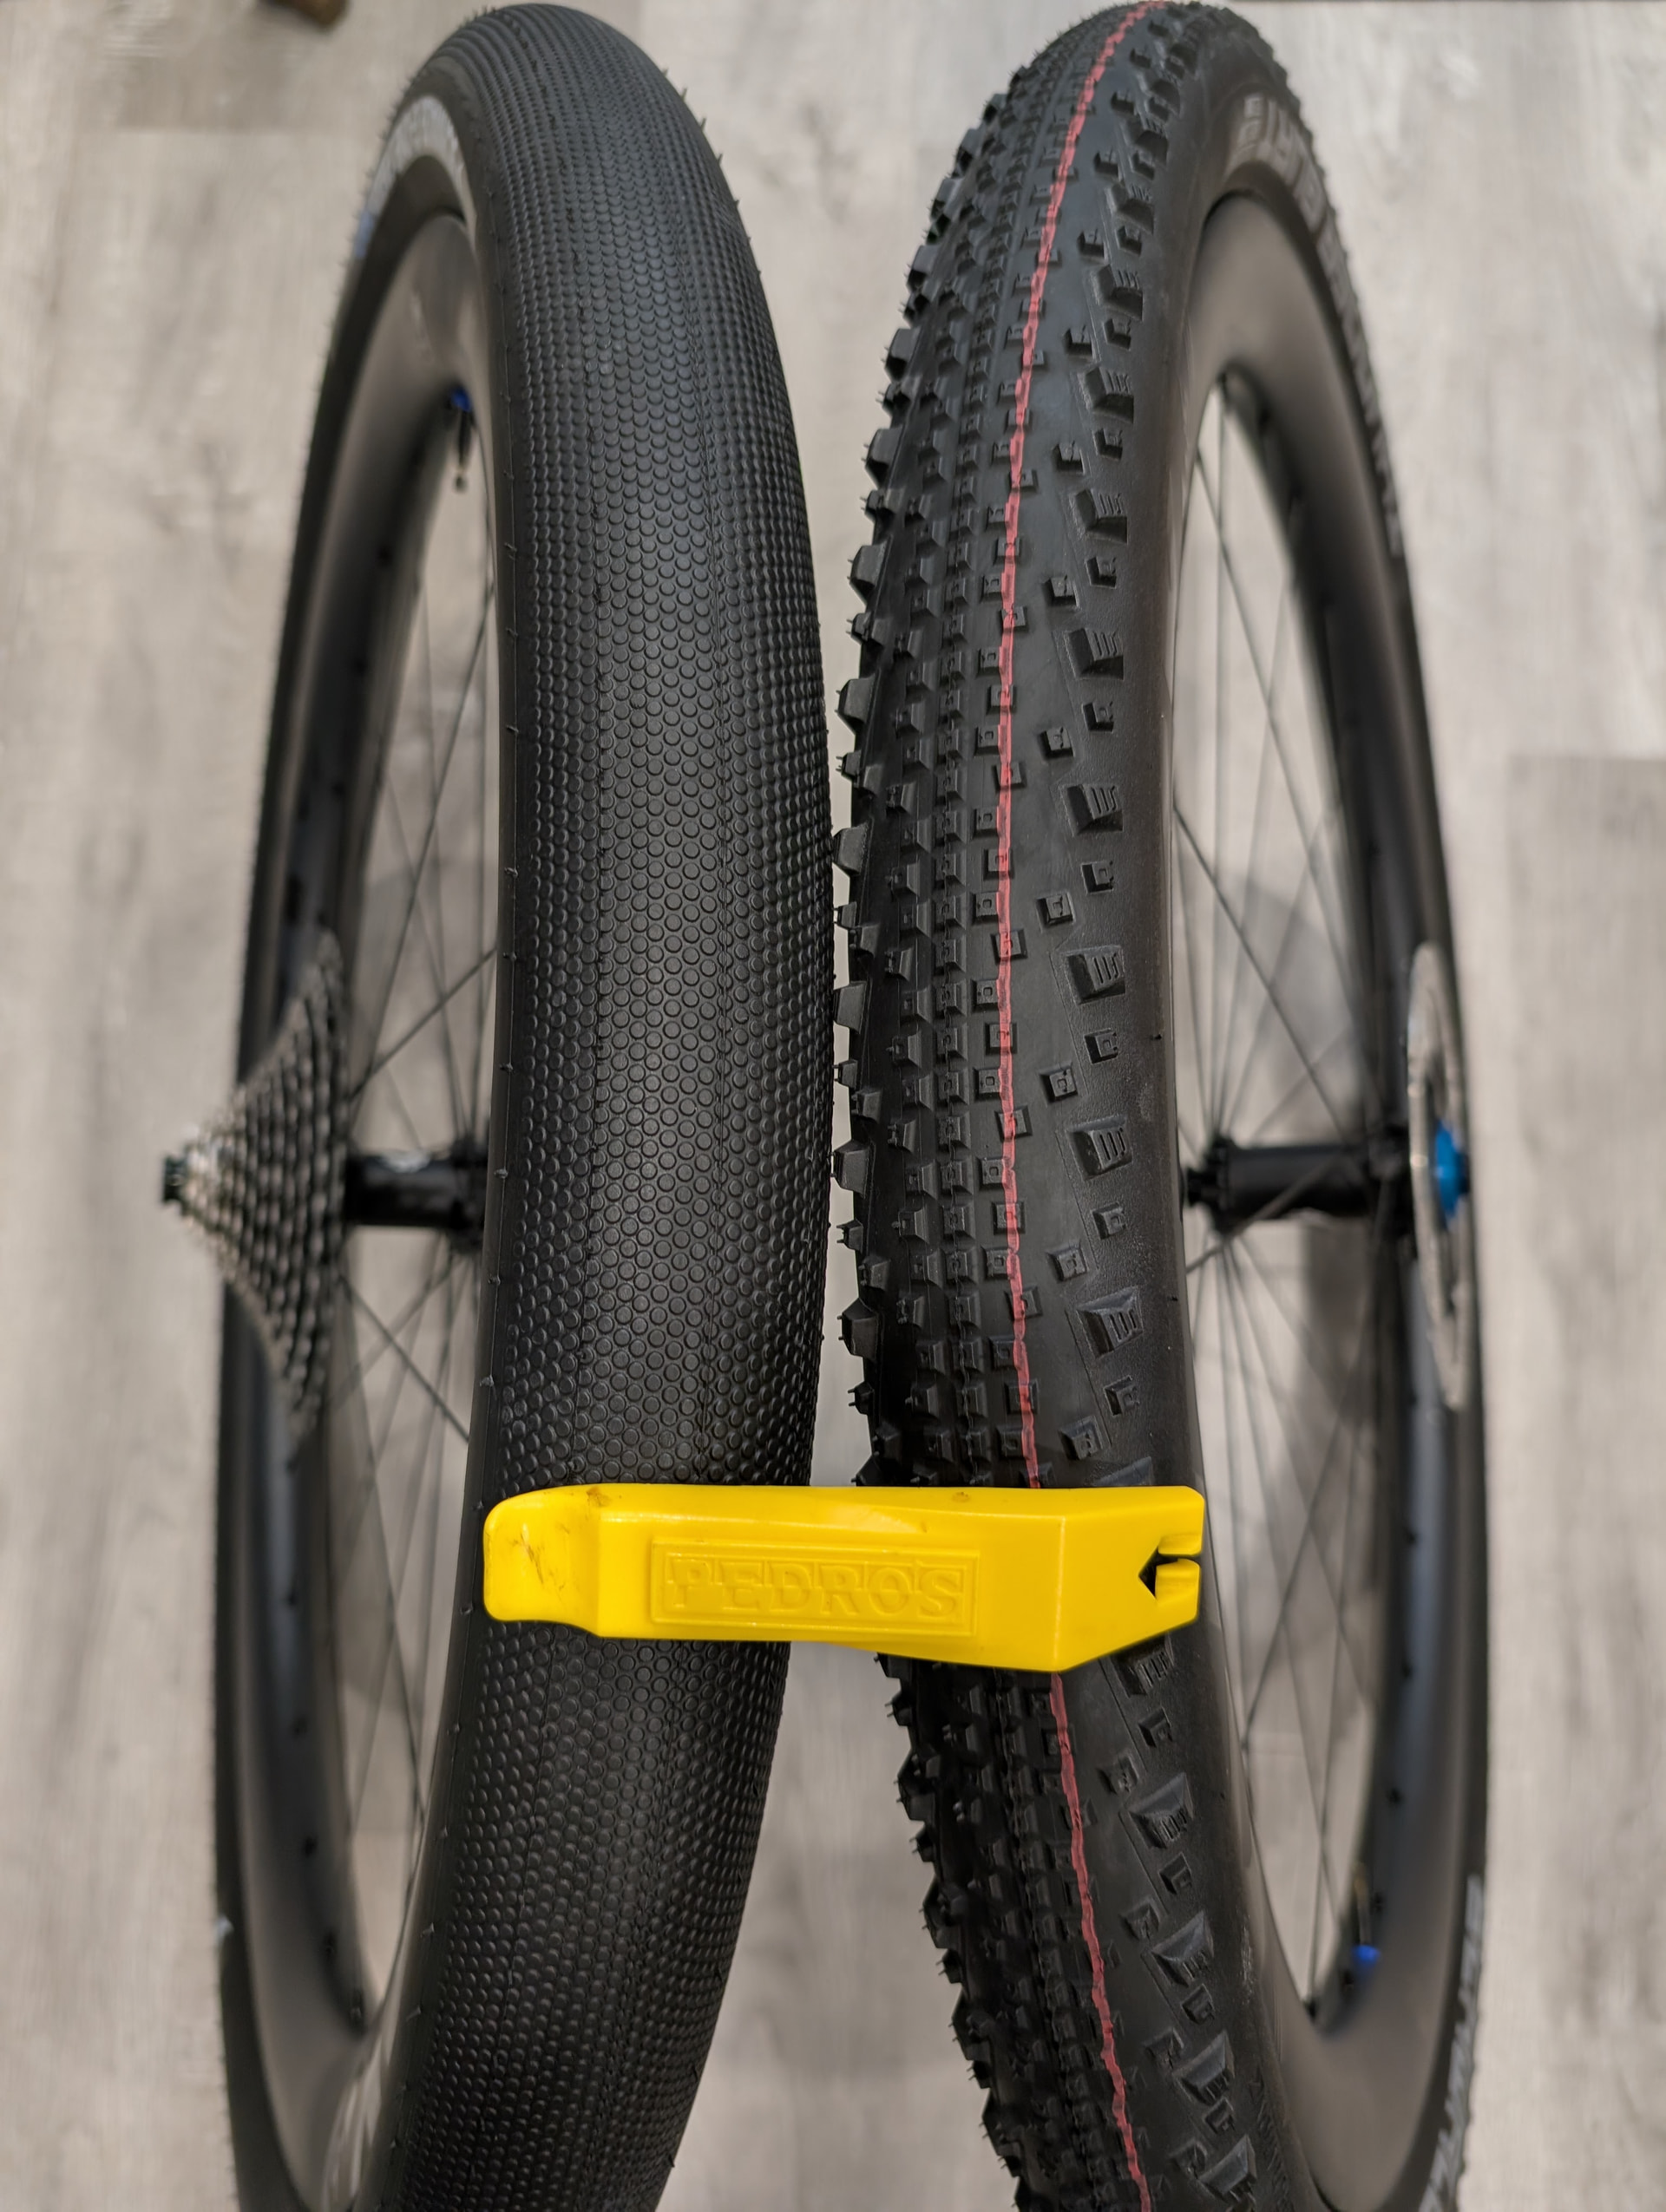
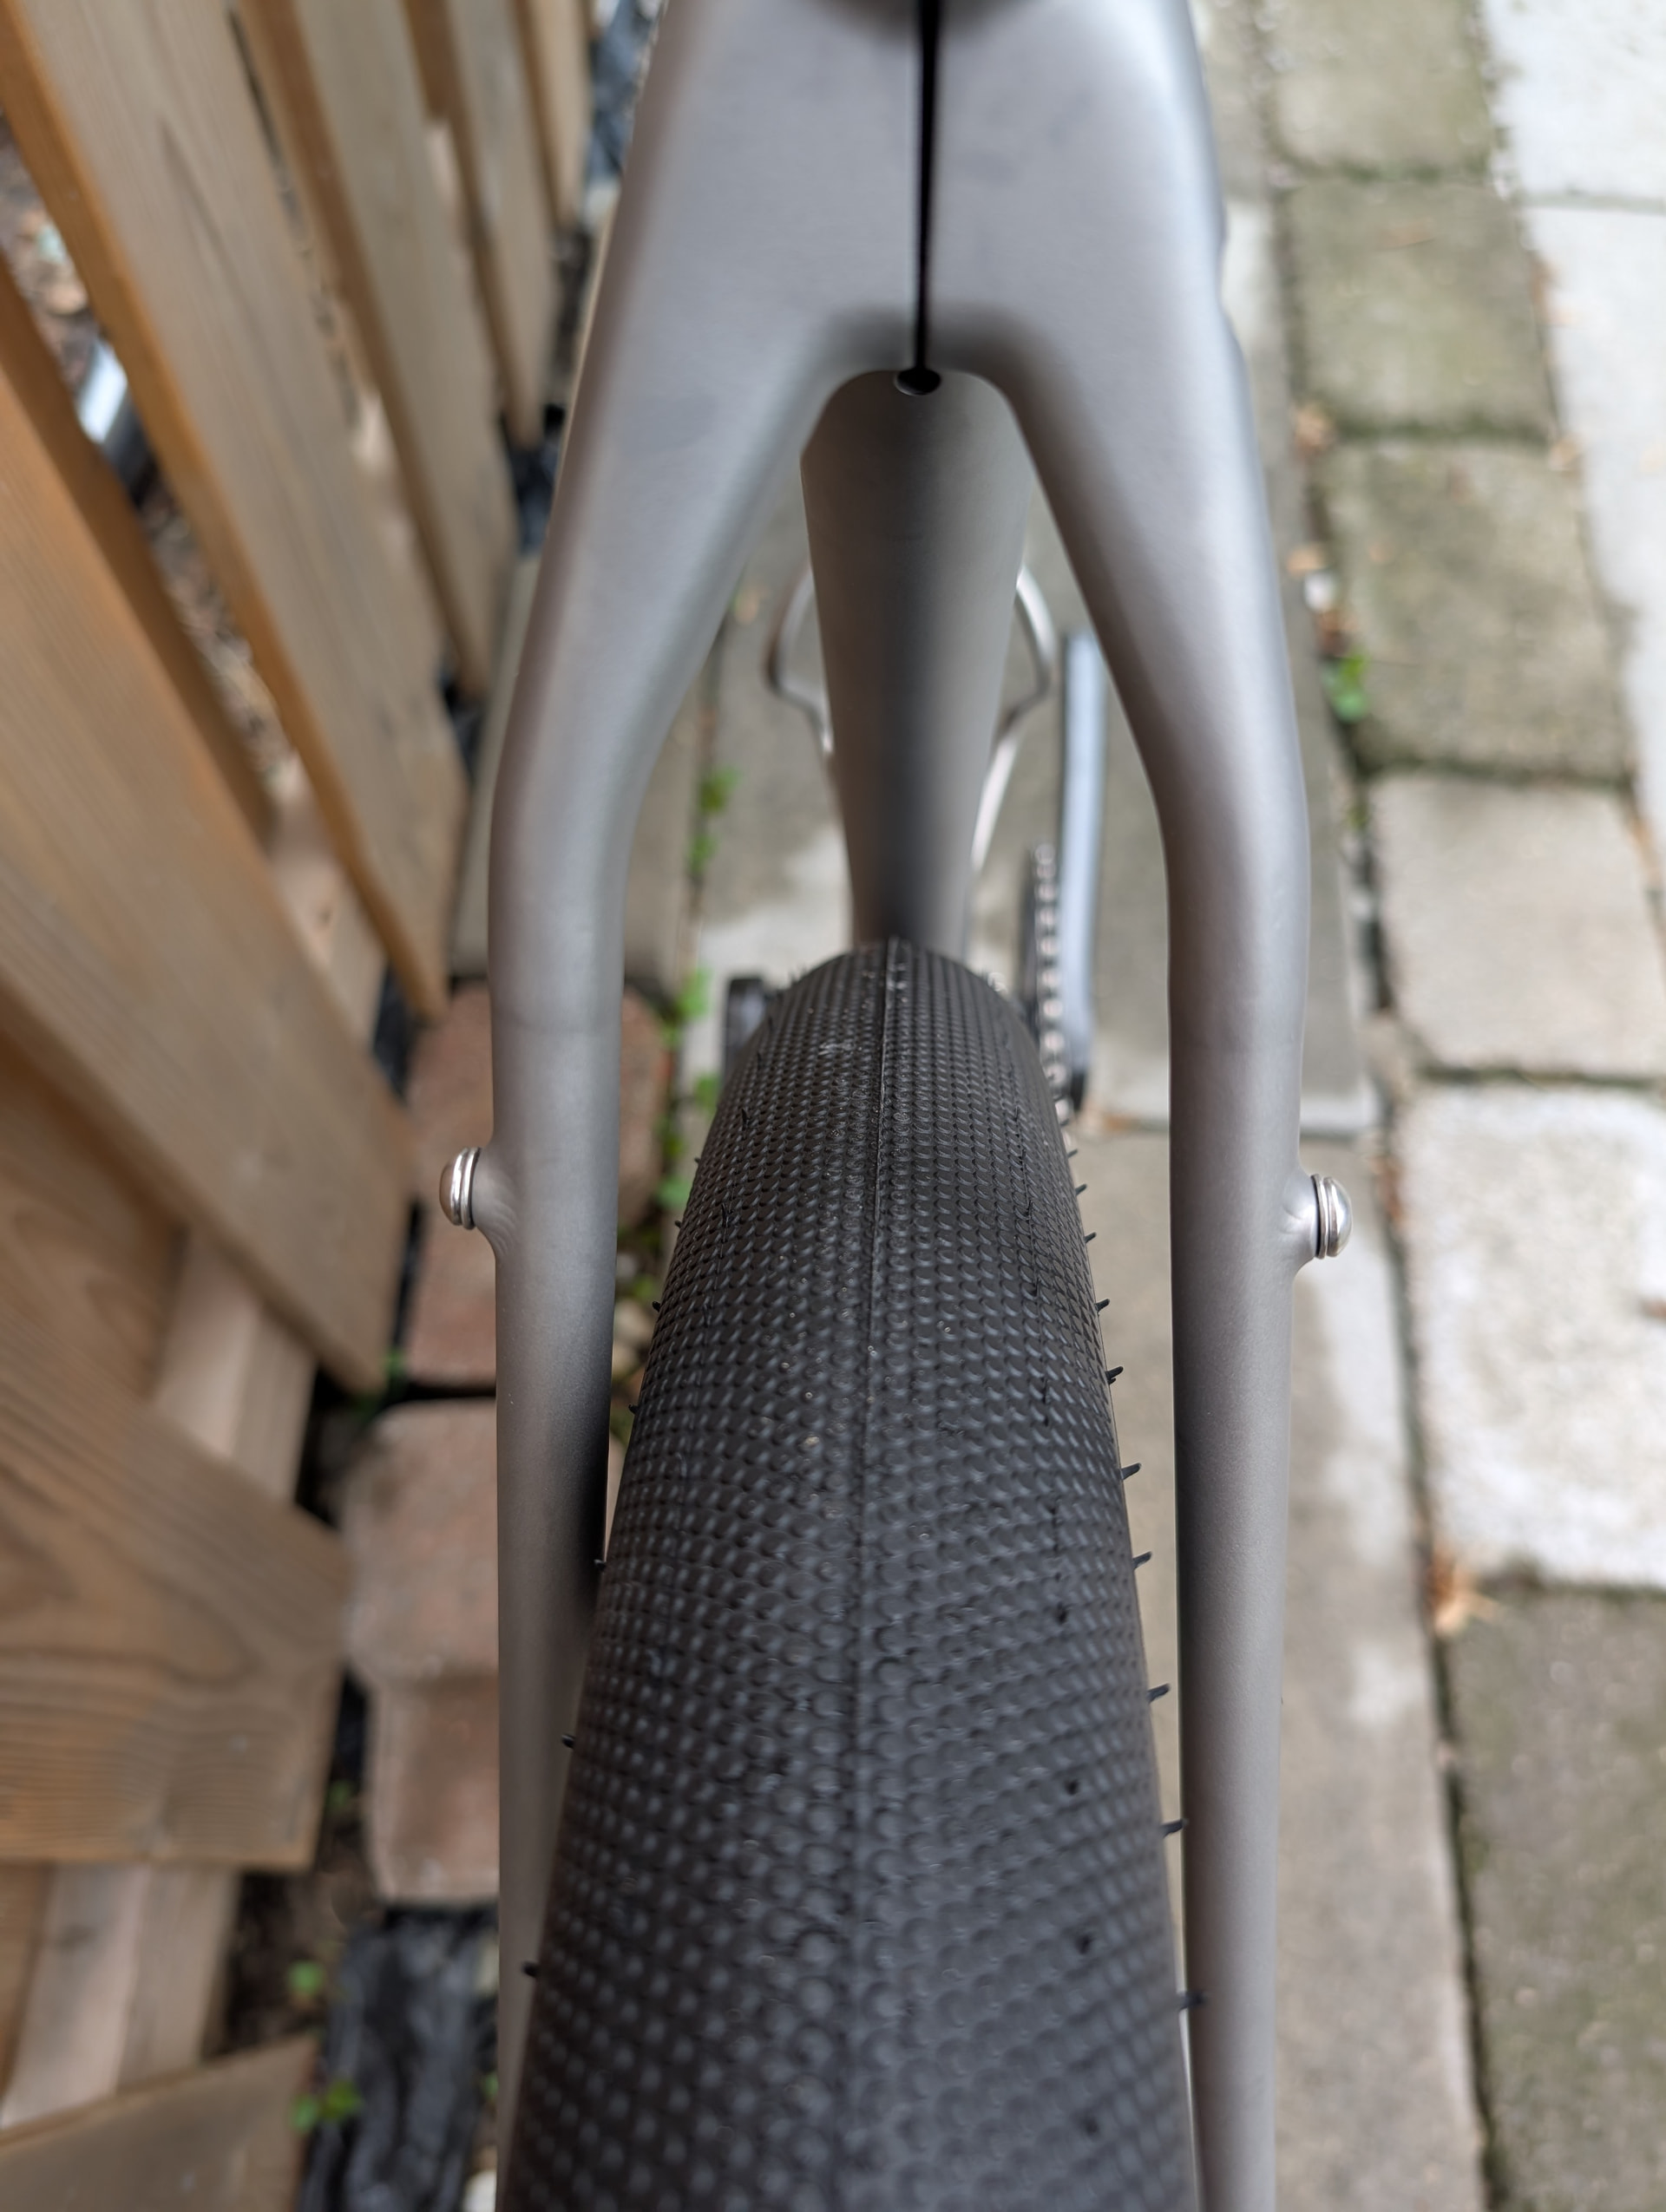
Rear tire: Schwalbe G-One Speed Pro 29x2.35”, actual width 60.8 mm
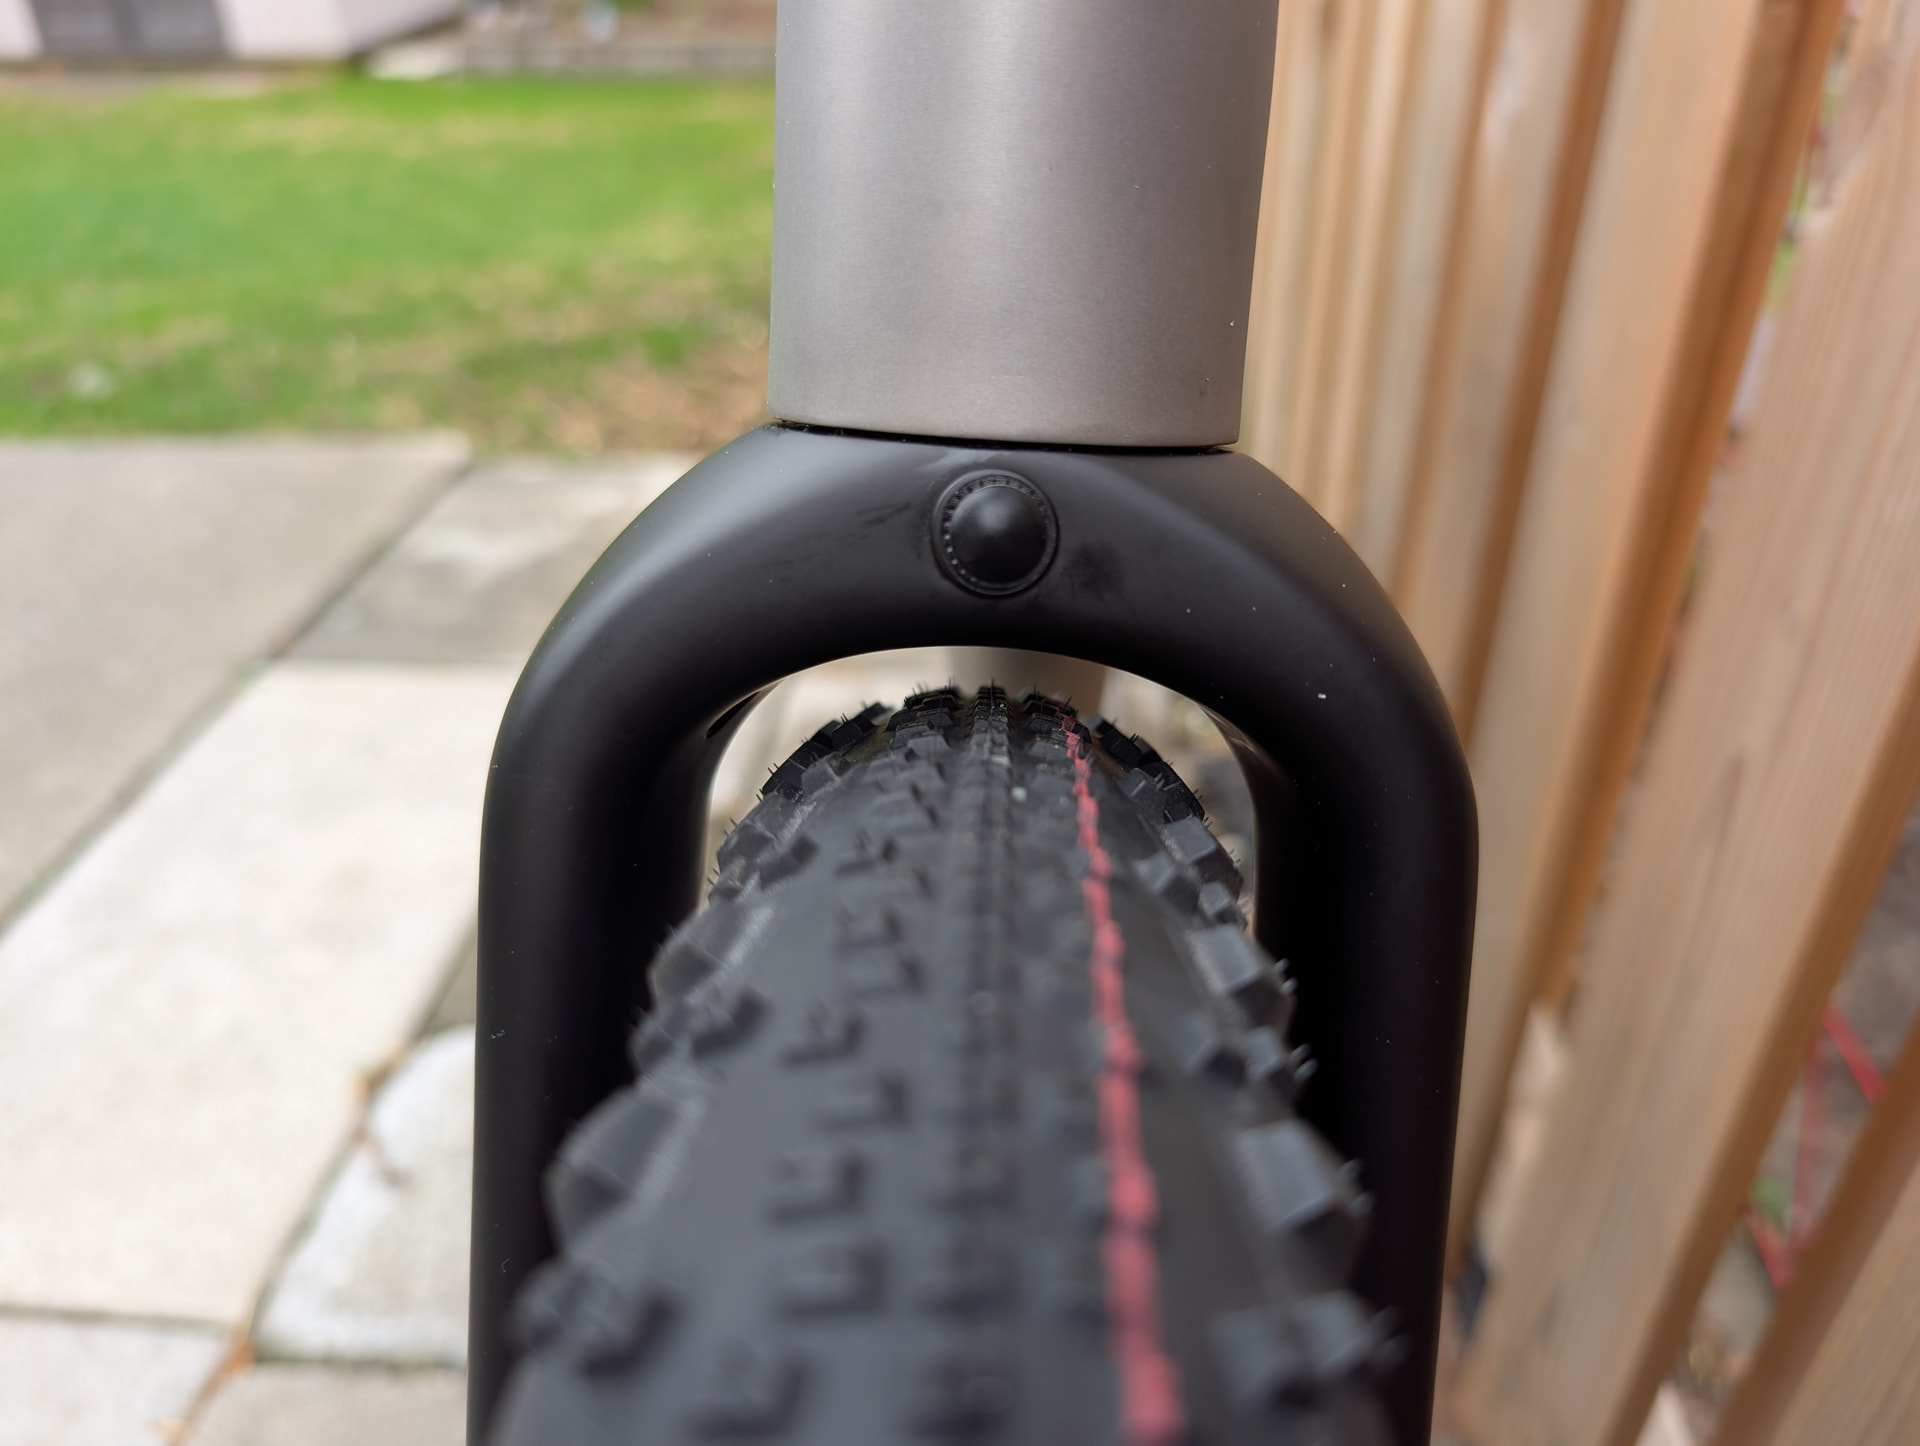
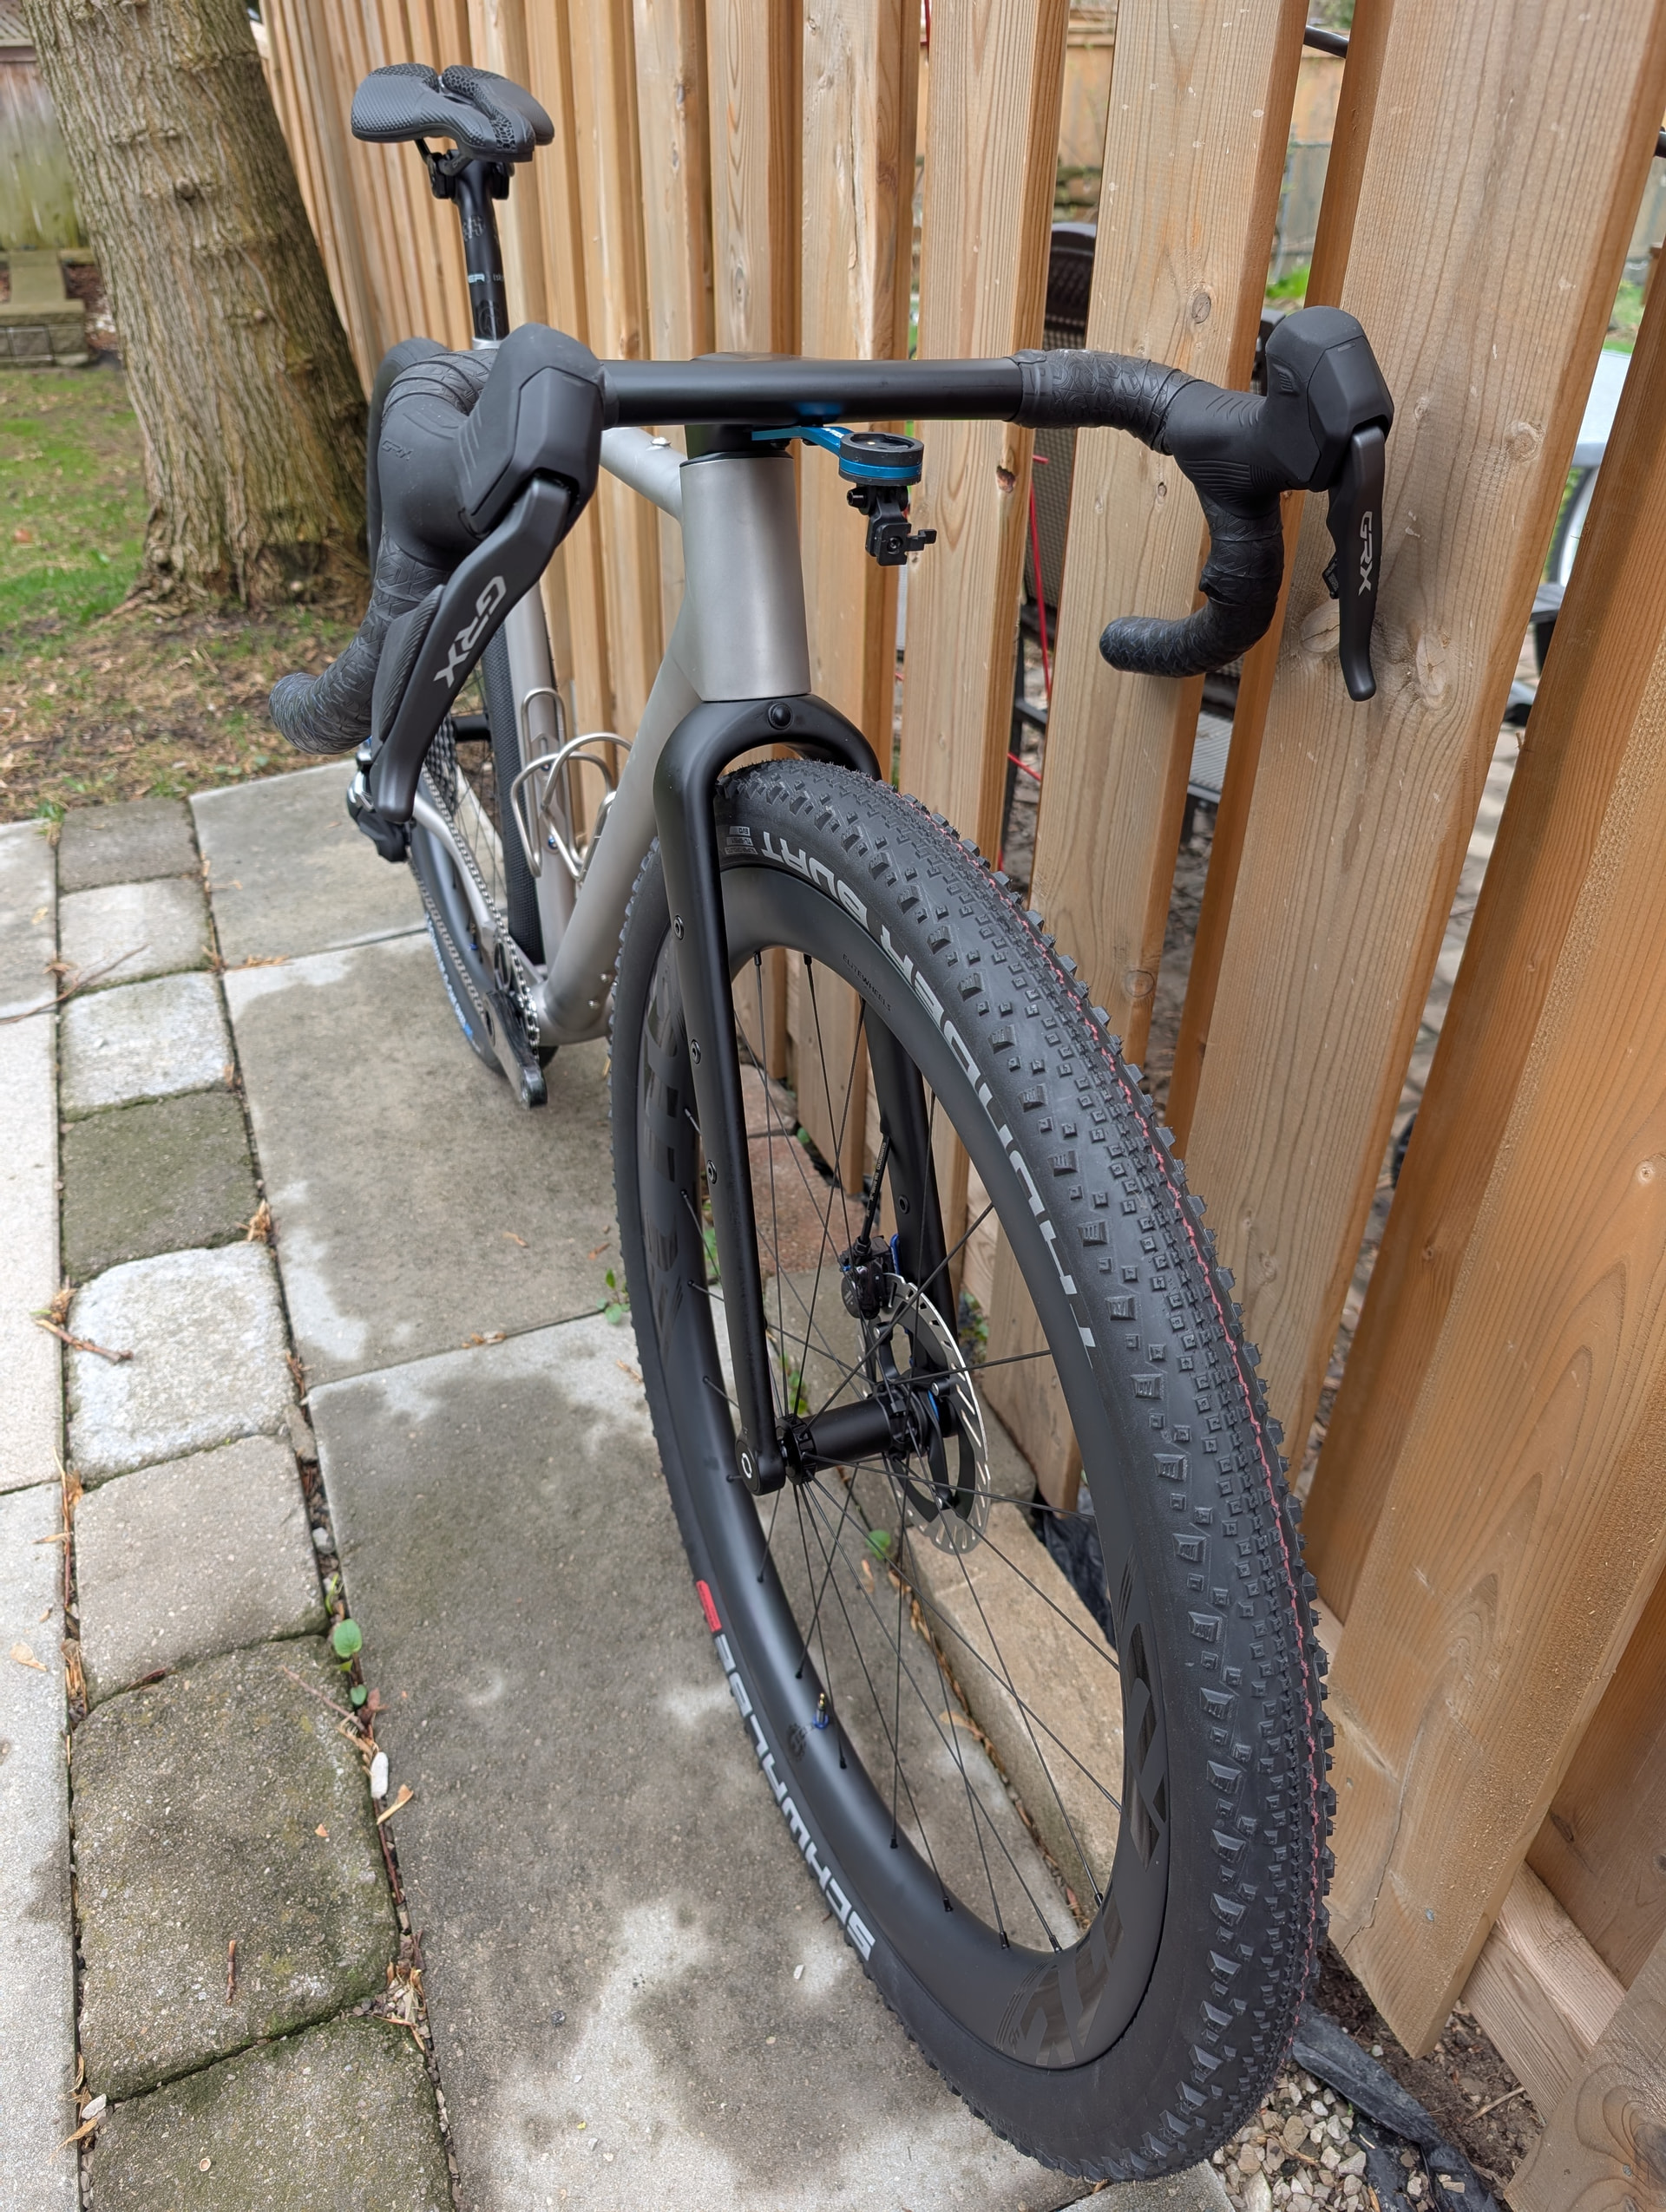
Front tire: Schwalbe Thunder Burt Super Ground 29x2.25”, actual width 55.8 mm
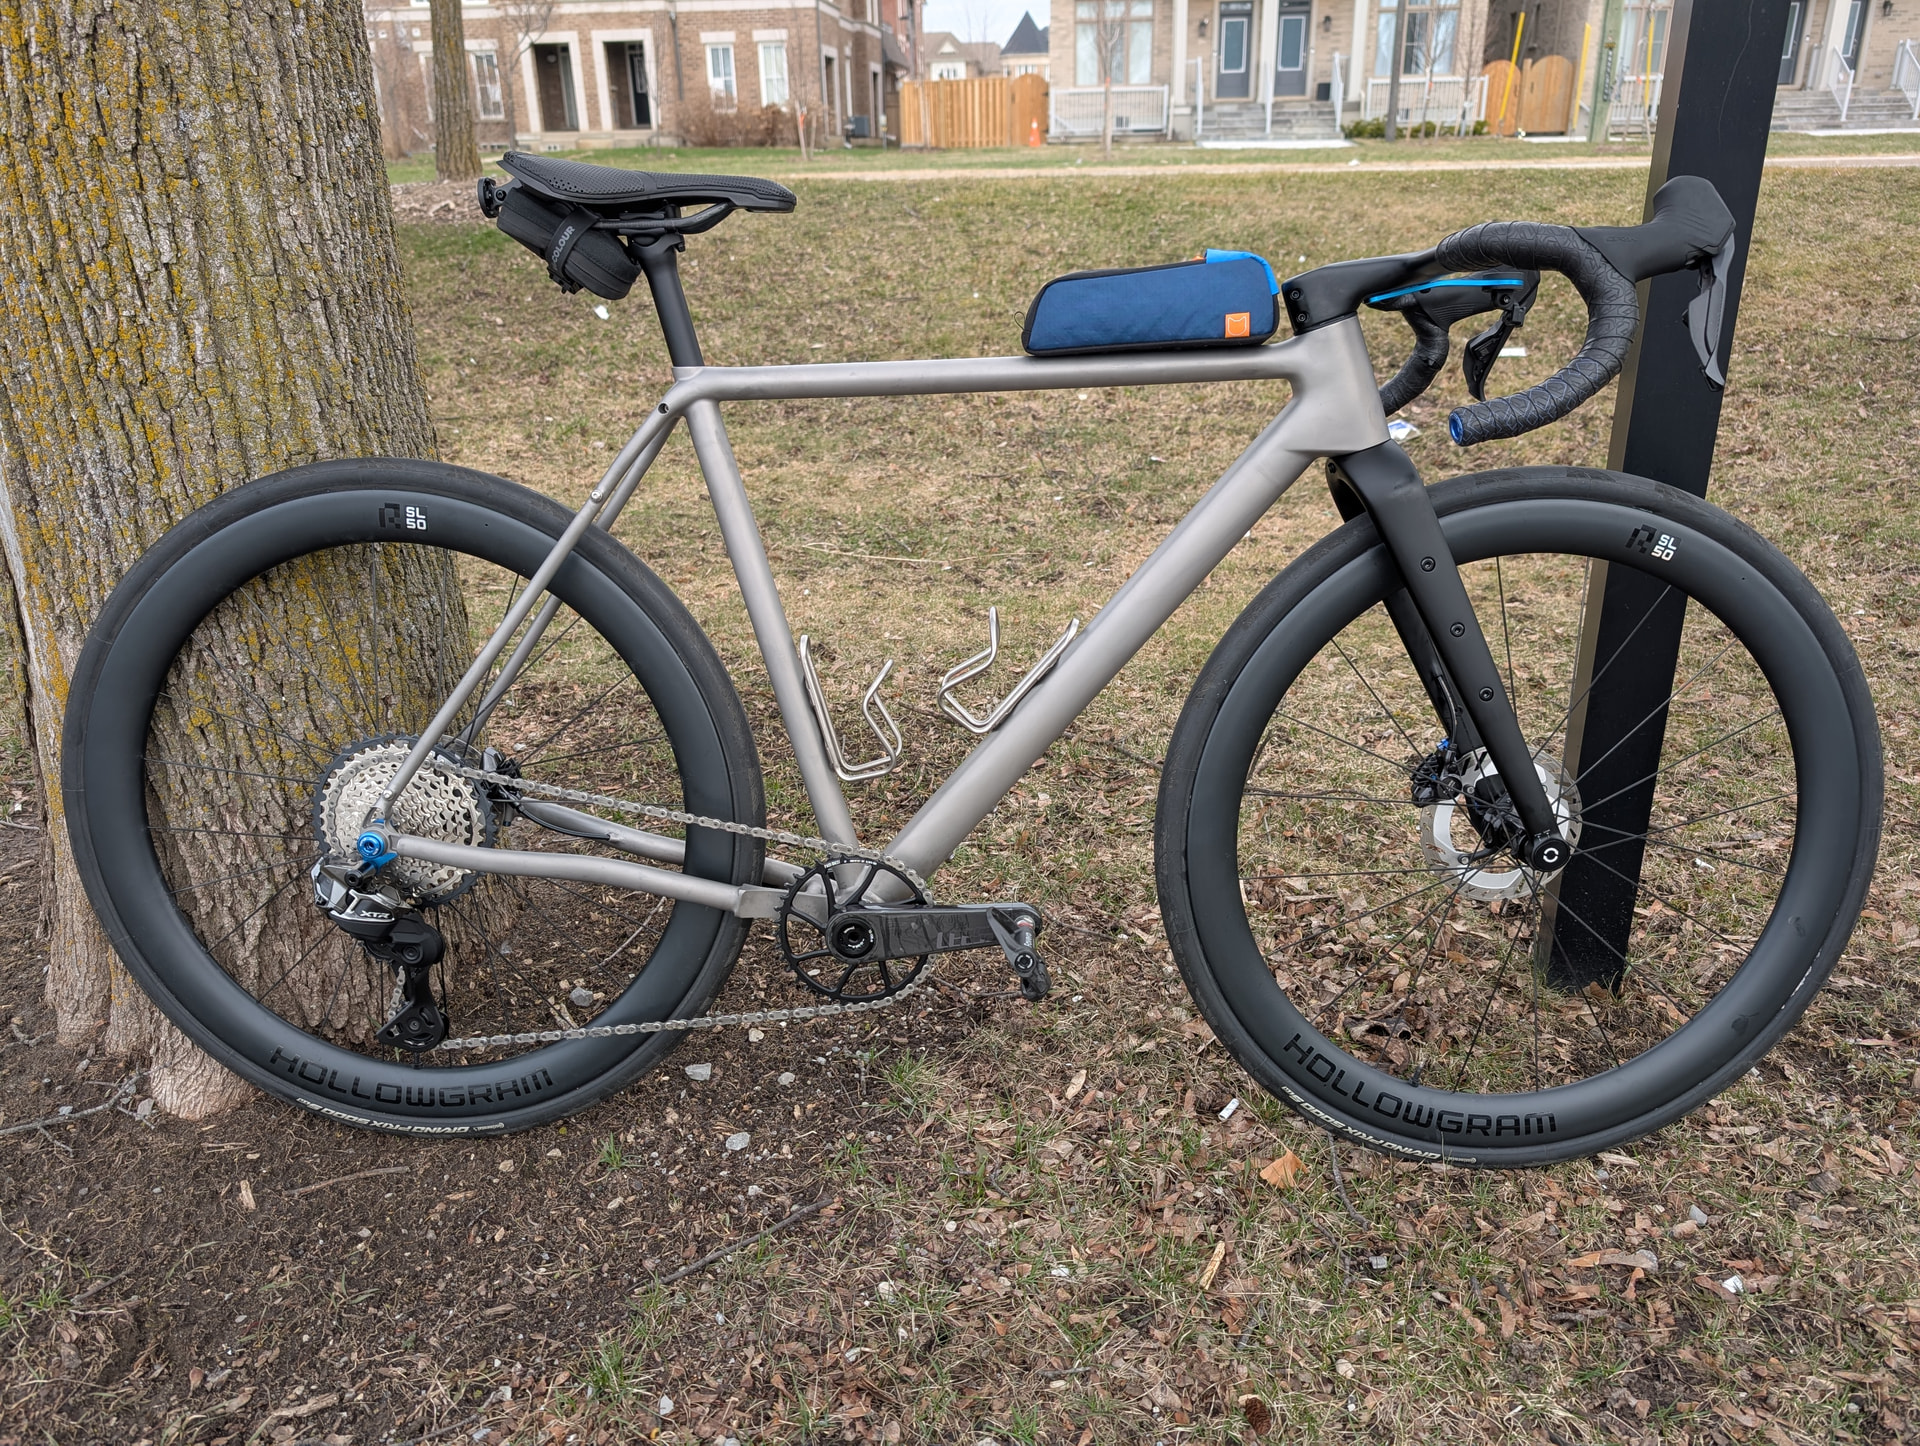
Road wheelset: an old Cannondale RSL50 from my Supersix, 50 mm depth, 21 mm internal, 30 mm external
Cassette: Shimano XT 9-45T (DT EXP freehub, so the swap from HG to MS was easy)
Tires: Continental Grand Prix 5000 S TR 30 mm
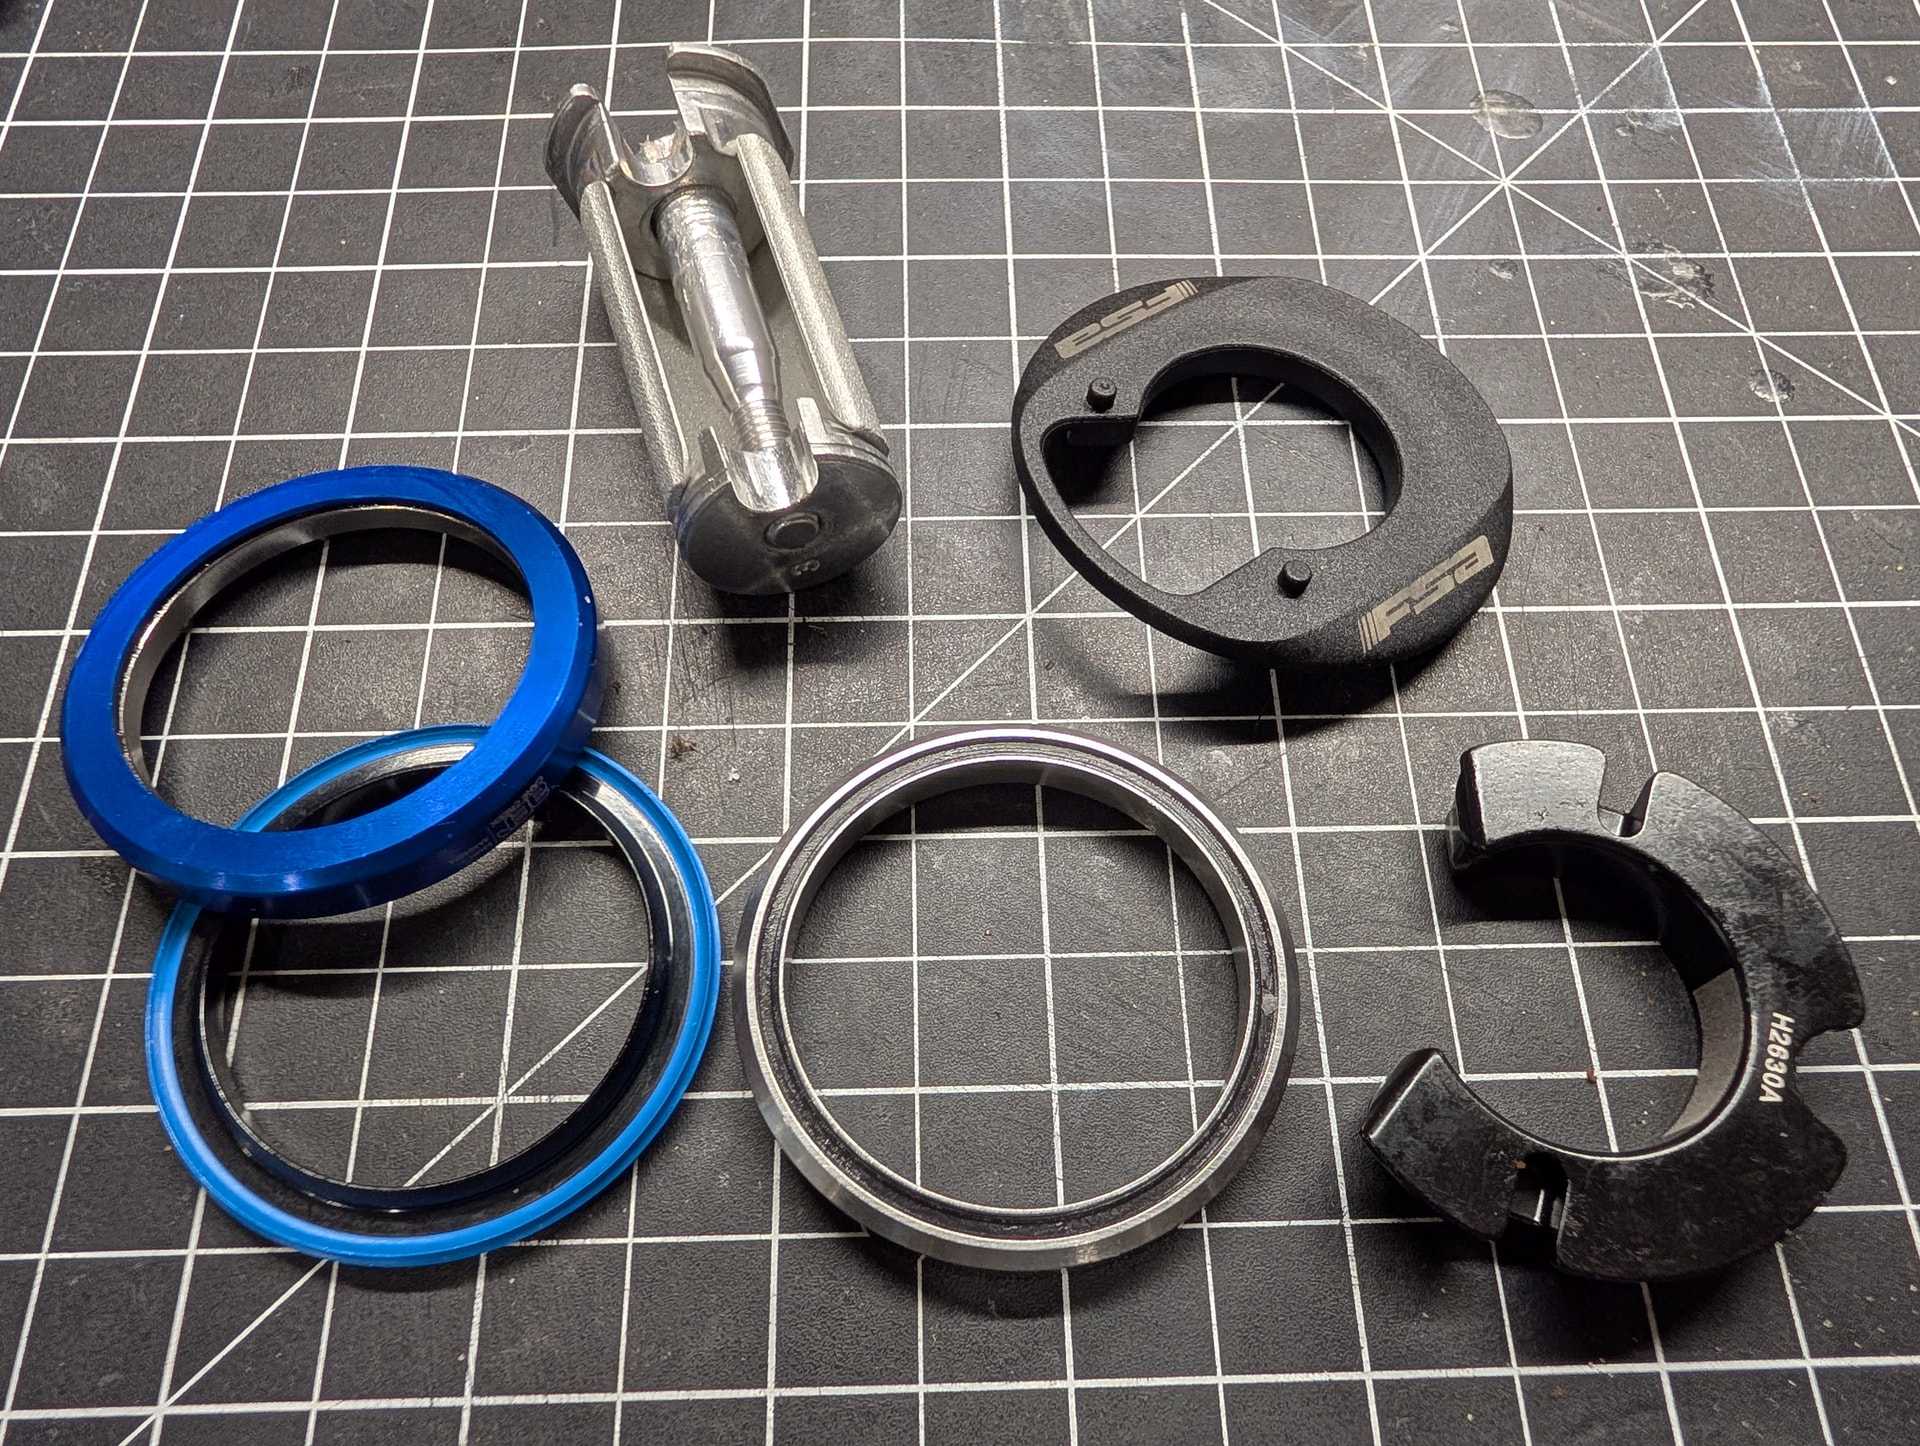
Headset: FSA 55R LS (it took me a long time to source the version with the low stack top cap. Also found an old Cane Creek AER aluminium bearing and sealed crown race lying around, so will see if it fits)
Handlebars: Integrated carbon from Waltly, 90mm -7deg stem, 375mm tops, 440mm drops (a bit more flare than I would want, but it was cheap so I’ll give it a shot)
Bottle cages: Silca Sicuro Ti (prone to falling apart, but haven’t failed me yet)
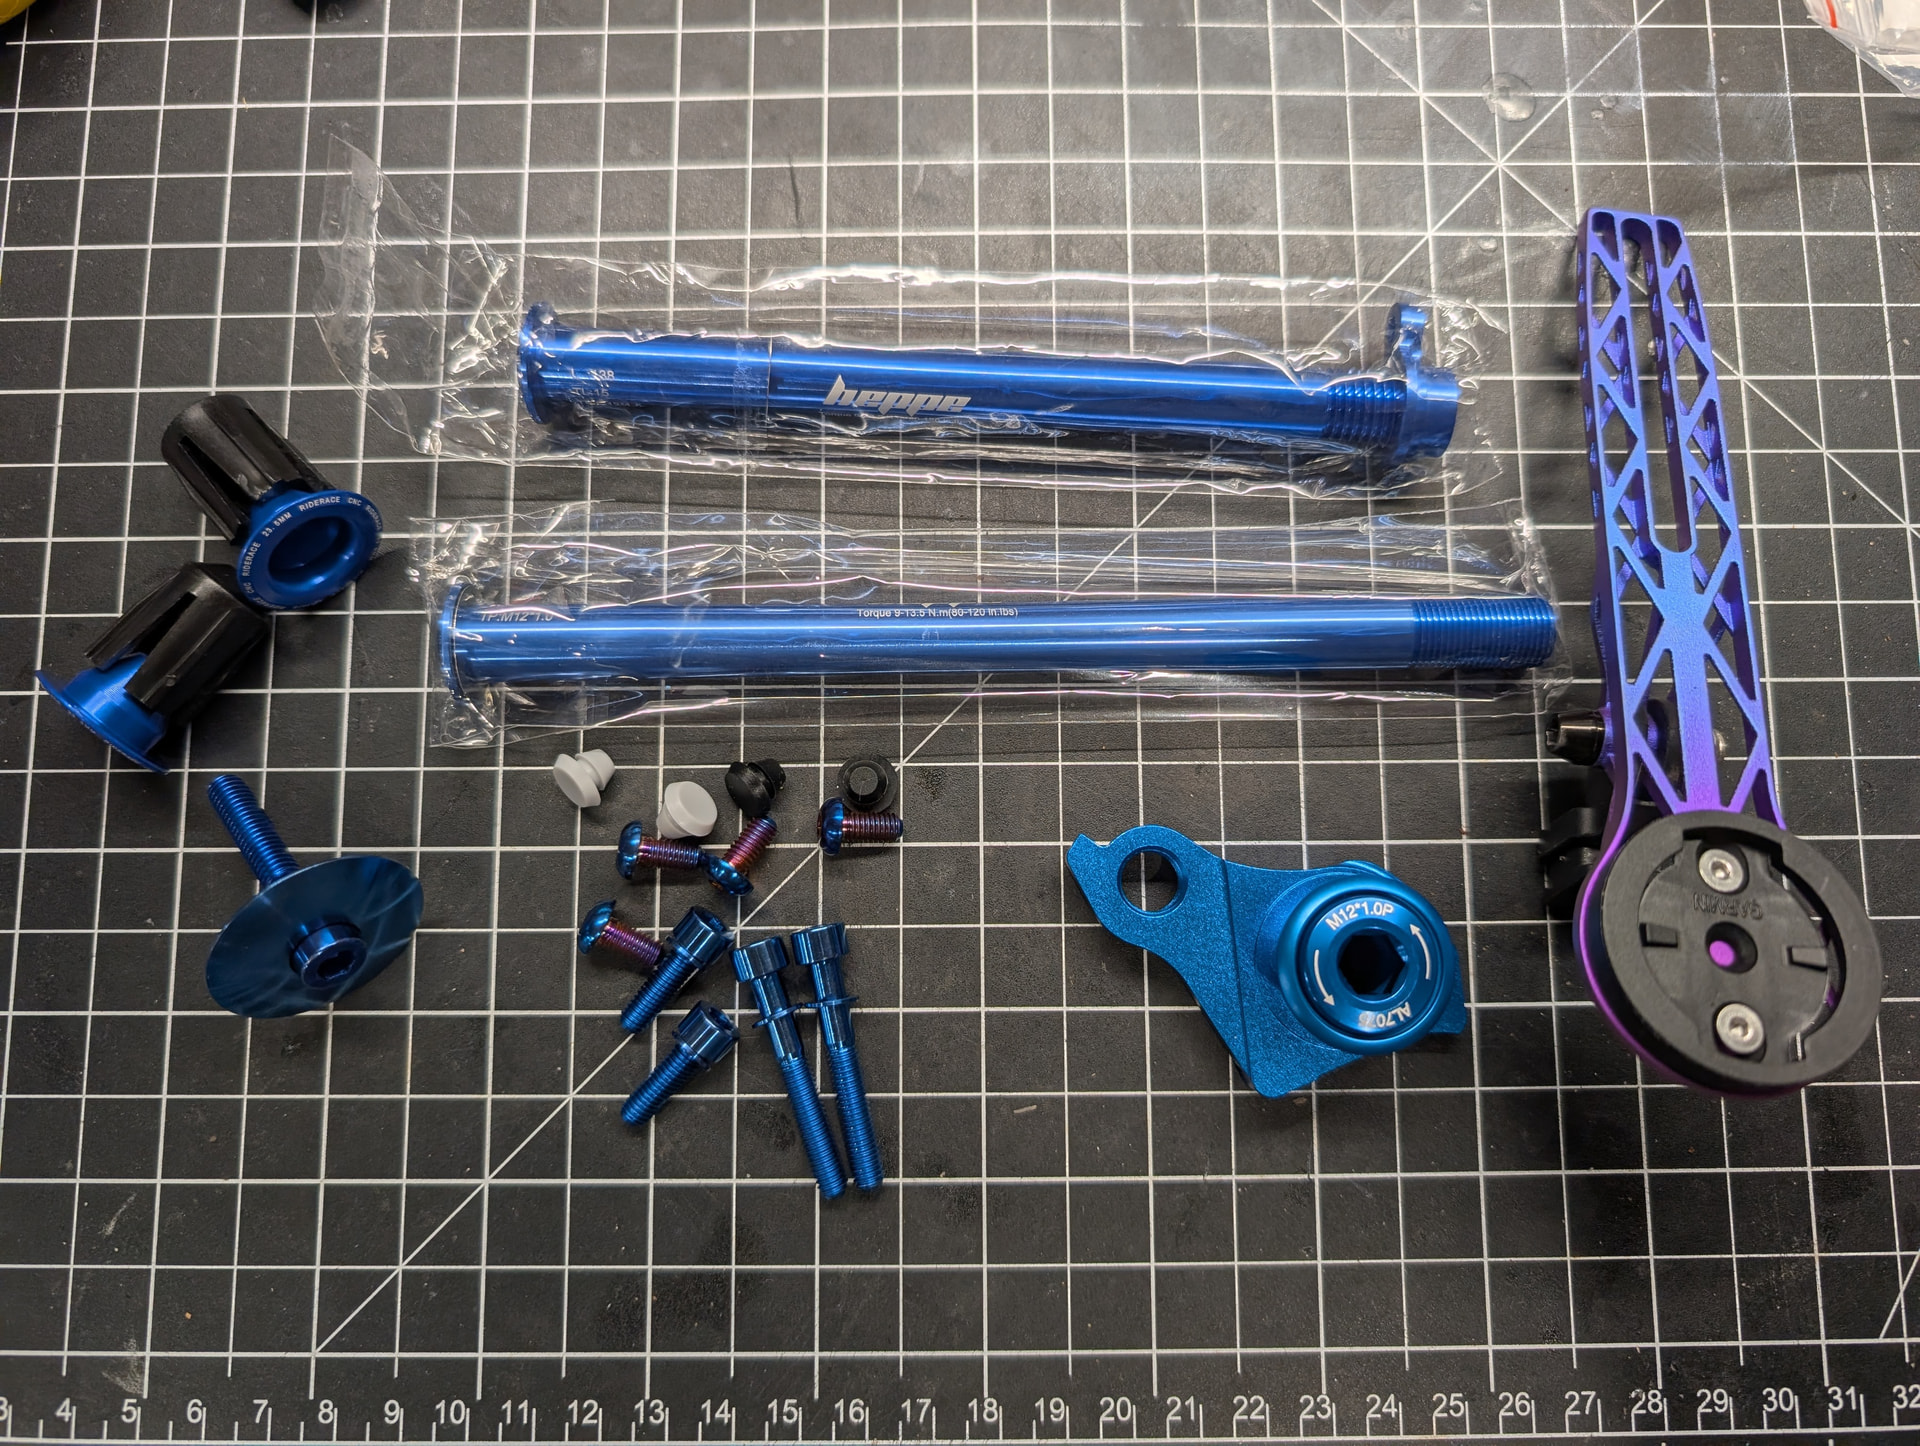
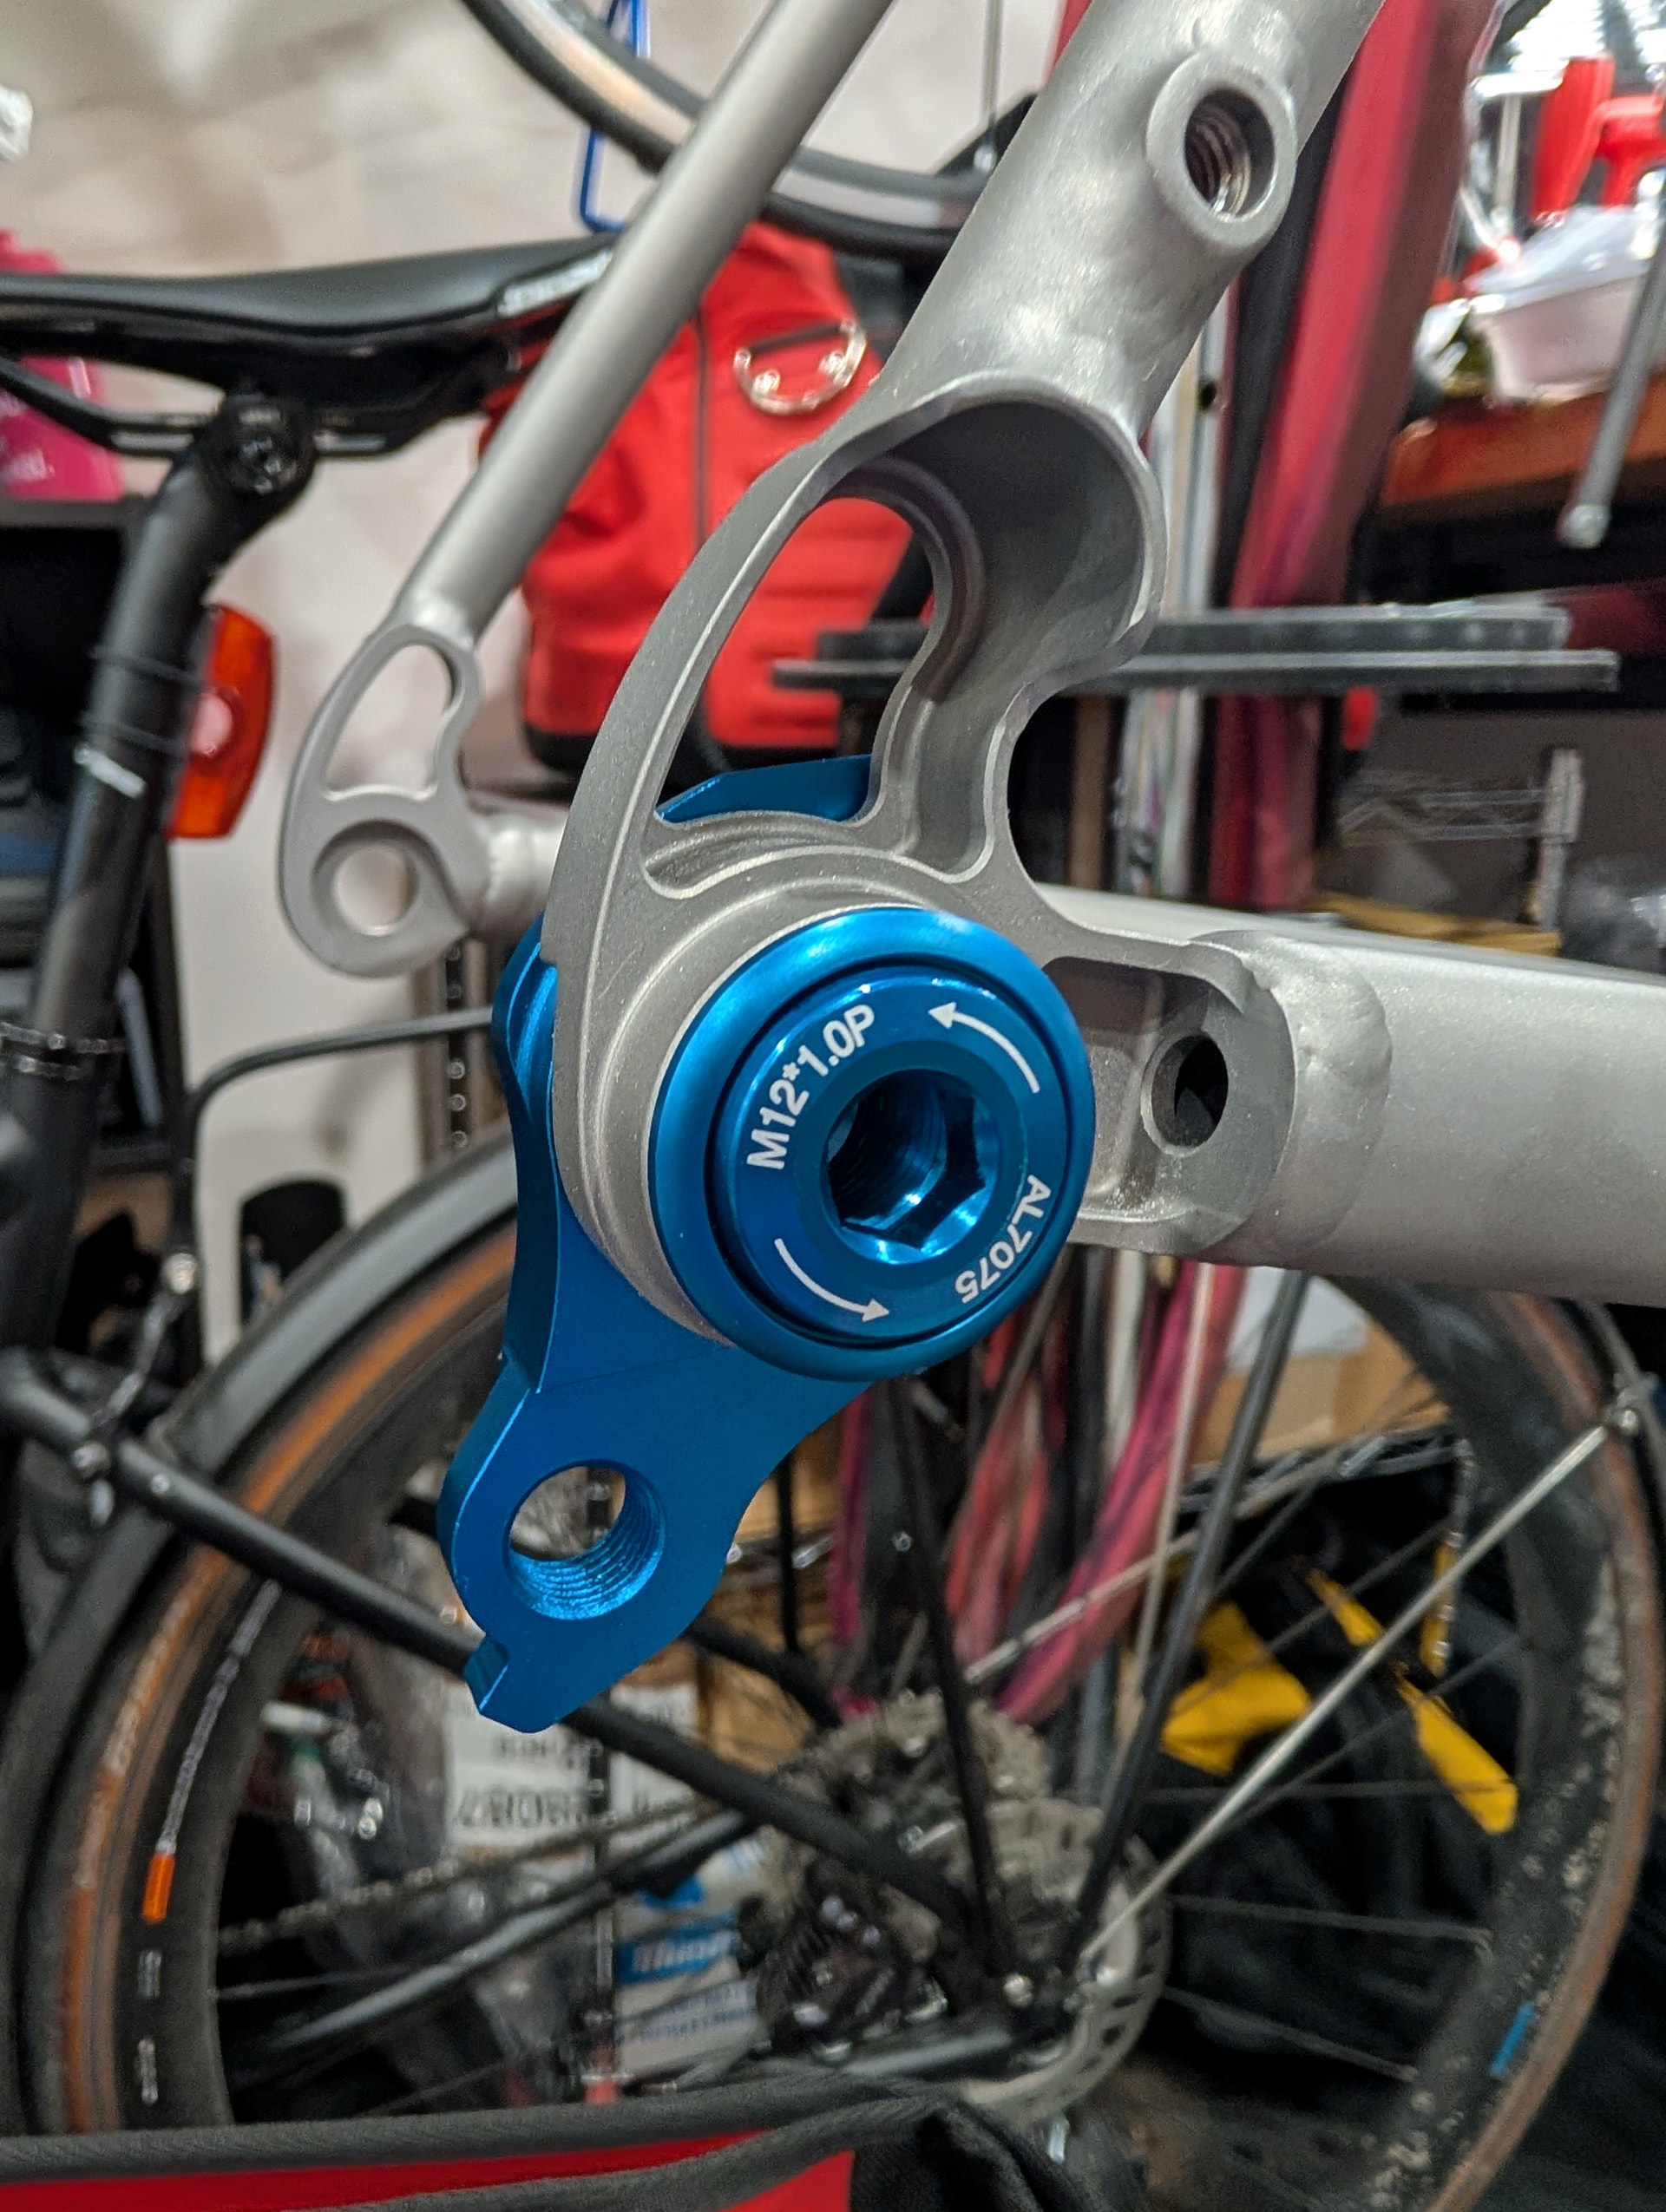
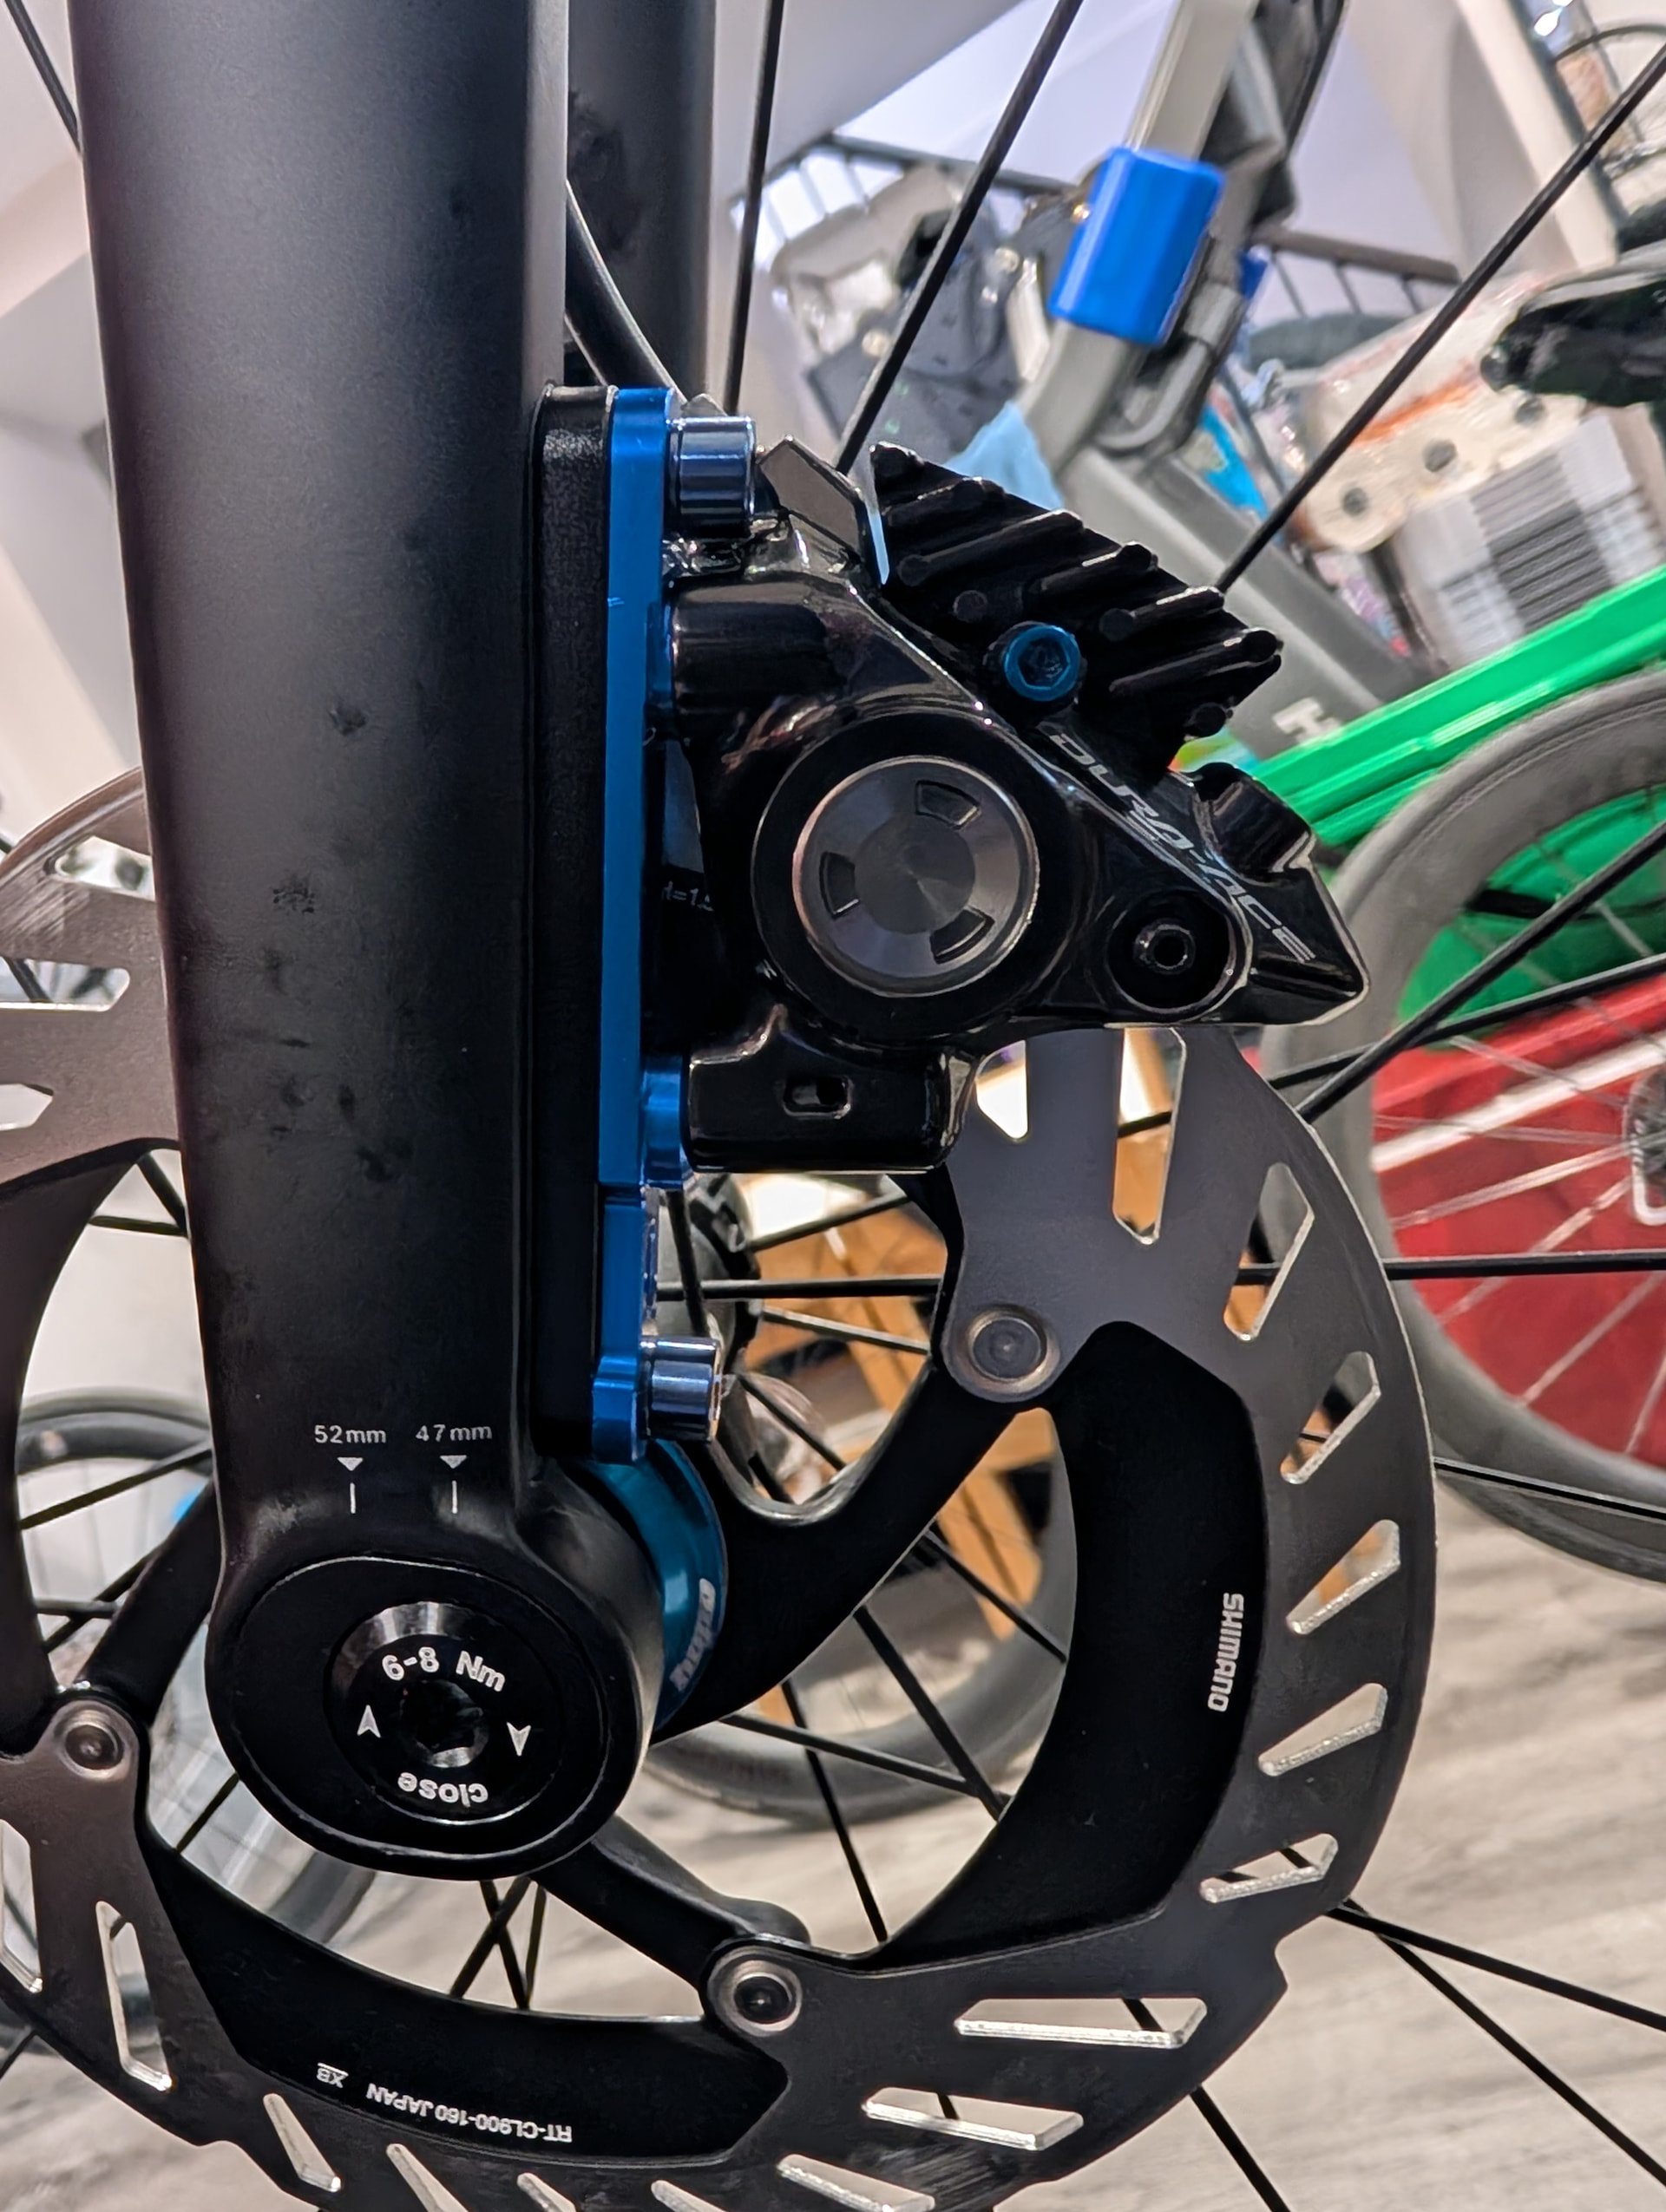
Bits and bobs: Blue Ti bolts, Ti top cap, 3D printed Ti computer mount, thru axles, bar end caps, UDH, and frame/fork-coloured rubber plugs (why use bolts when you can use lighter plugs?)
Hi Drew, thanks very much for sharing - interestingly, I’m currently trawling Walty’s offerings and in contact with them about details, especially for custom geometry.
I’m looking at one of their partially 3D printed models as well, and they told me custom geo is limited for these models since the headtube and seat tube top junction being the 3D printed parts, are limited in terms of ability to adjust. A question or two later, they sent me an image of the model you’re getting, and said if I want greater custom flexibility, this is the one I can get. Makes me think you might have loosened the shackles for us!
I’ve done this a few times before with other manufactuers, and 100% agree and can’t emphasise enough, buyers need to be super nit-picky with minute details (geometry, small parts and fittings, etc).
Please keep sharing details!
Also, nice to see someone who knows where bb’s should sit
Overall, my experience with them was similar to yours: they seem to know what they are doing when it comes to fabrication, the quality looks really good, and they were very quick to remake a part and ship it to me when they made an error on one of the parts. But, you absolutely need to have confidence in what you are asking them to build, because they won’t save you from your bad design decisions if you don’t know what you’re doing.
I look forward to learning more about this project, because I see photos like this of their gravel frames on social media I think about having them build me one.
That sounds like a really interesting thread. I have a similar idea in the back of my head but it always seemed quite a daunting process, especially getting to the geometry.
What tool/website did you use for that? And what was the process like in terms of procedure? Did you start with the geometry of an existing bike in the tool and then made adjustments or was it the other way around?
I covered a bit of this in a post above but I started with my existing gravel bike and had some changes in mind. I used bikegeocalc.com to easily compare between the two. Once I had something I was comfortable with I went to Waltly. There were some fabrication restrictions with the tube angles at the 3D printed head tube, so I did have to make some revisions.
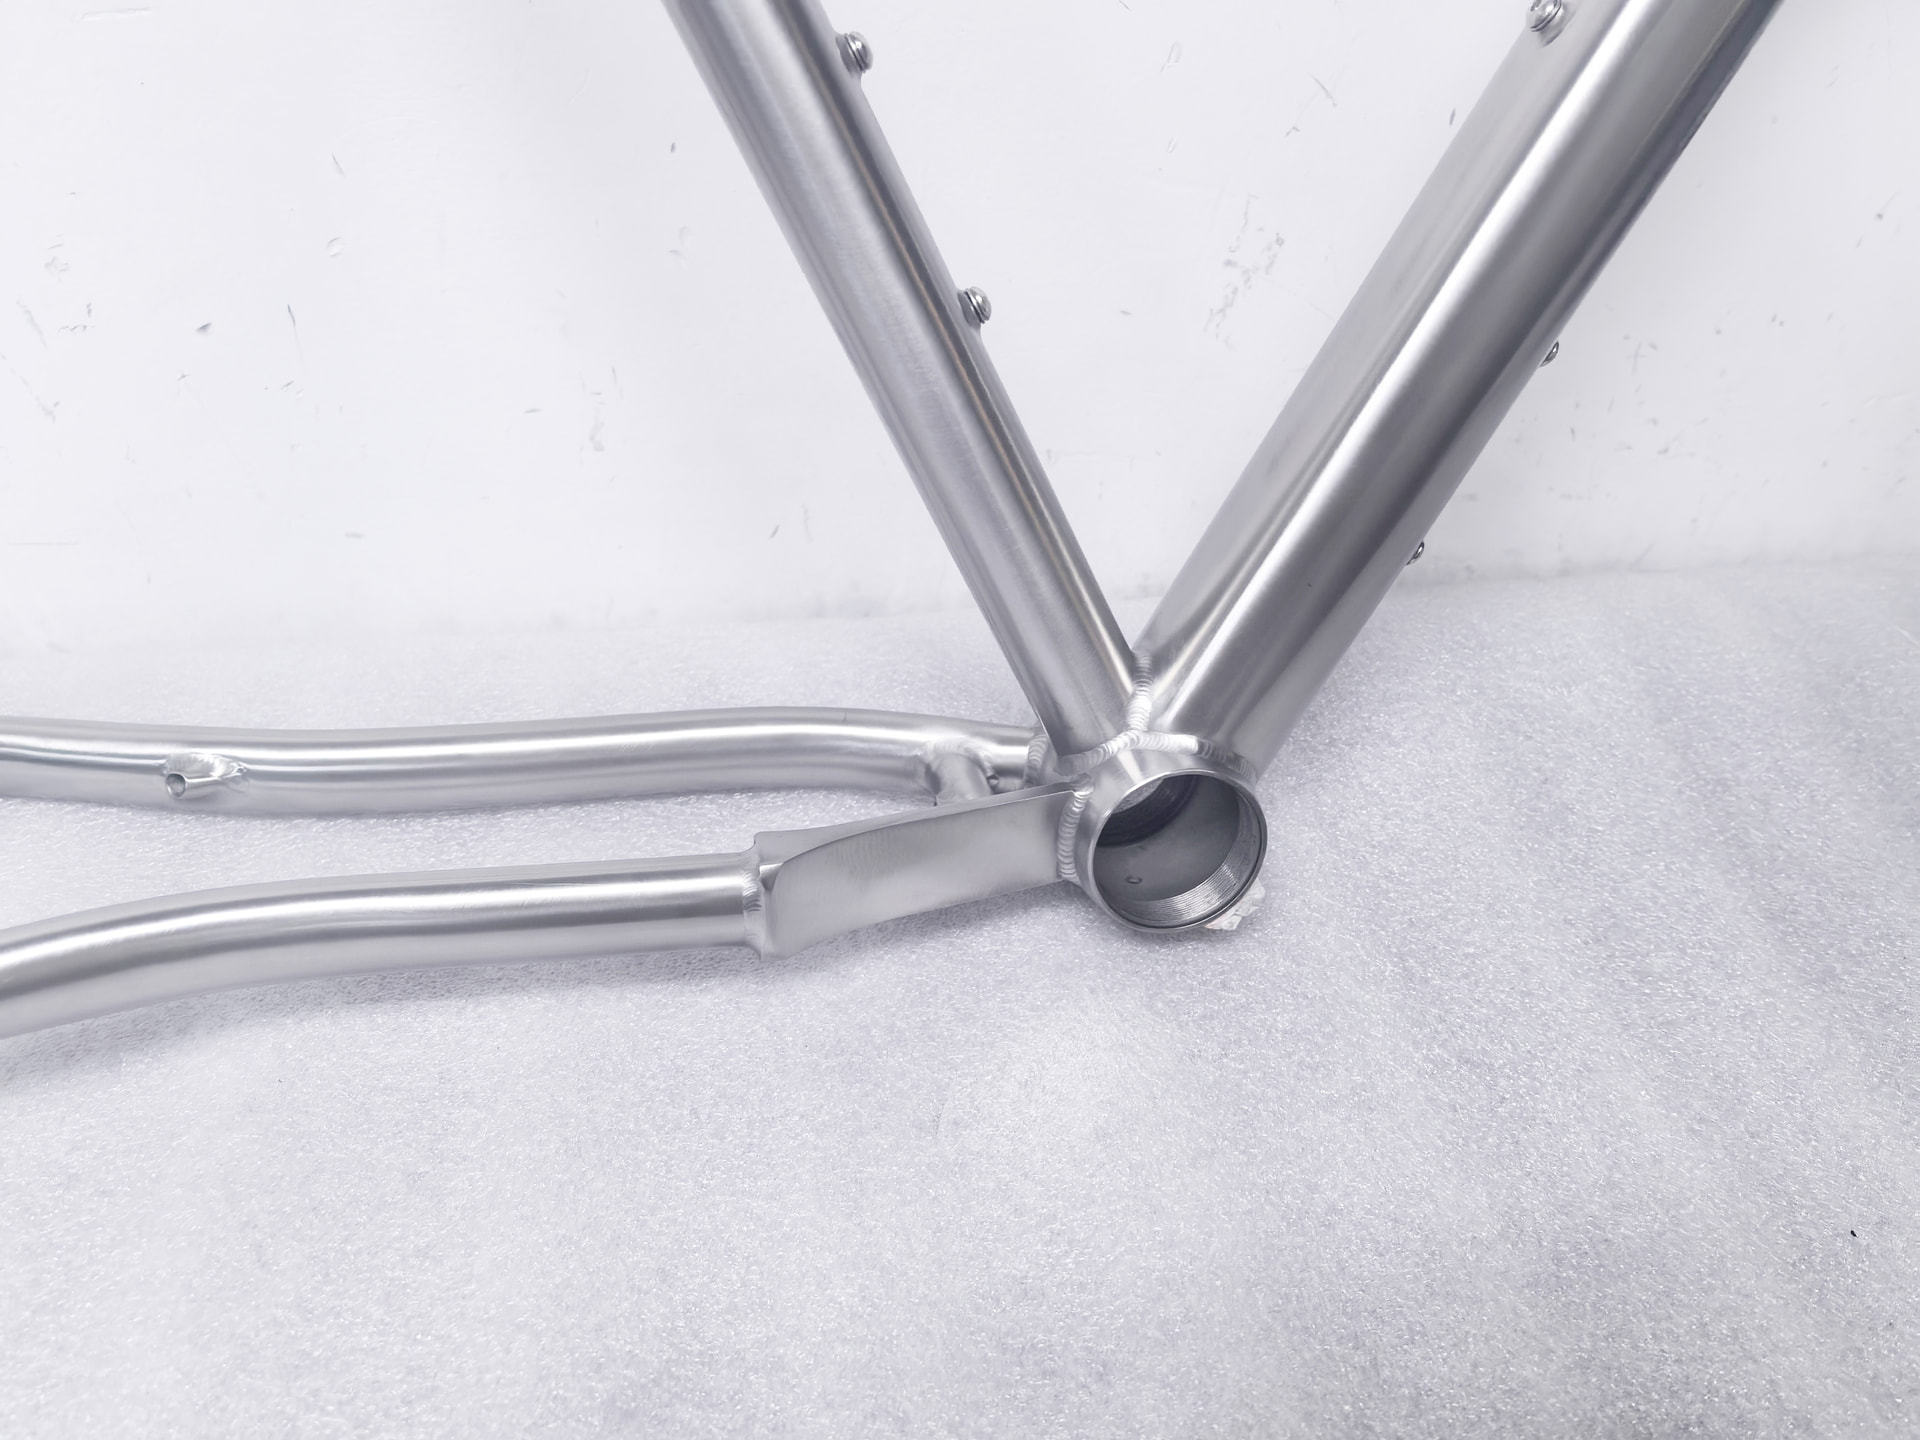
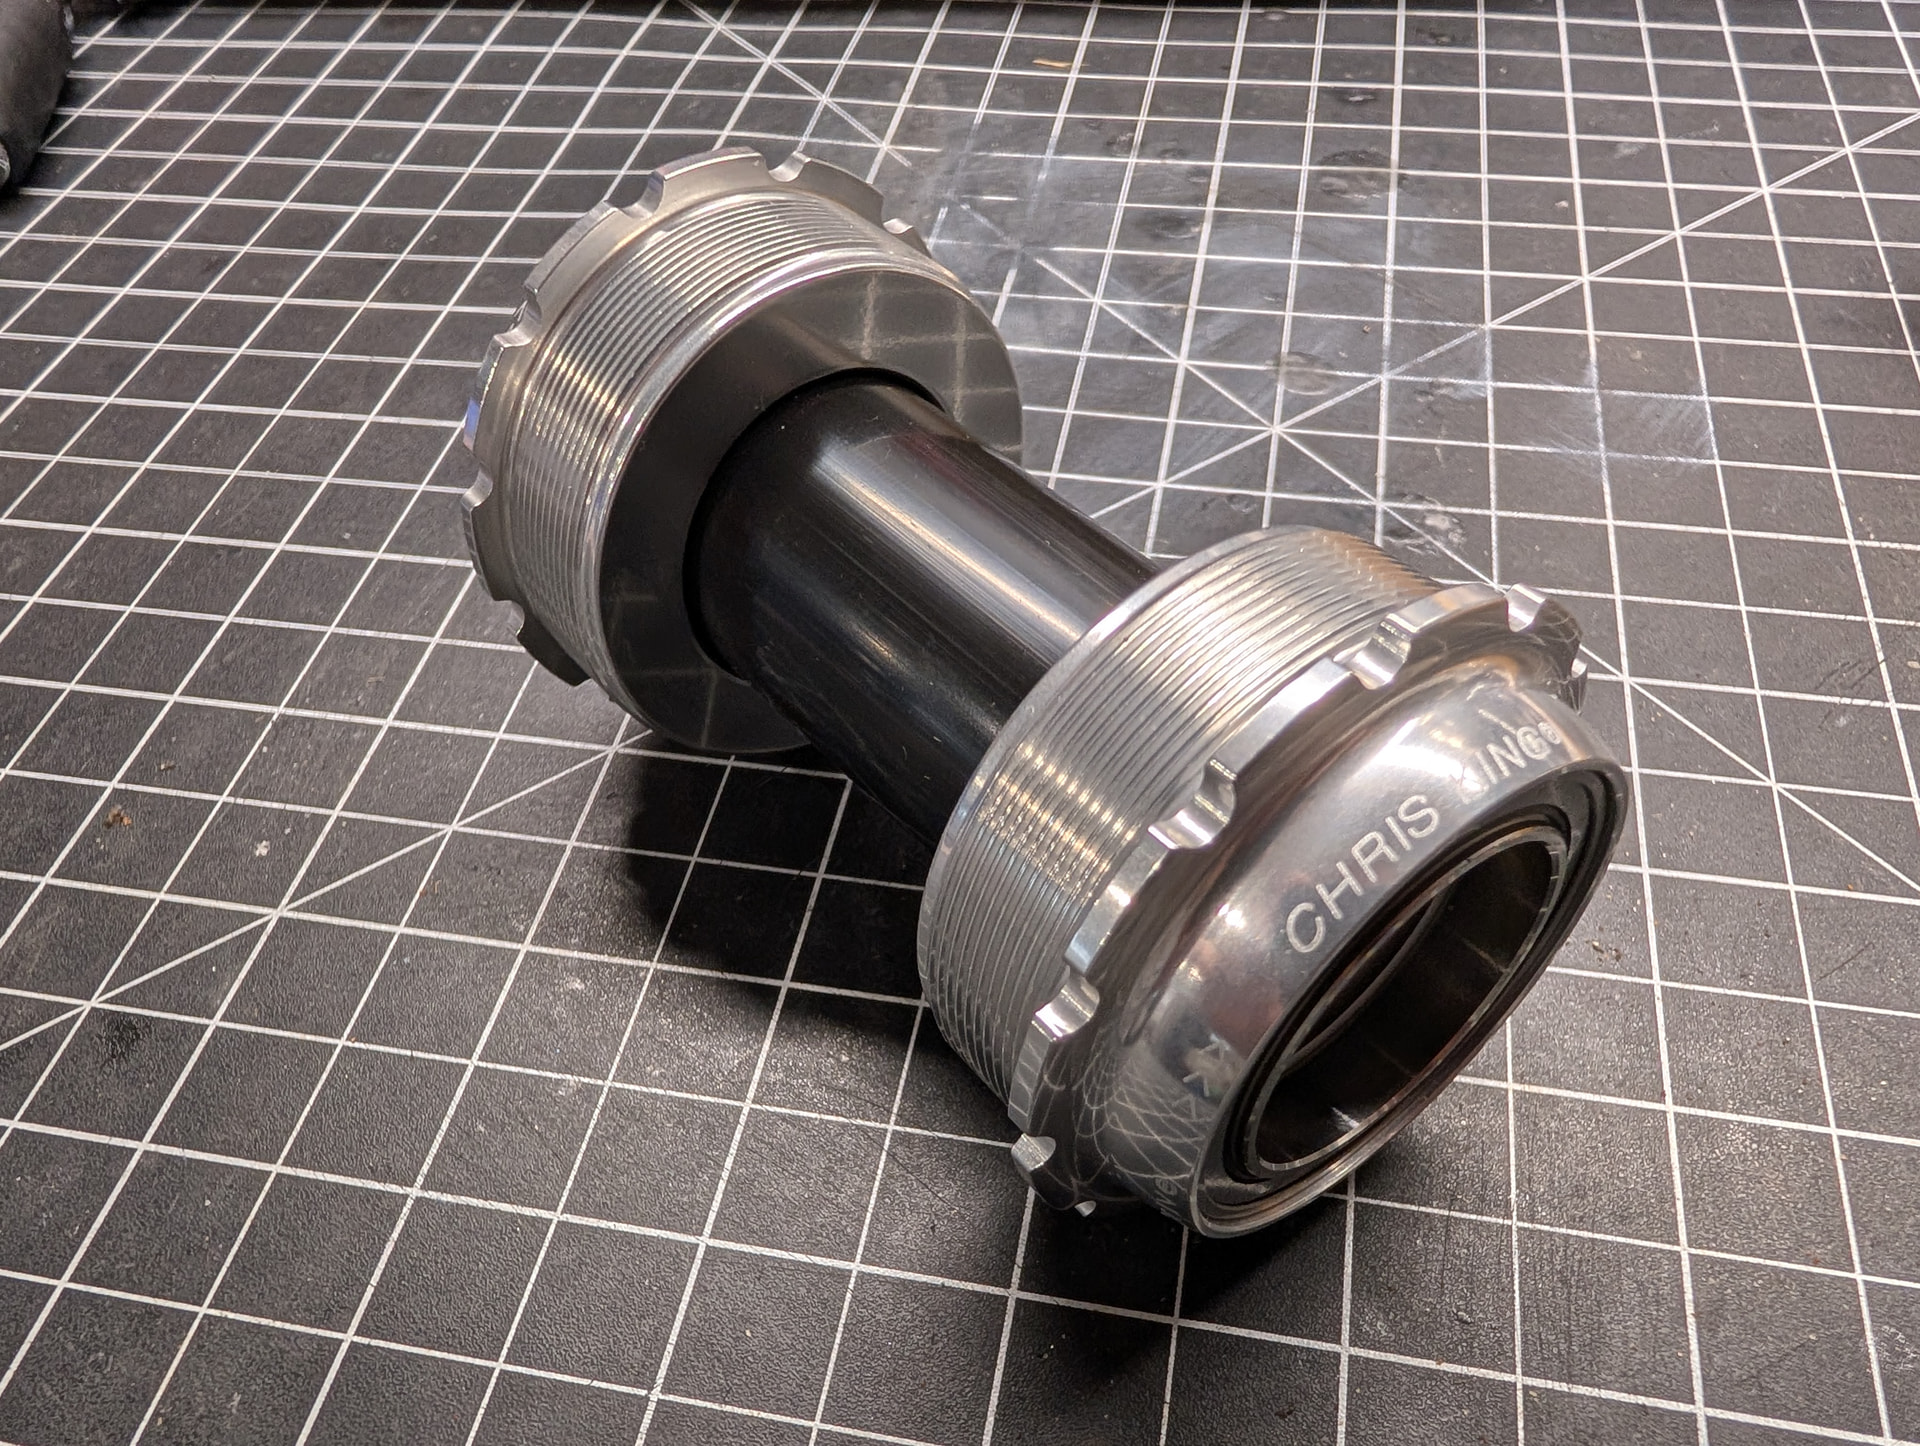
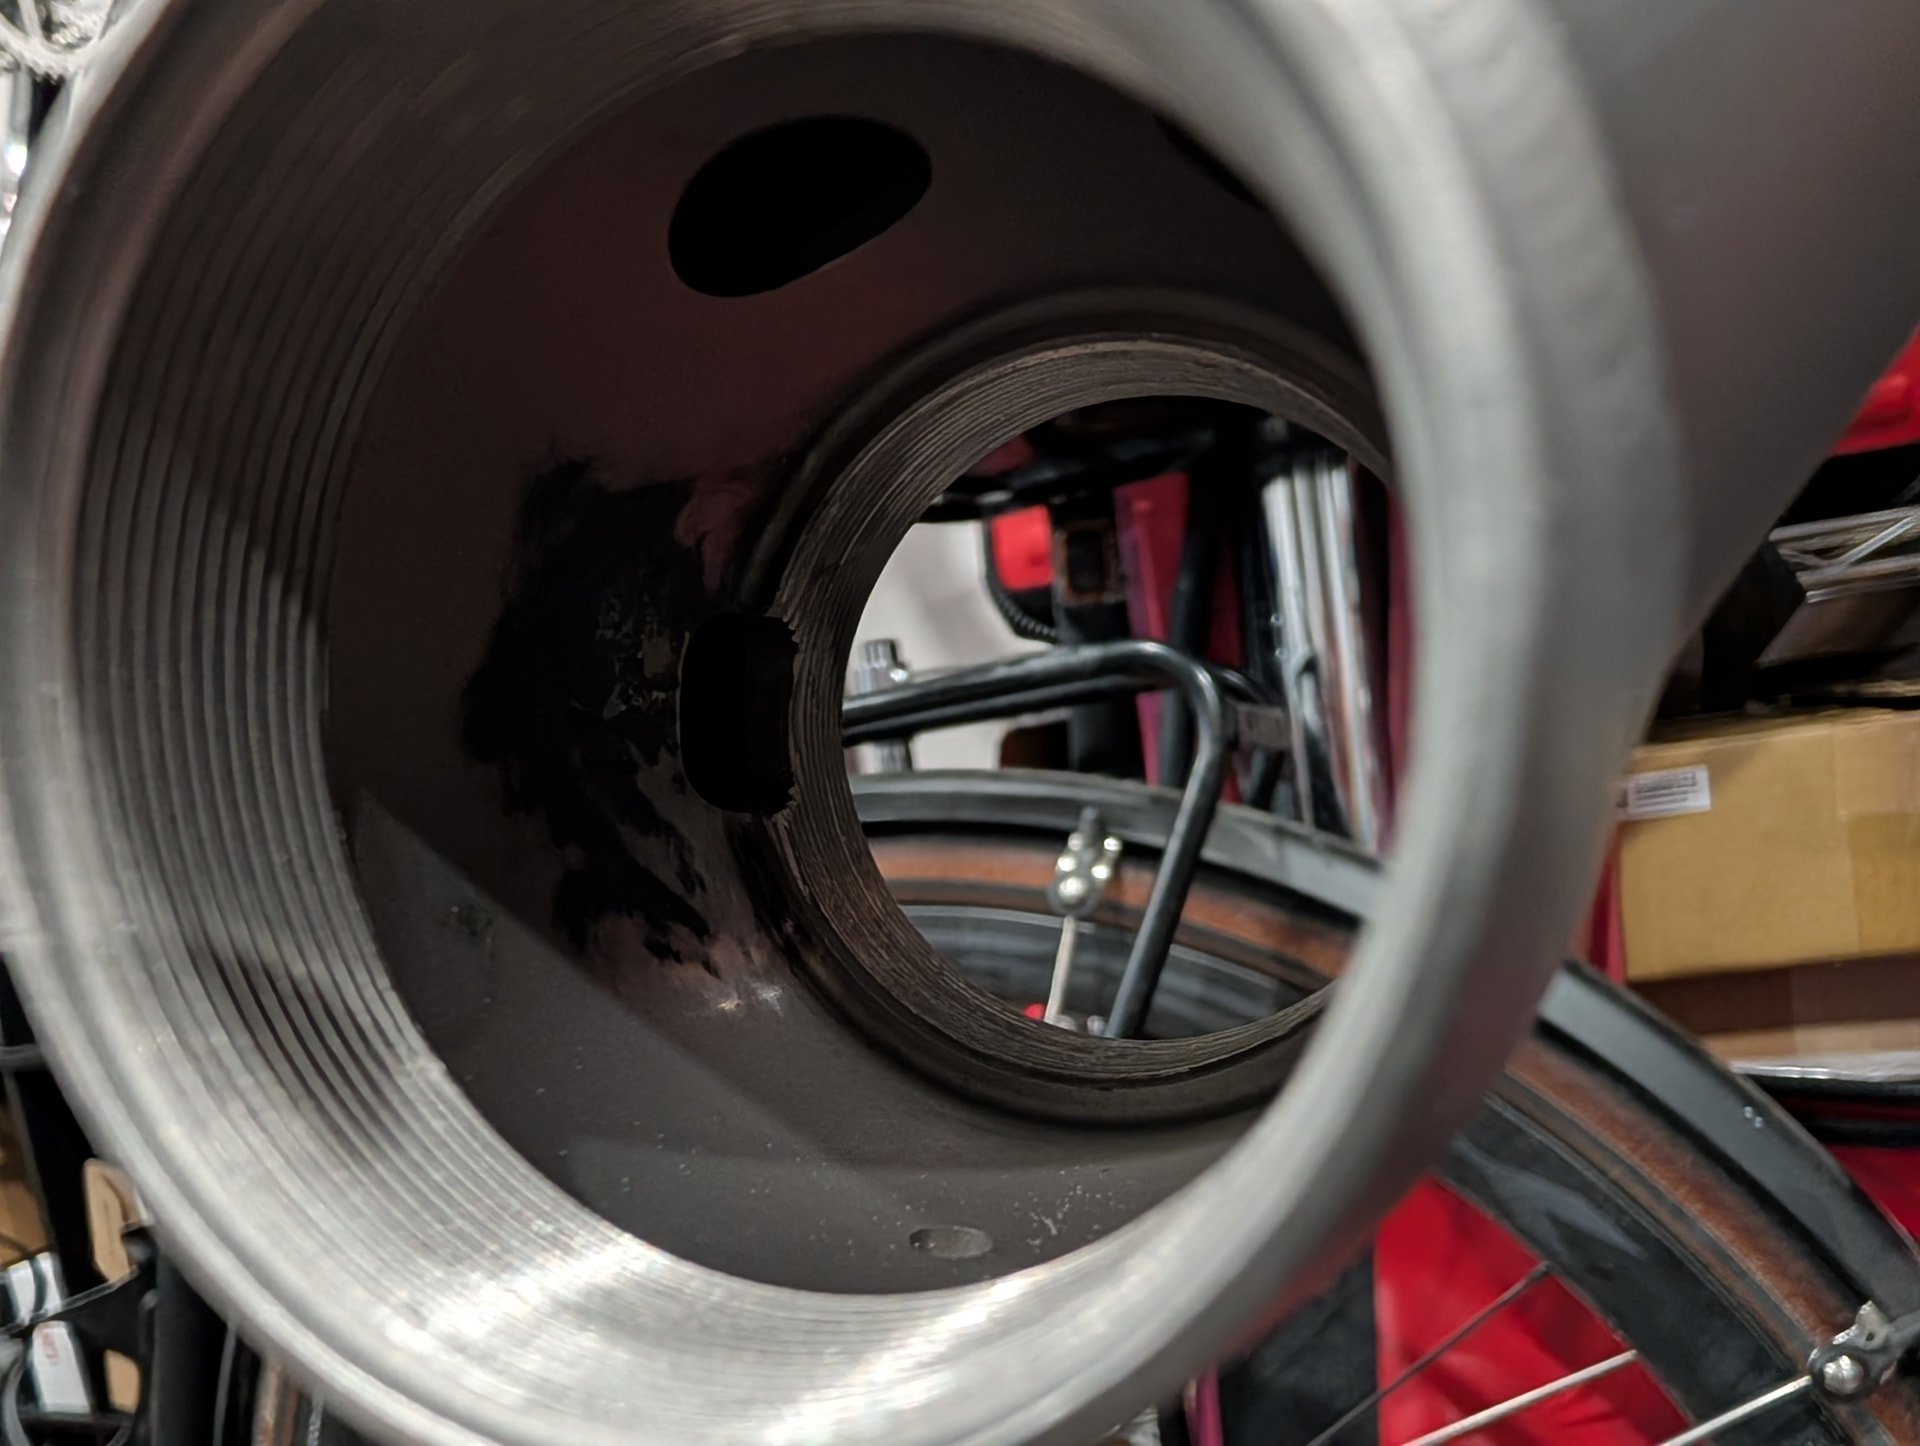
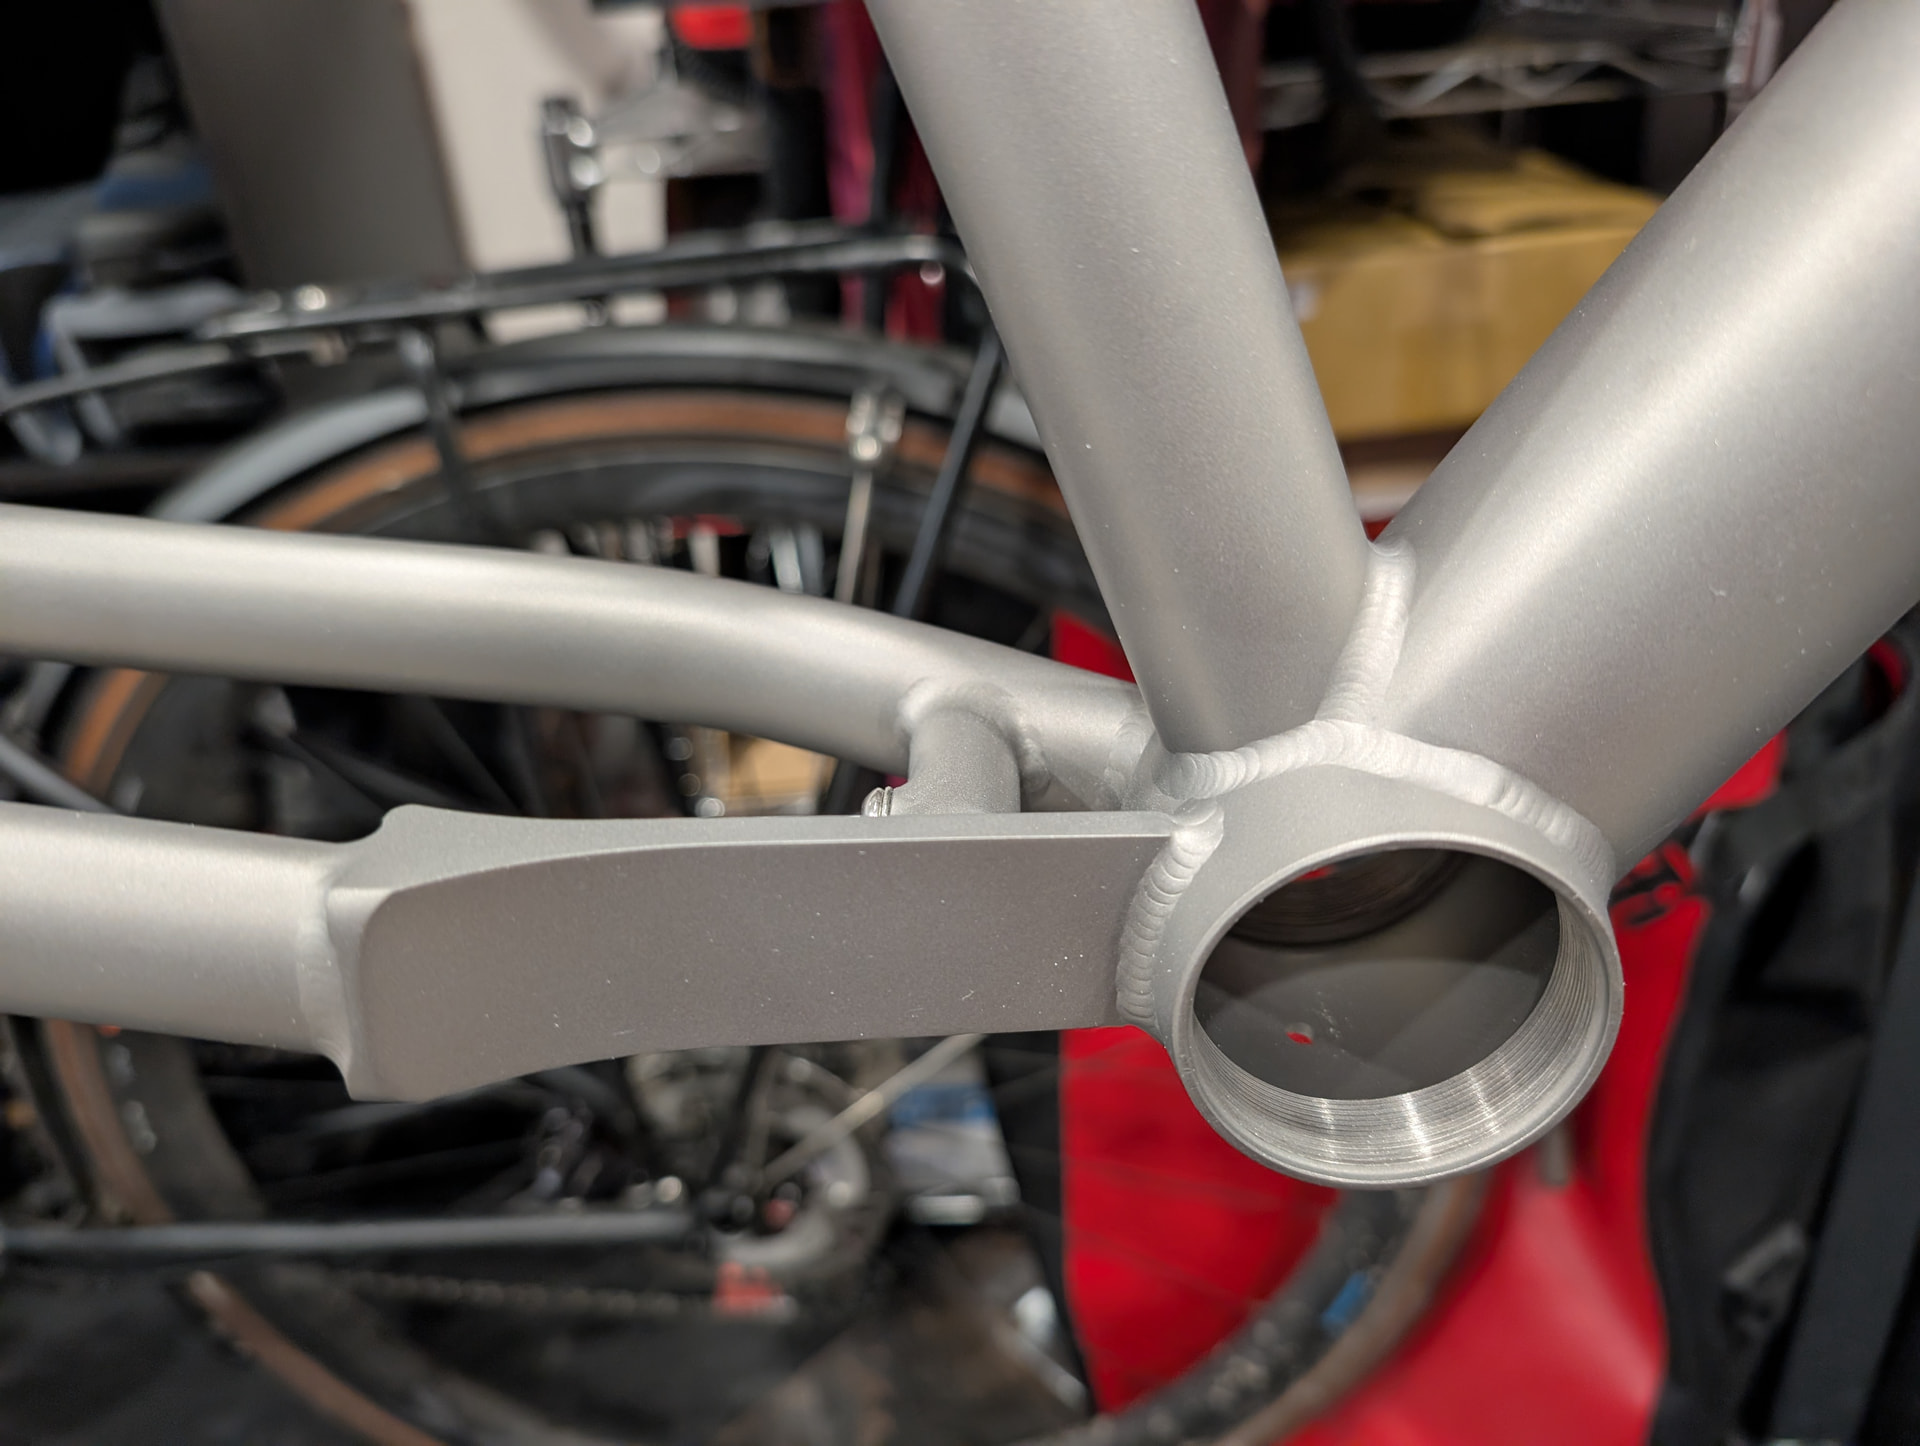
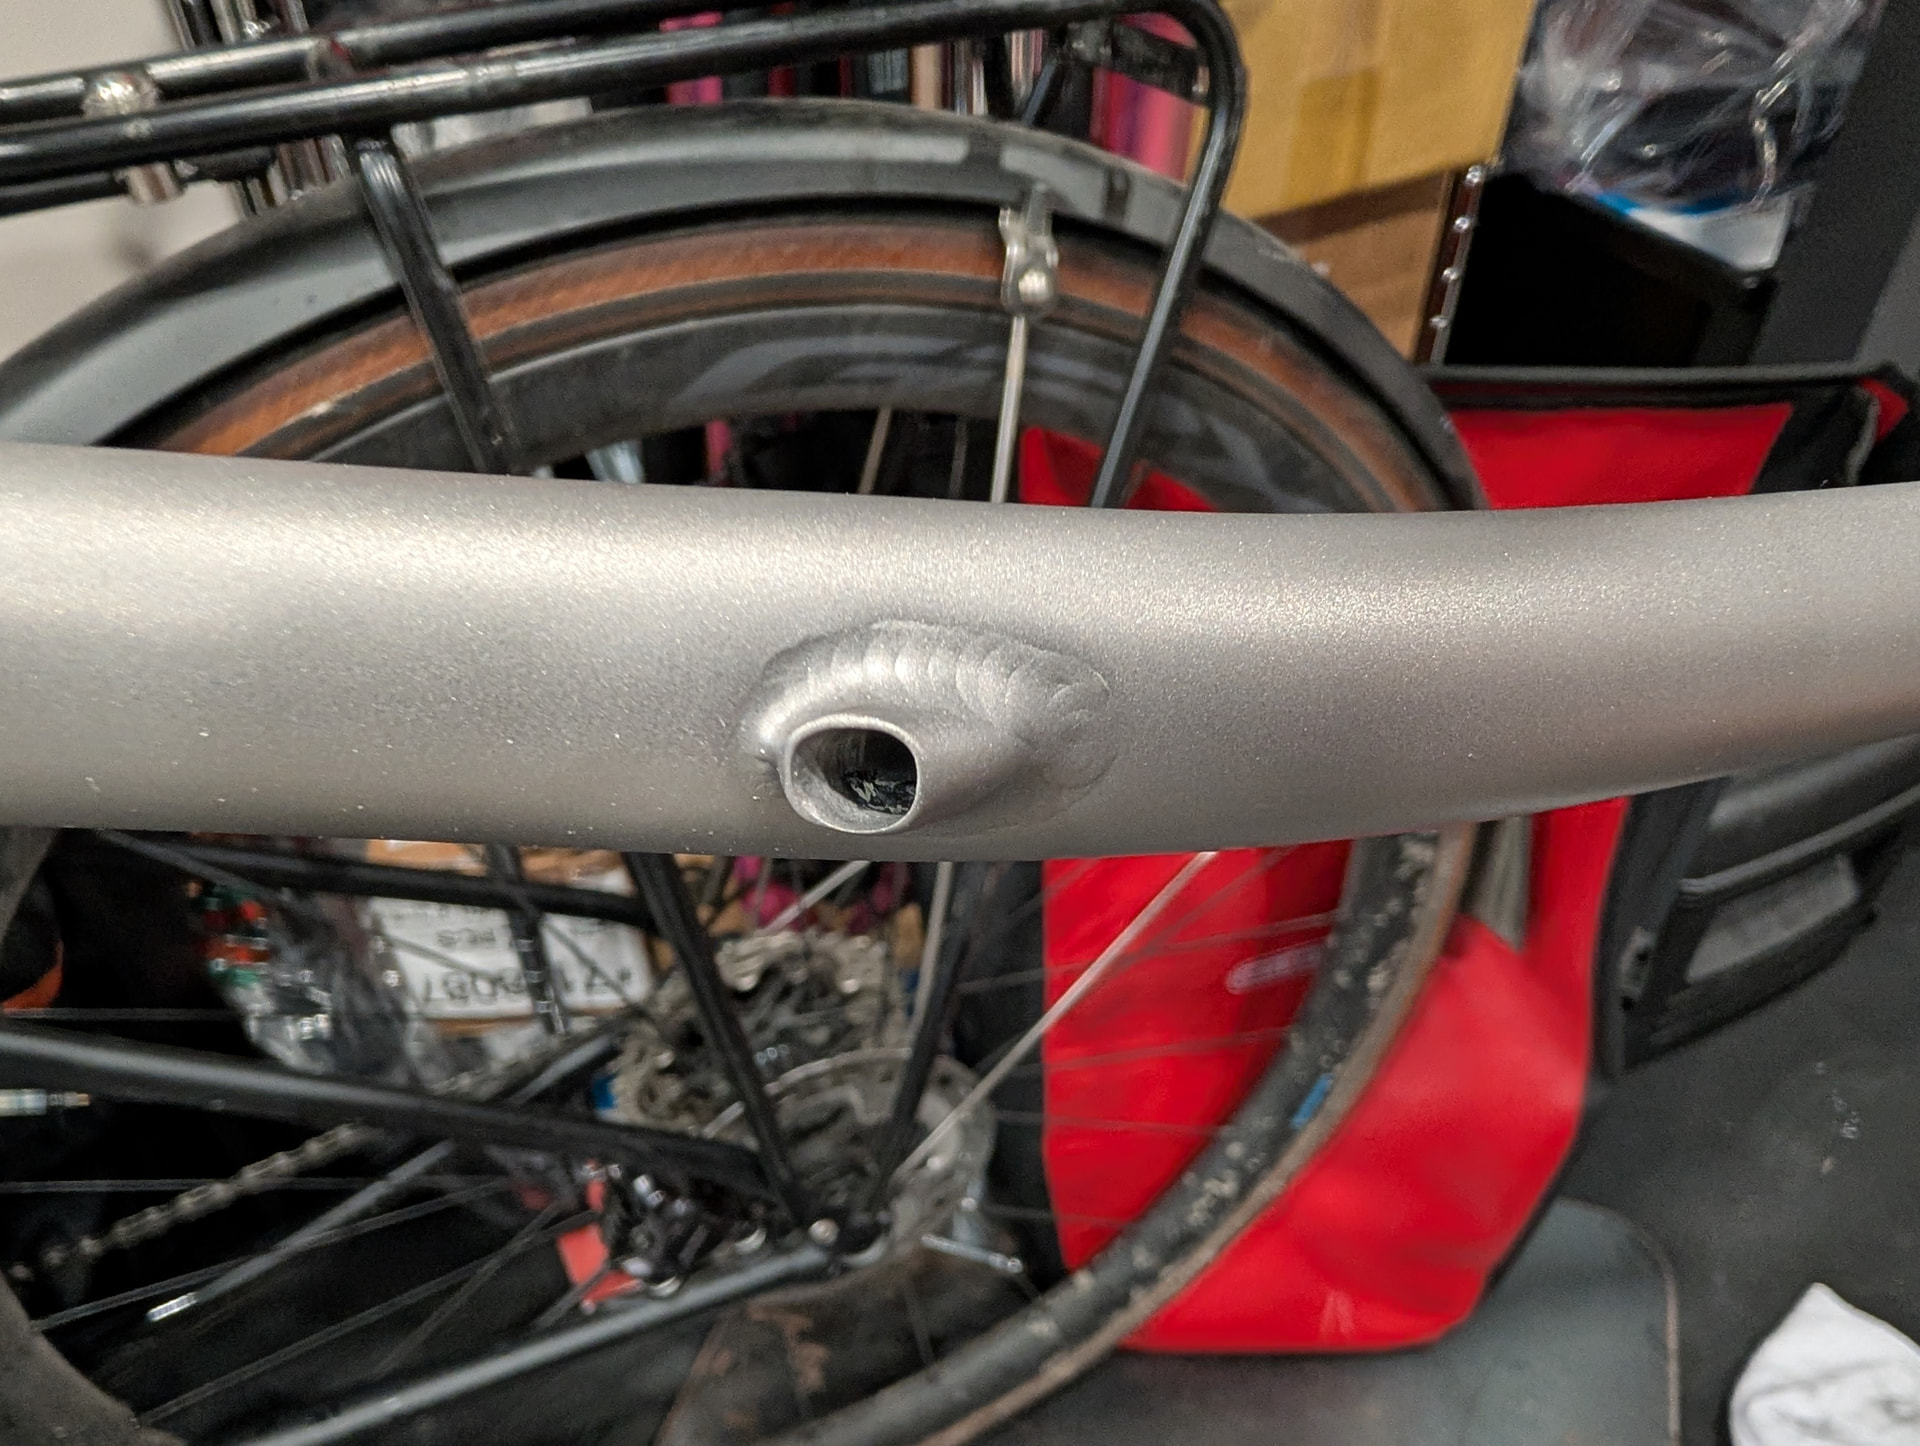
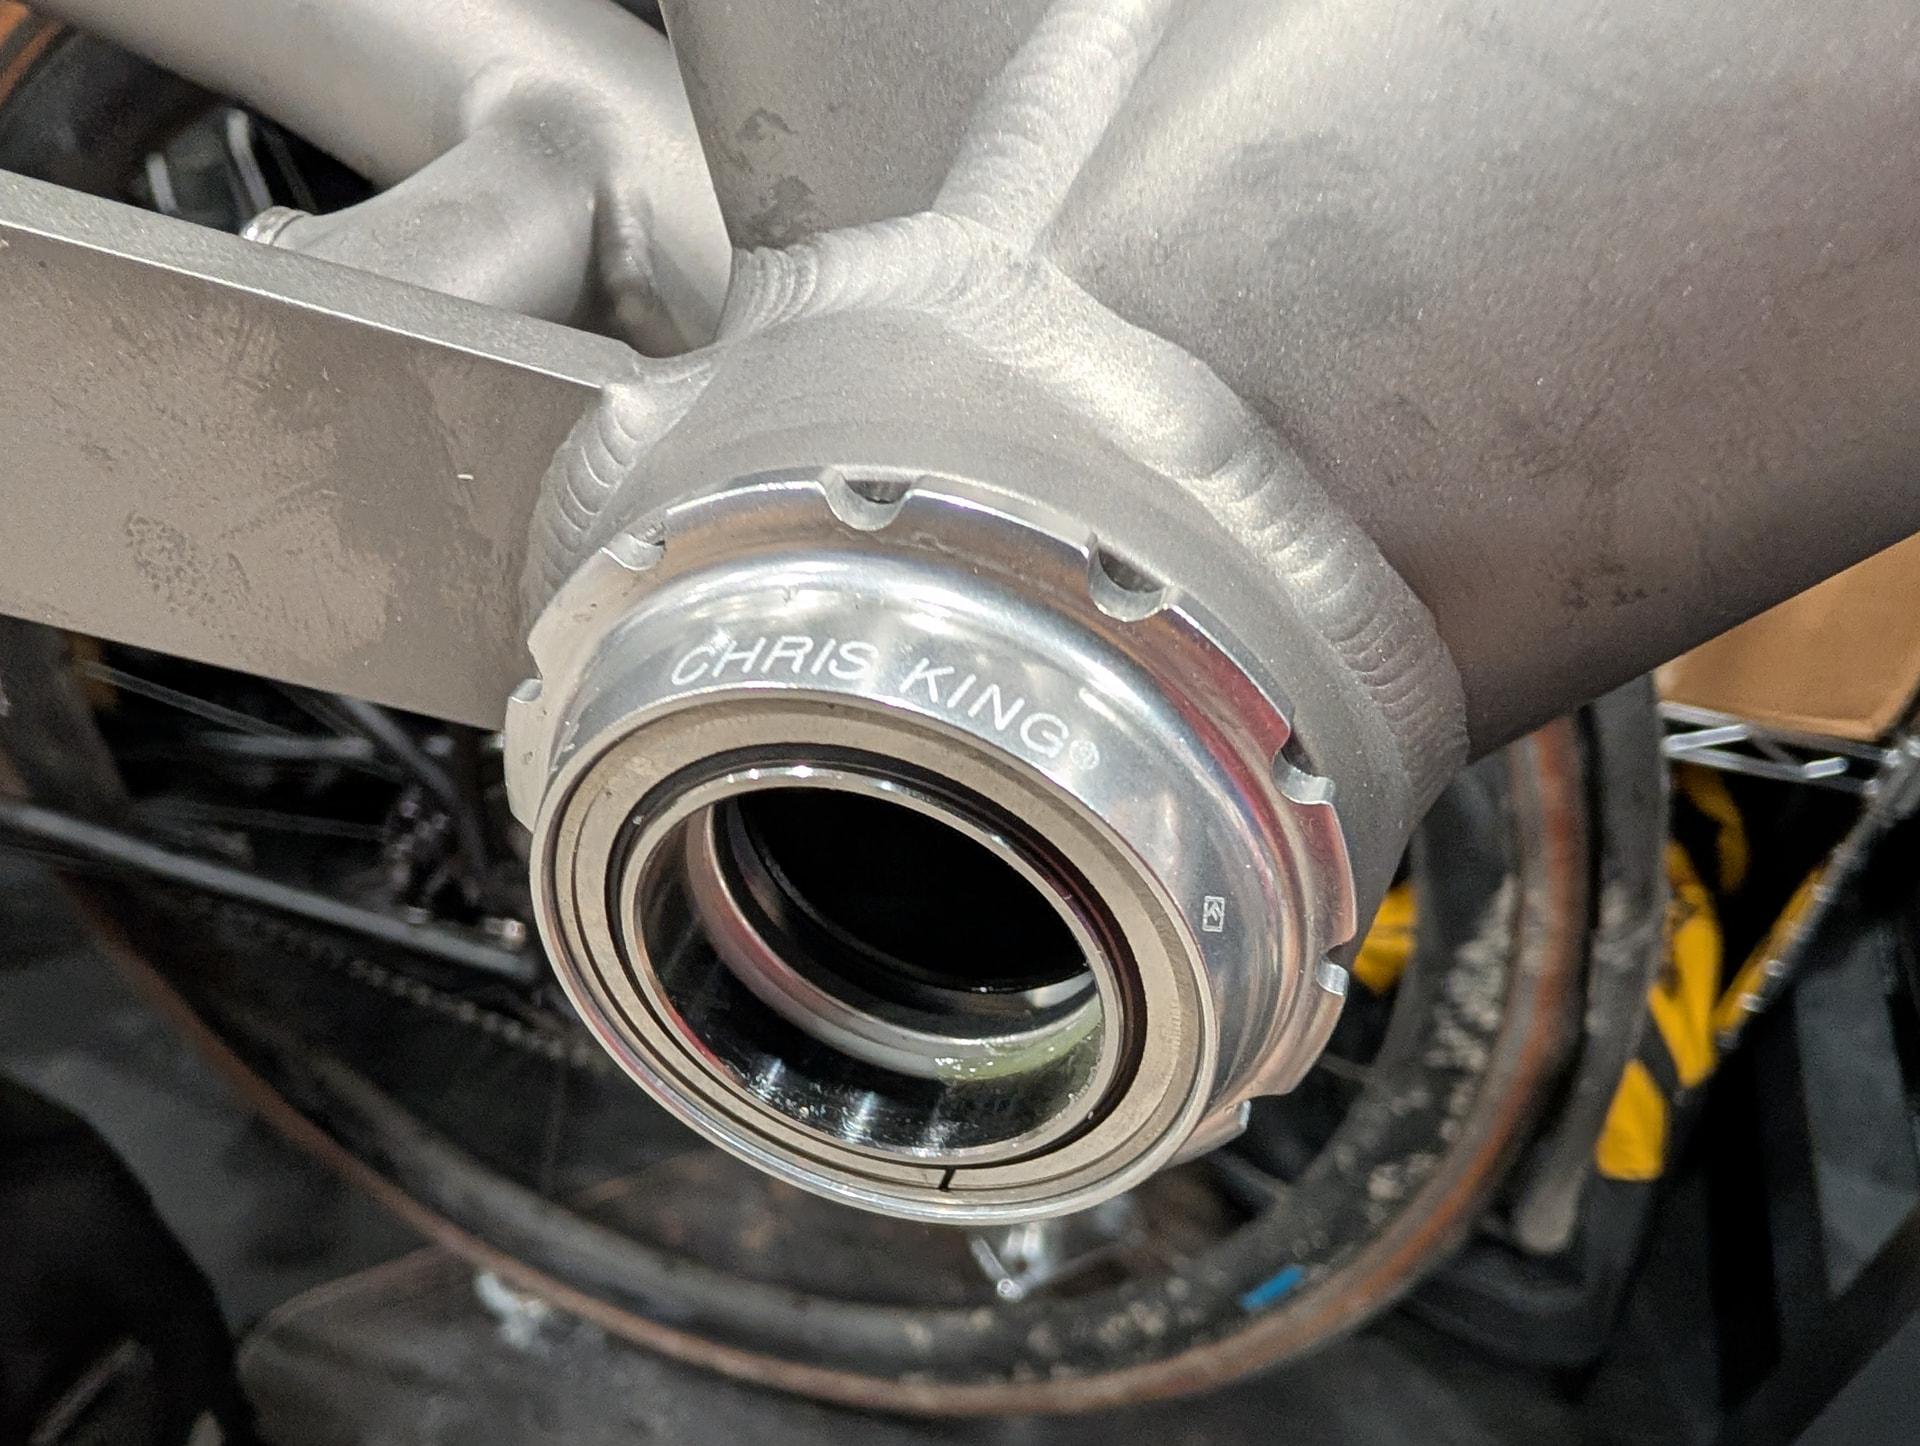
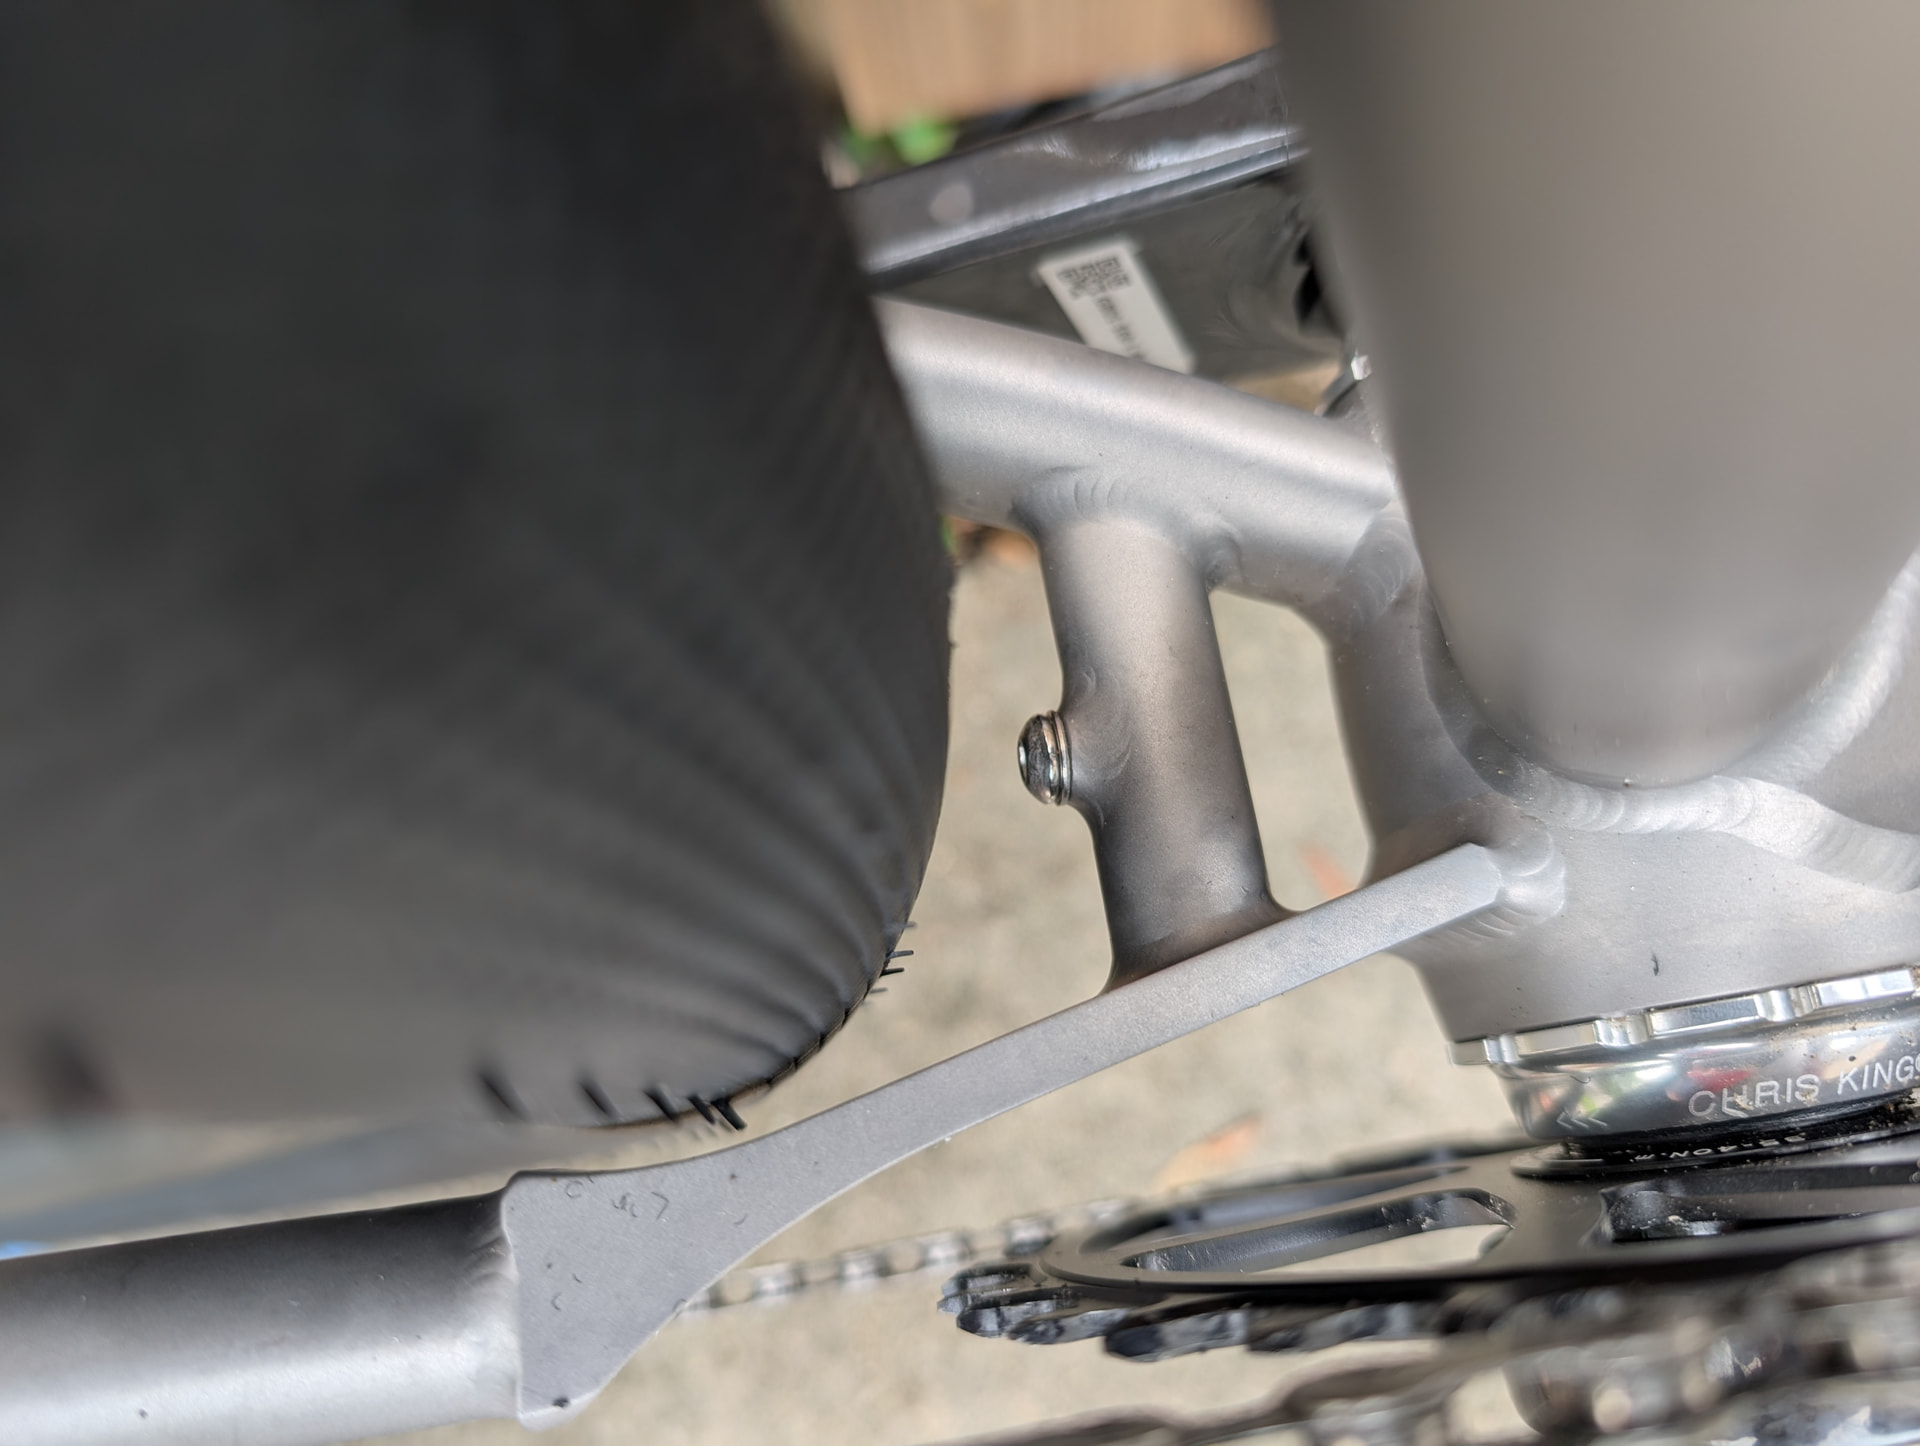
Of note was the hole in the BB shell to the left chainstay - the edges were quite rough and risked damaging the internally routed brake hose. Filed it down a bit. Otherwise all seemed well and measured up to the drawing.
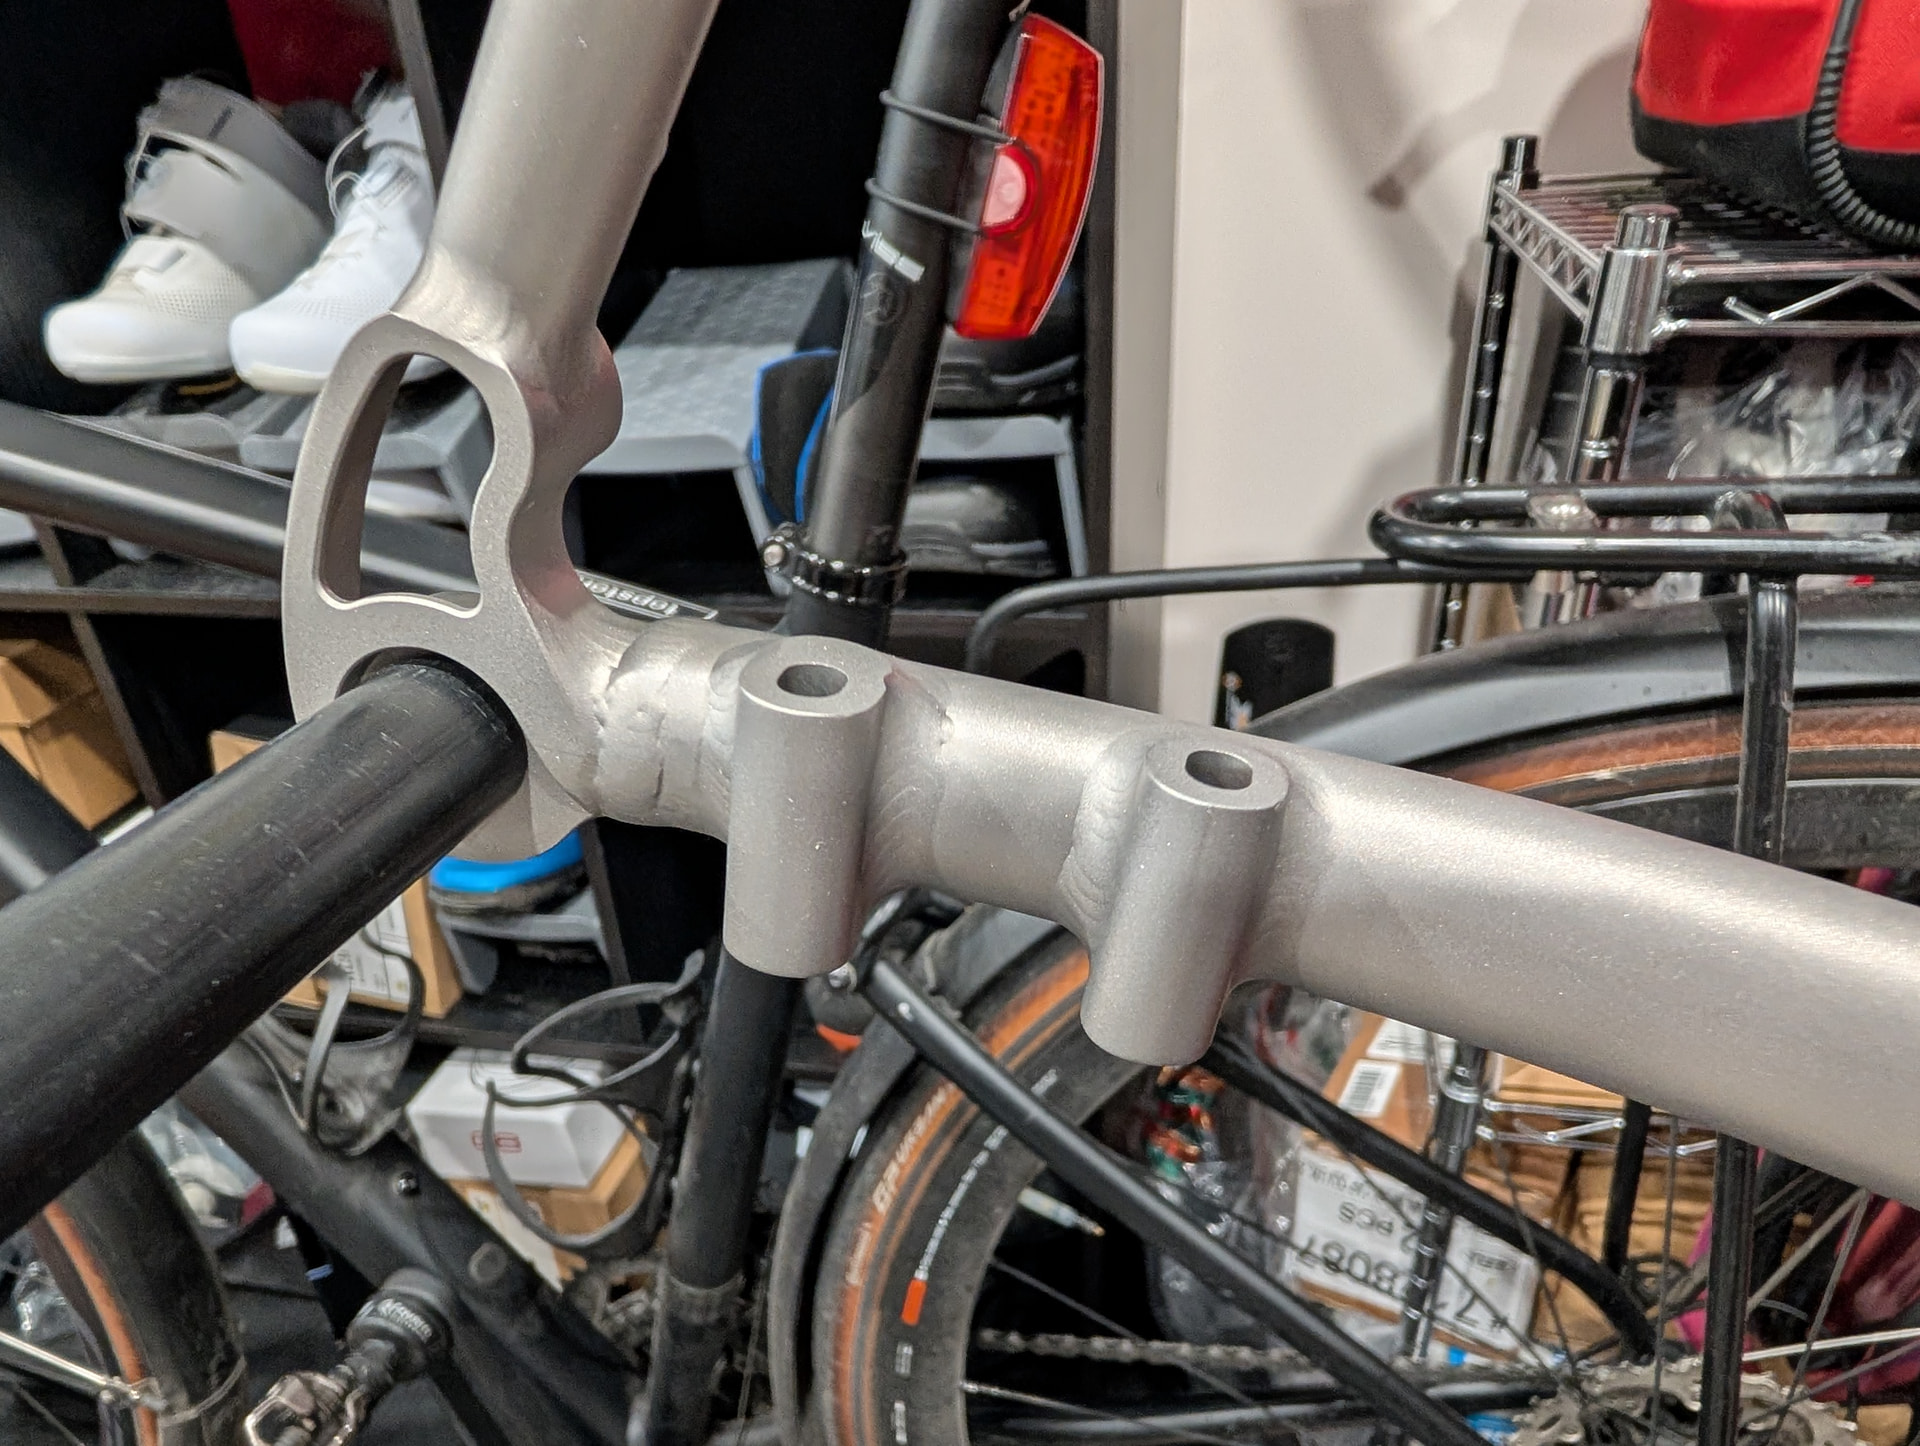
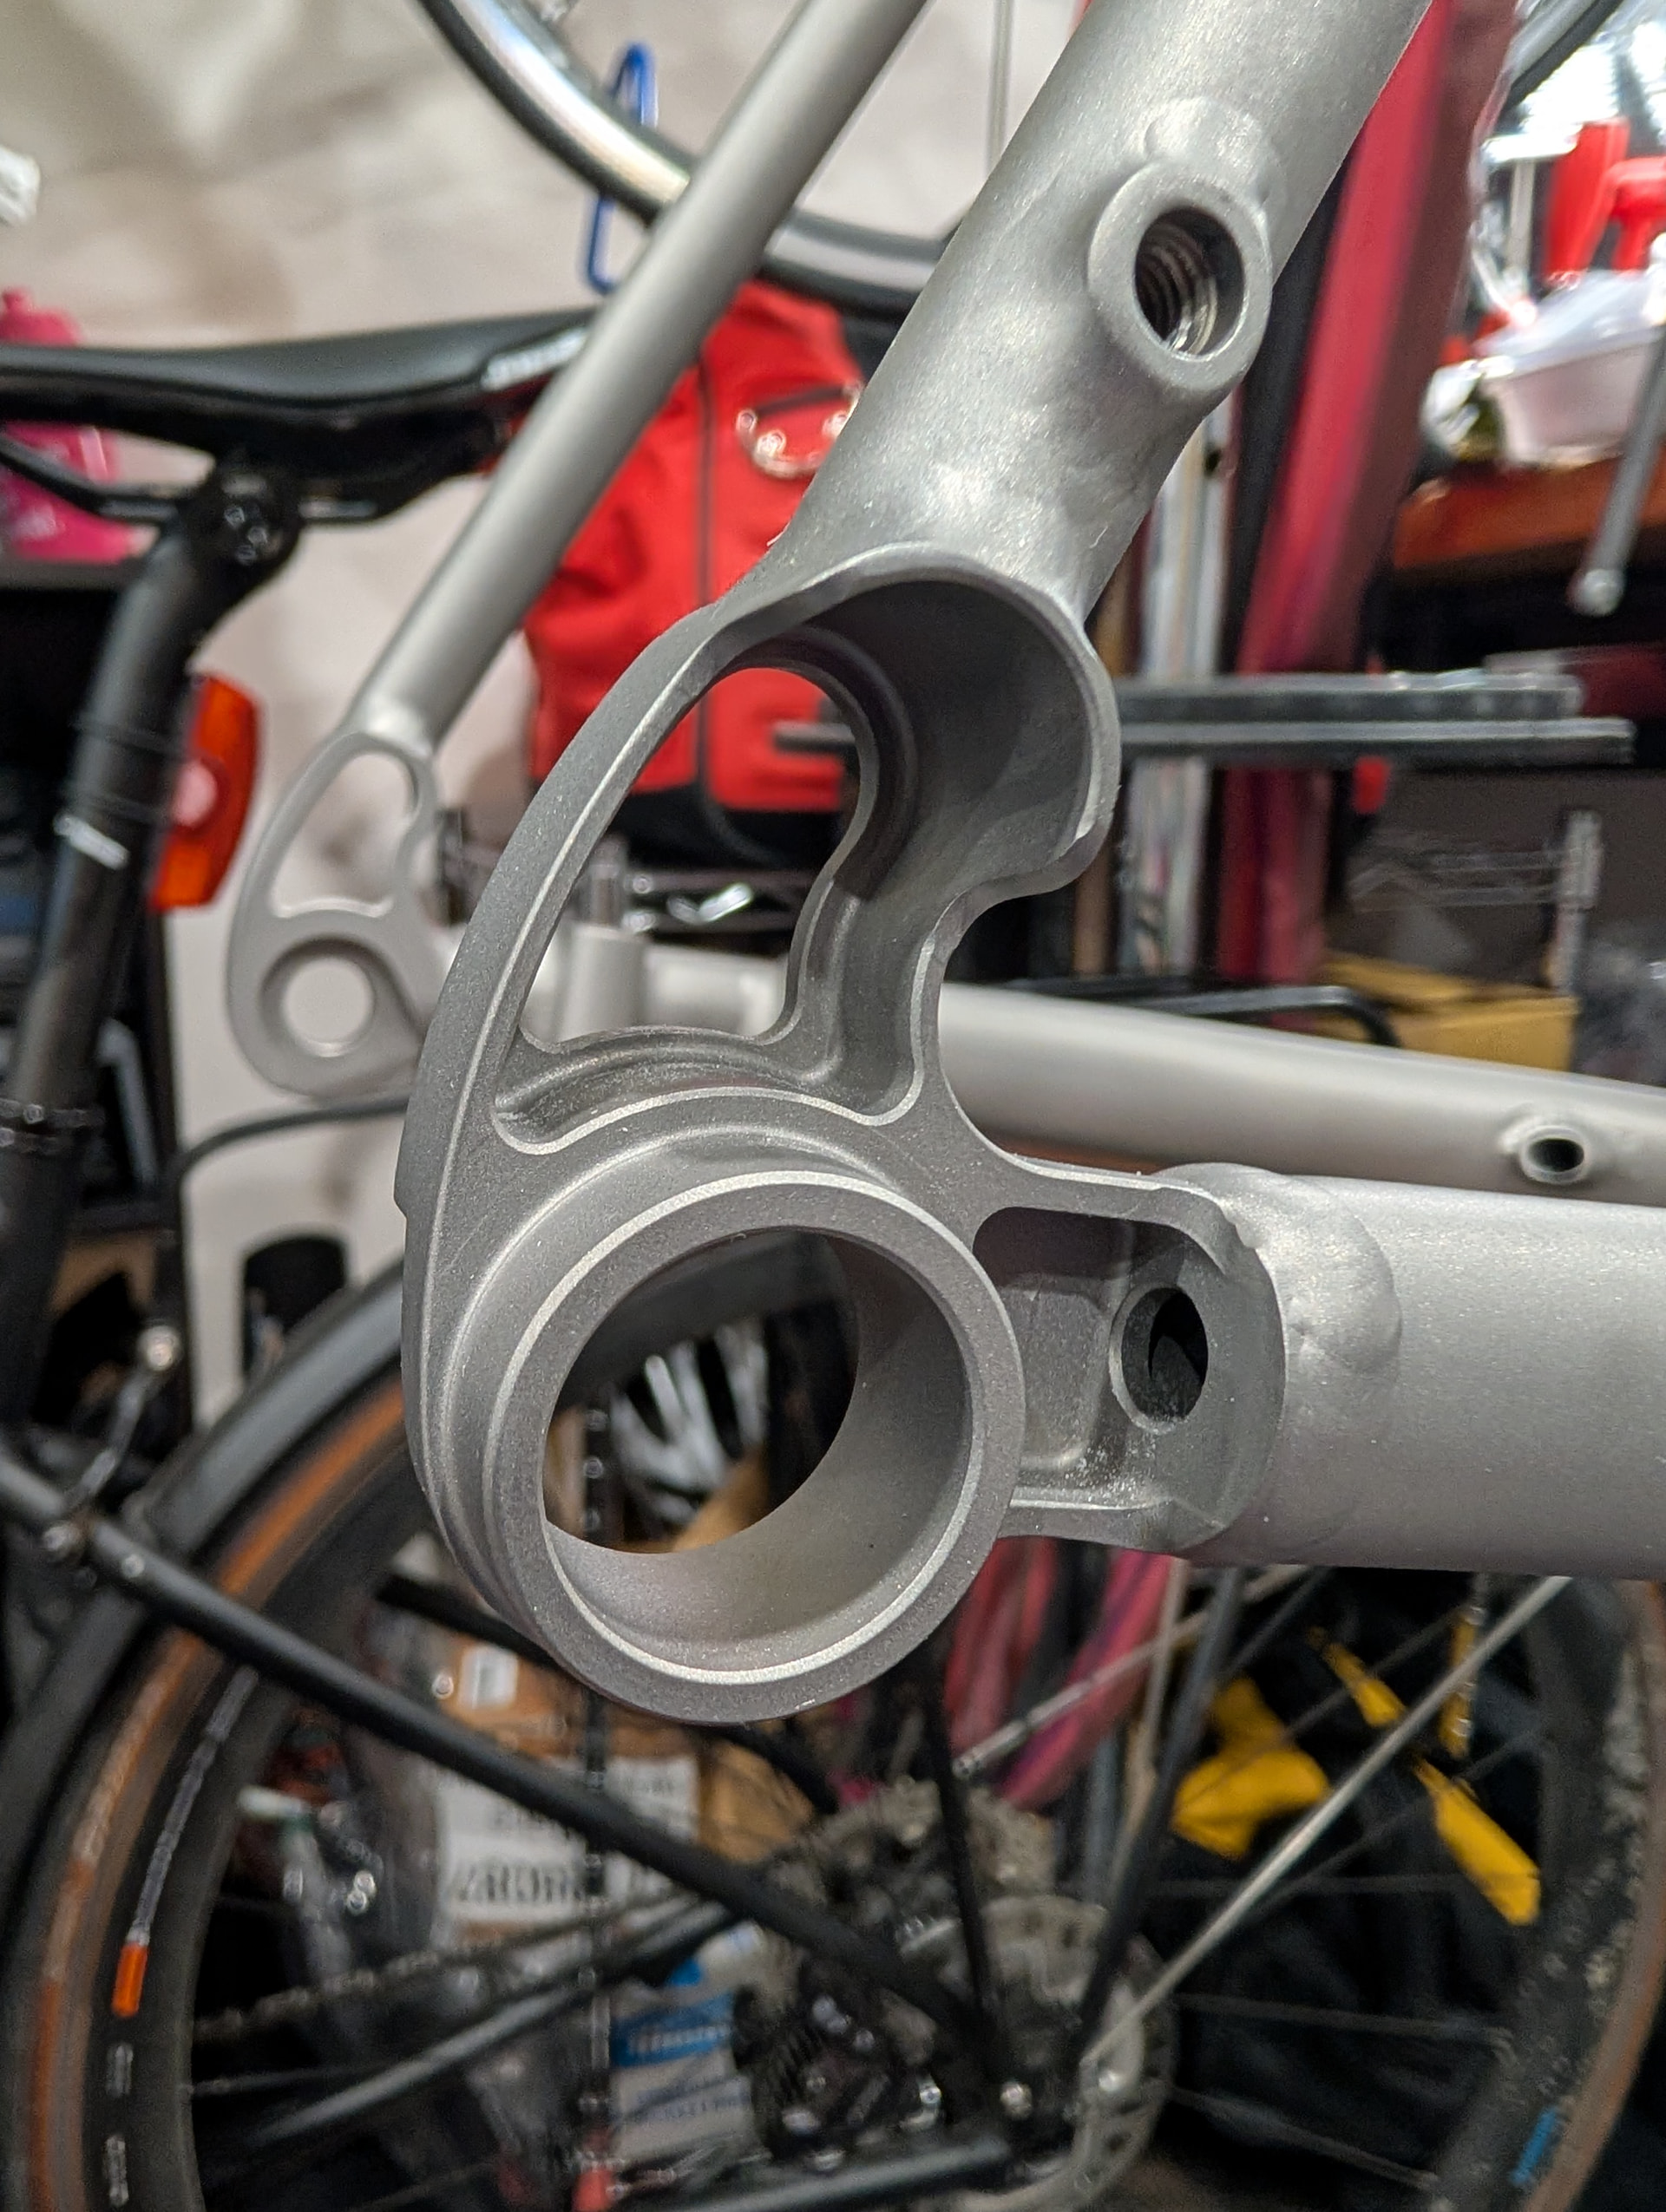
The main thing was that I had asked for a blasted finish - the initial photos they sent me had it brushed. I’m a sucker for the Moots finish on my Vamoots SL. They did blast it in the end. The frame out of the box still had blasting sand all over it and had to be cleaned thoroughly, especially the threads.
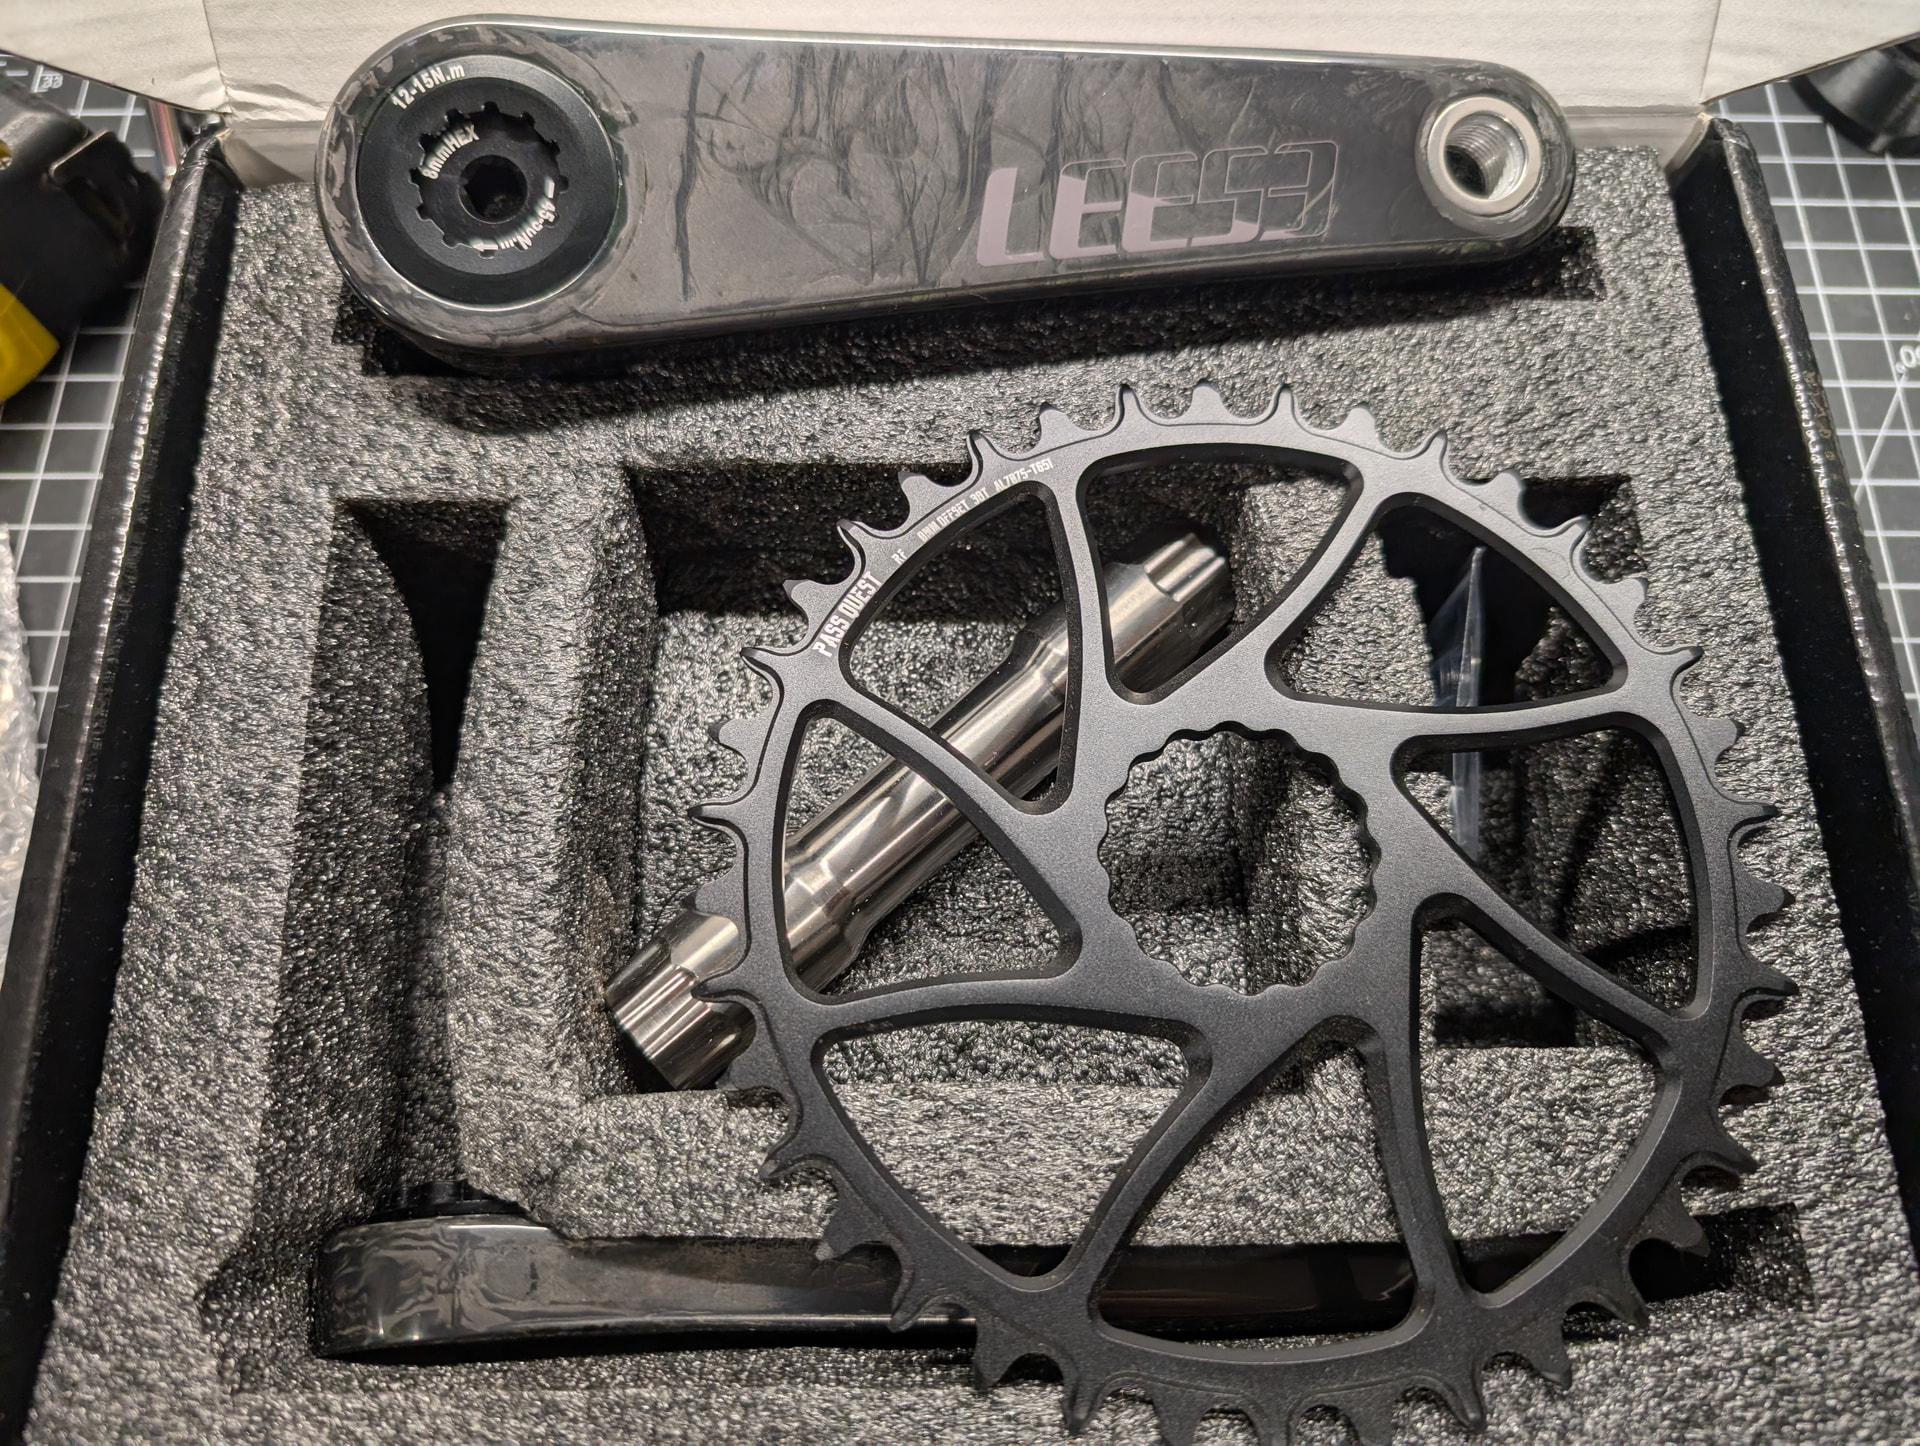
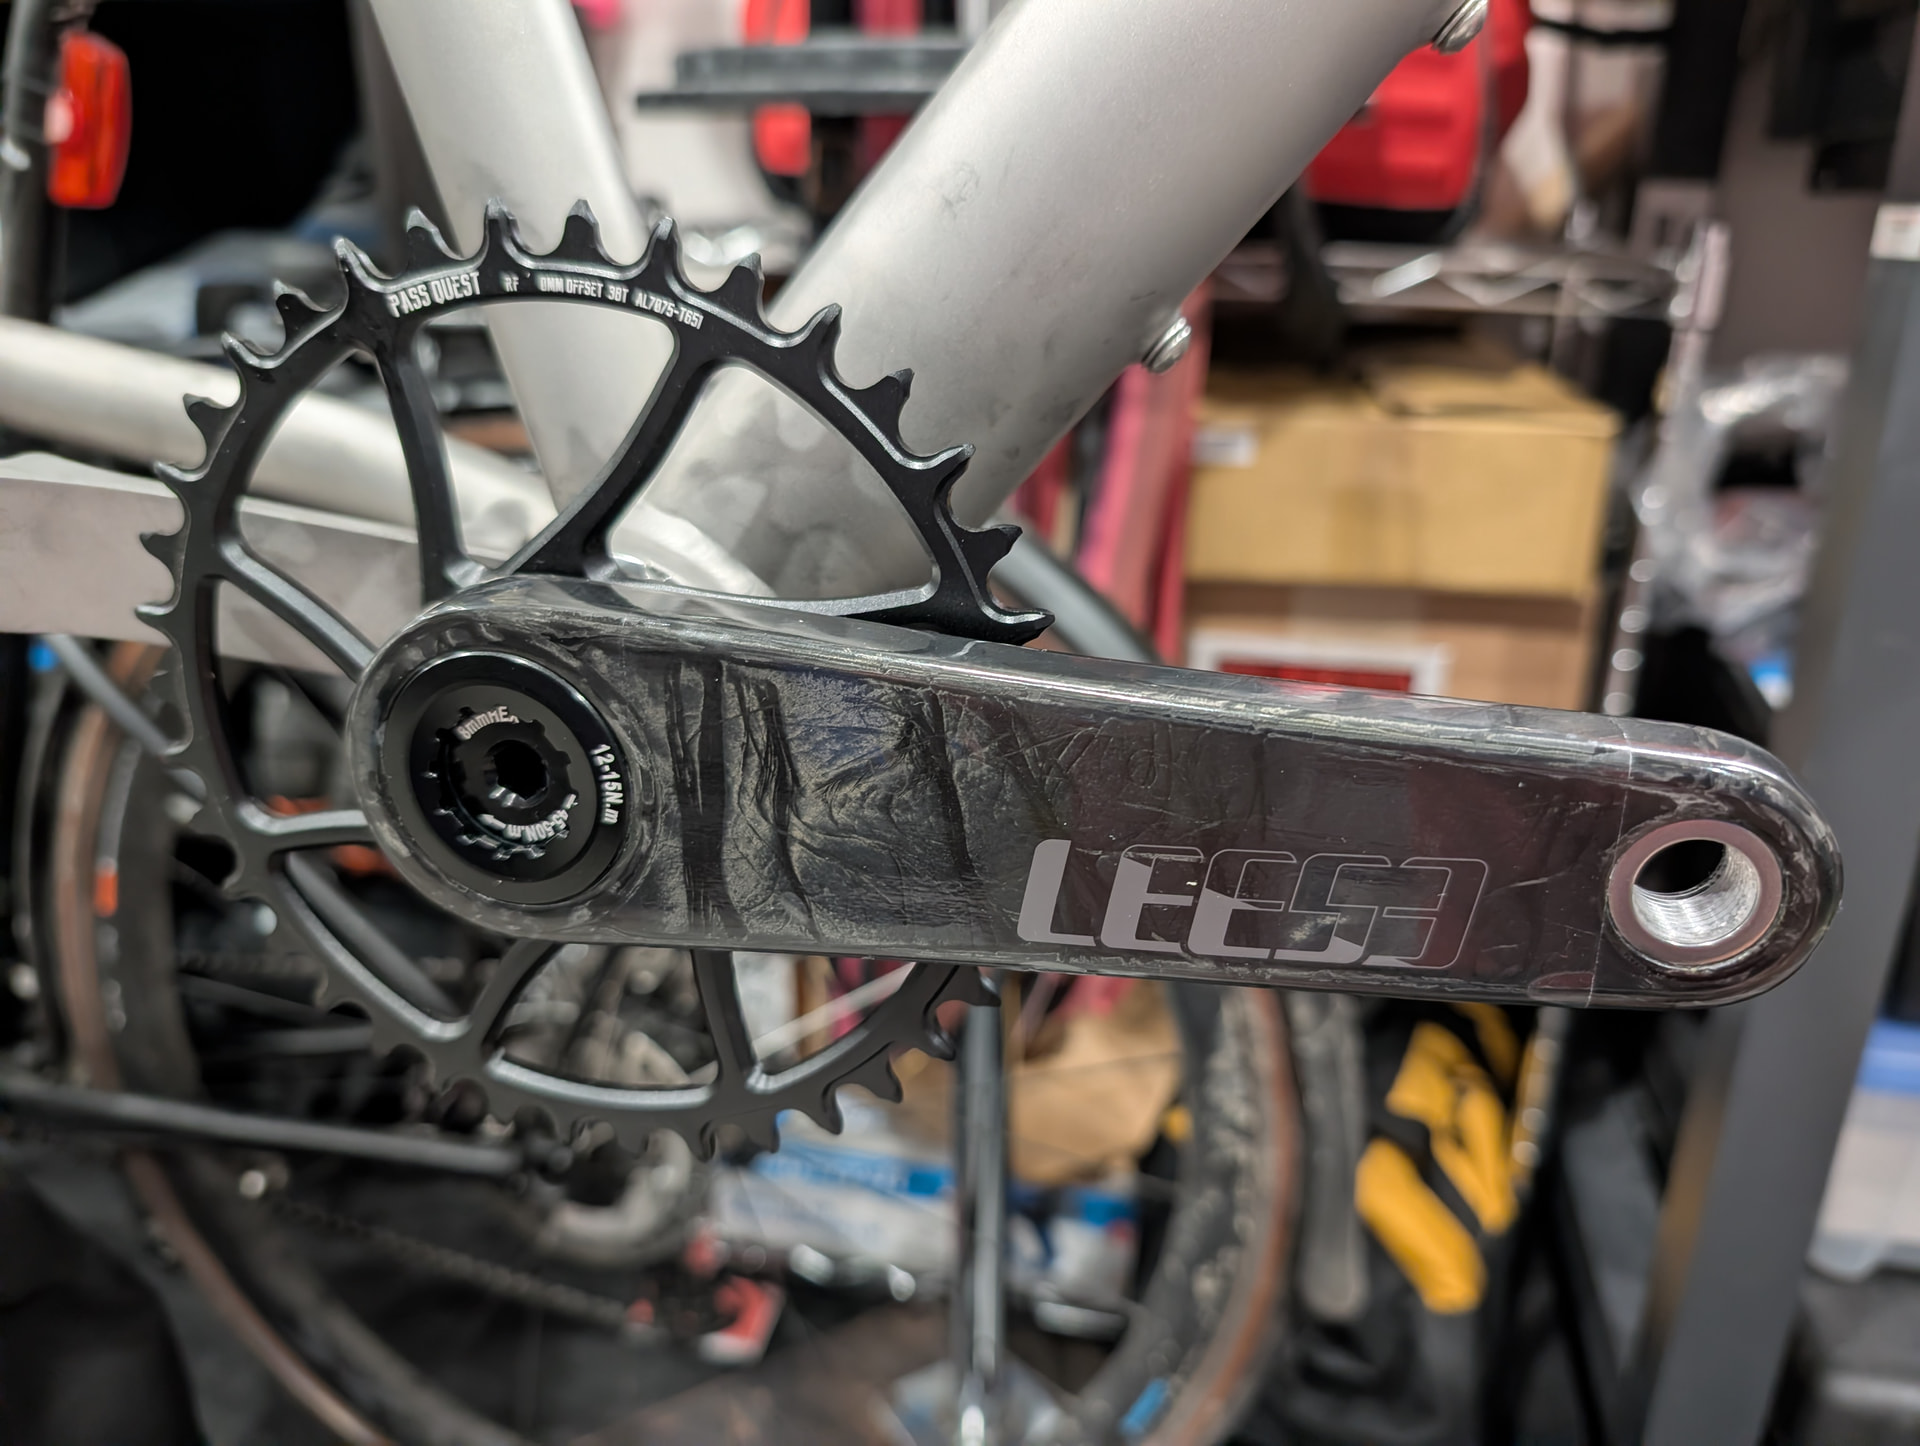
And the Leese crankset went in without a hitch, though between the CK fit kit spacers and crankset spacers there were at least 3 of them to get in the right order
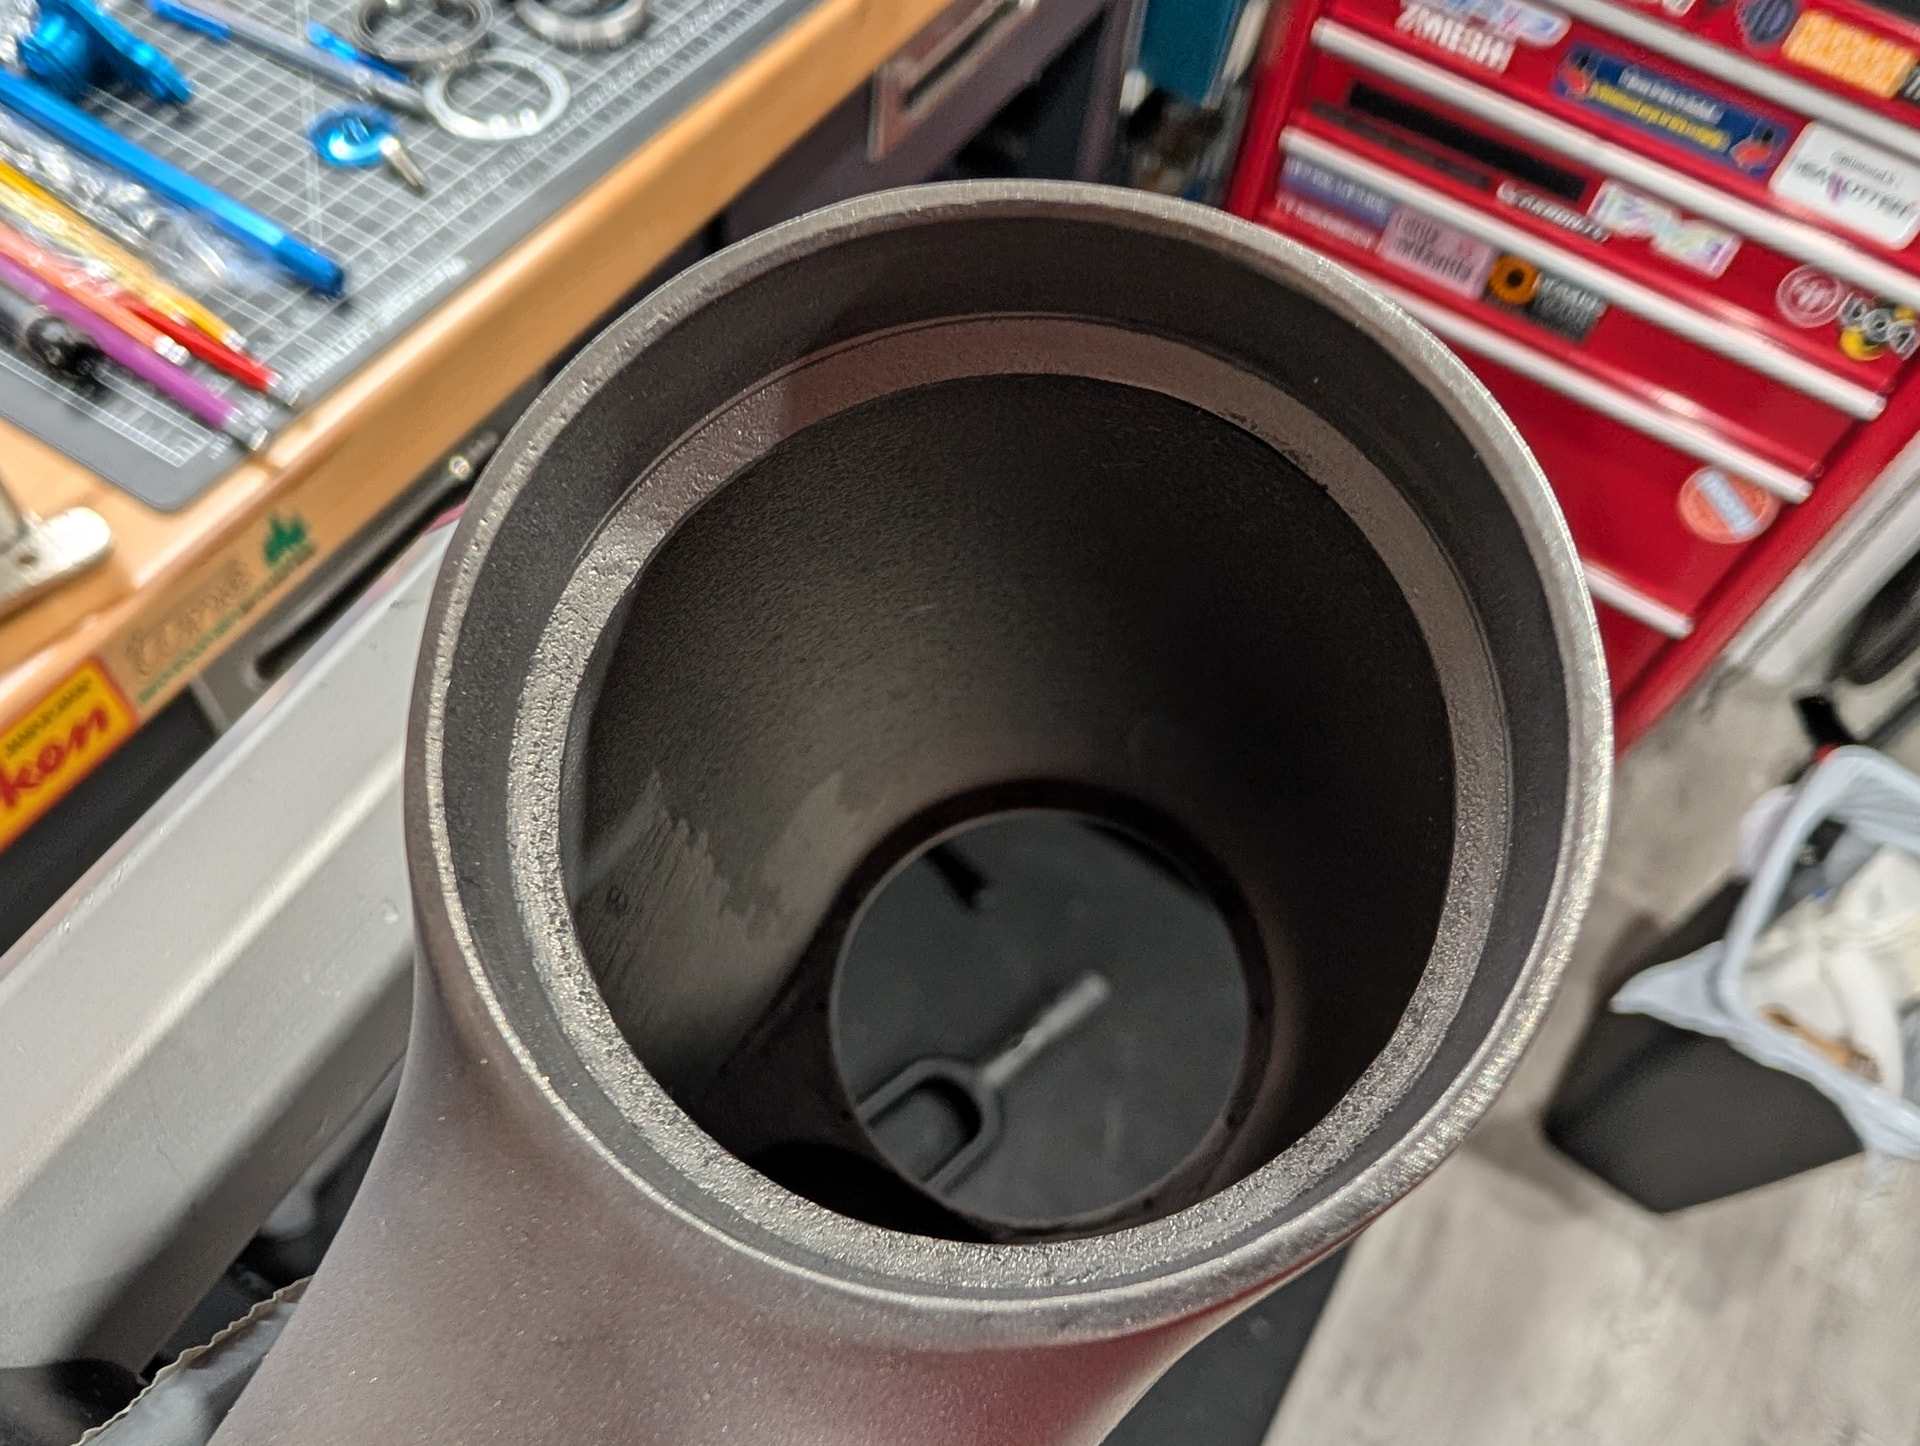
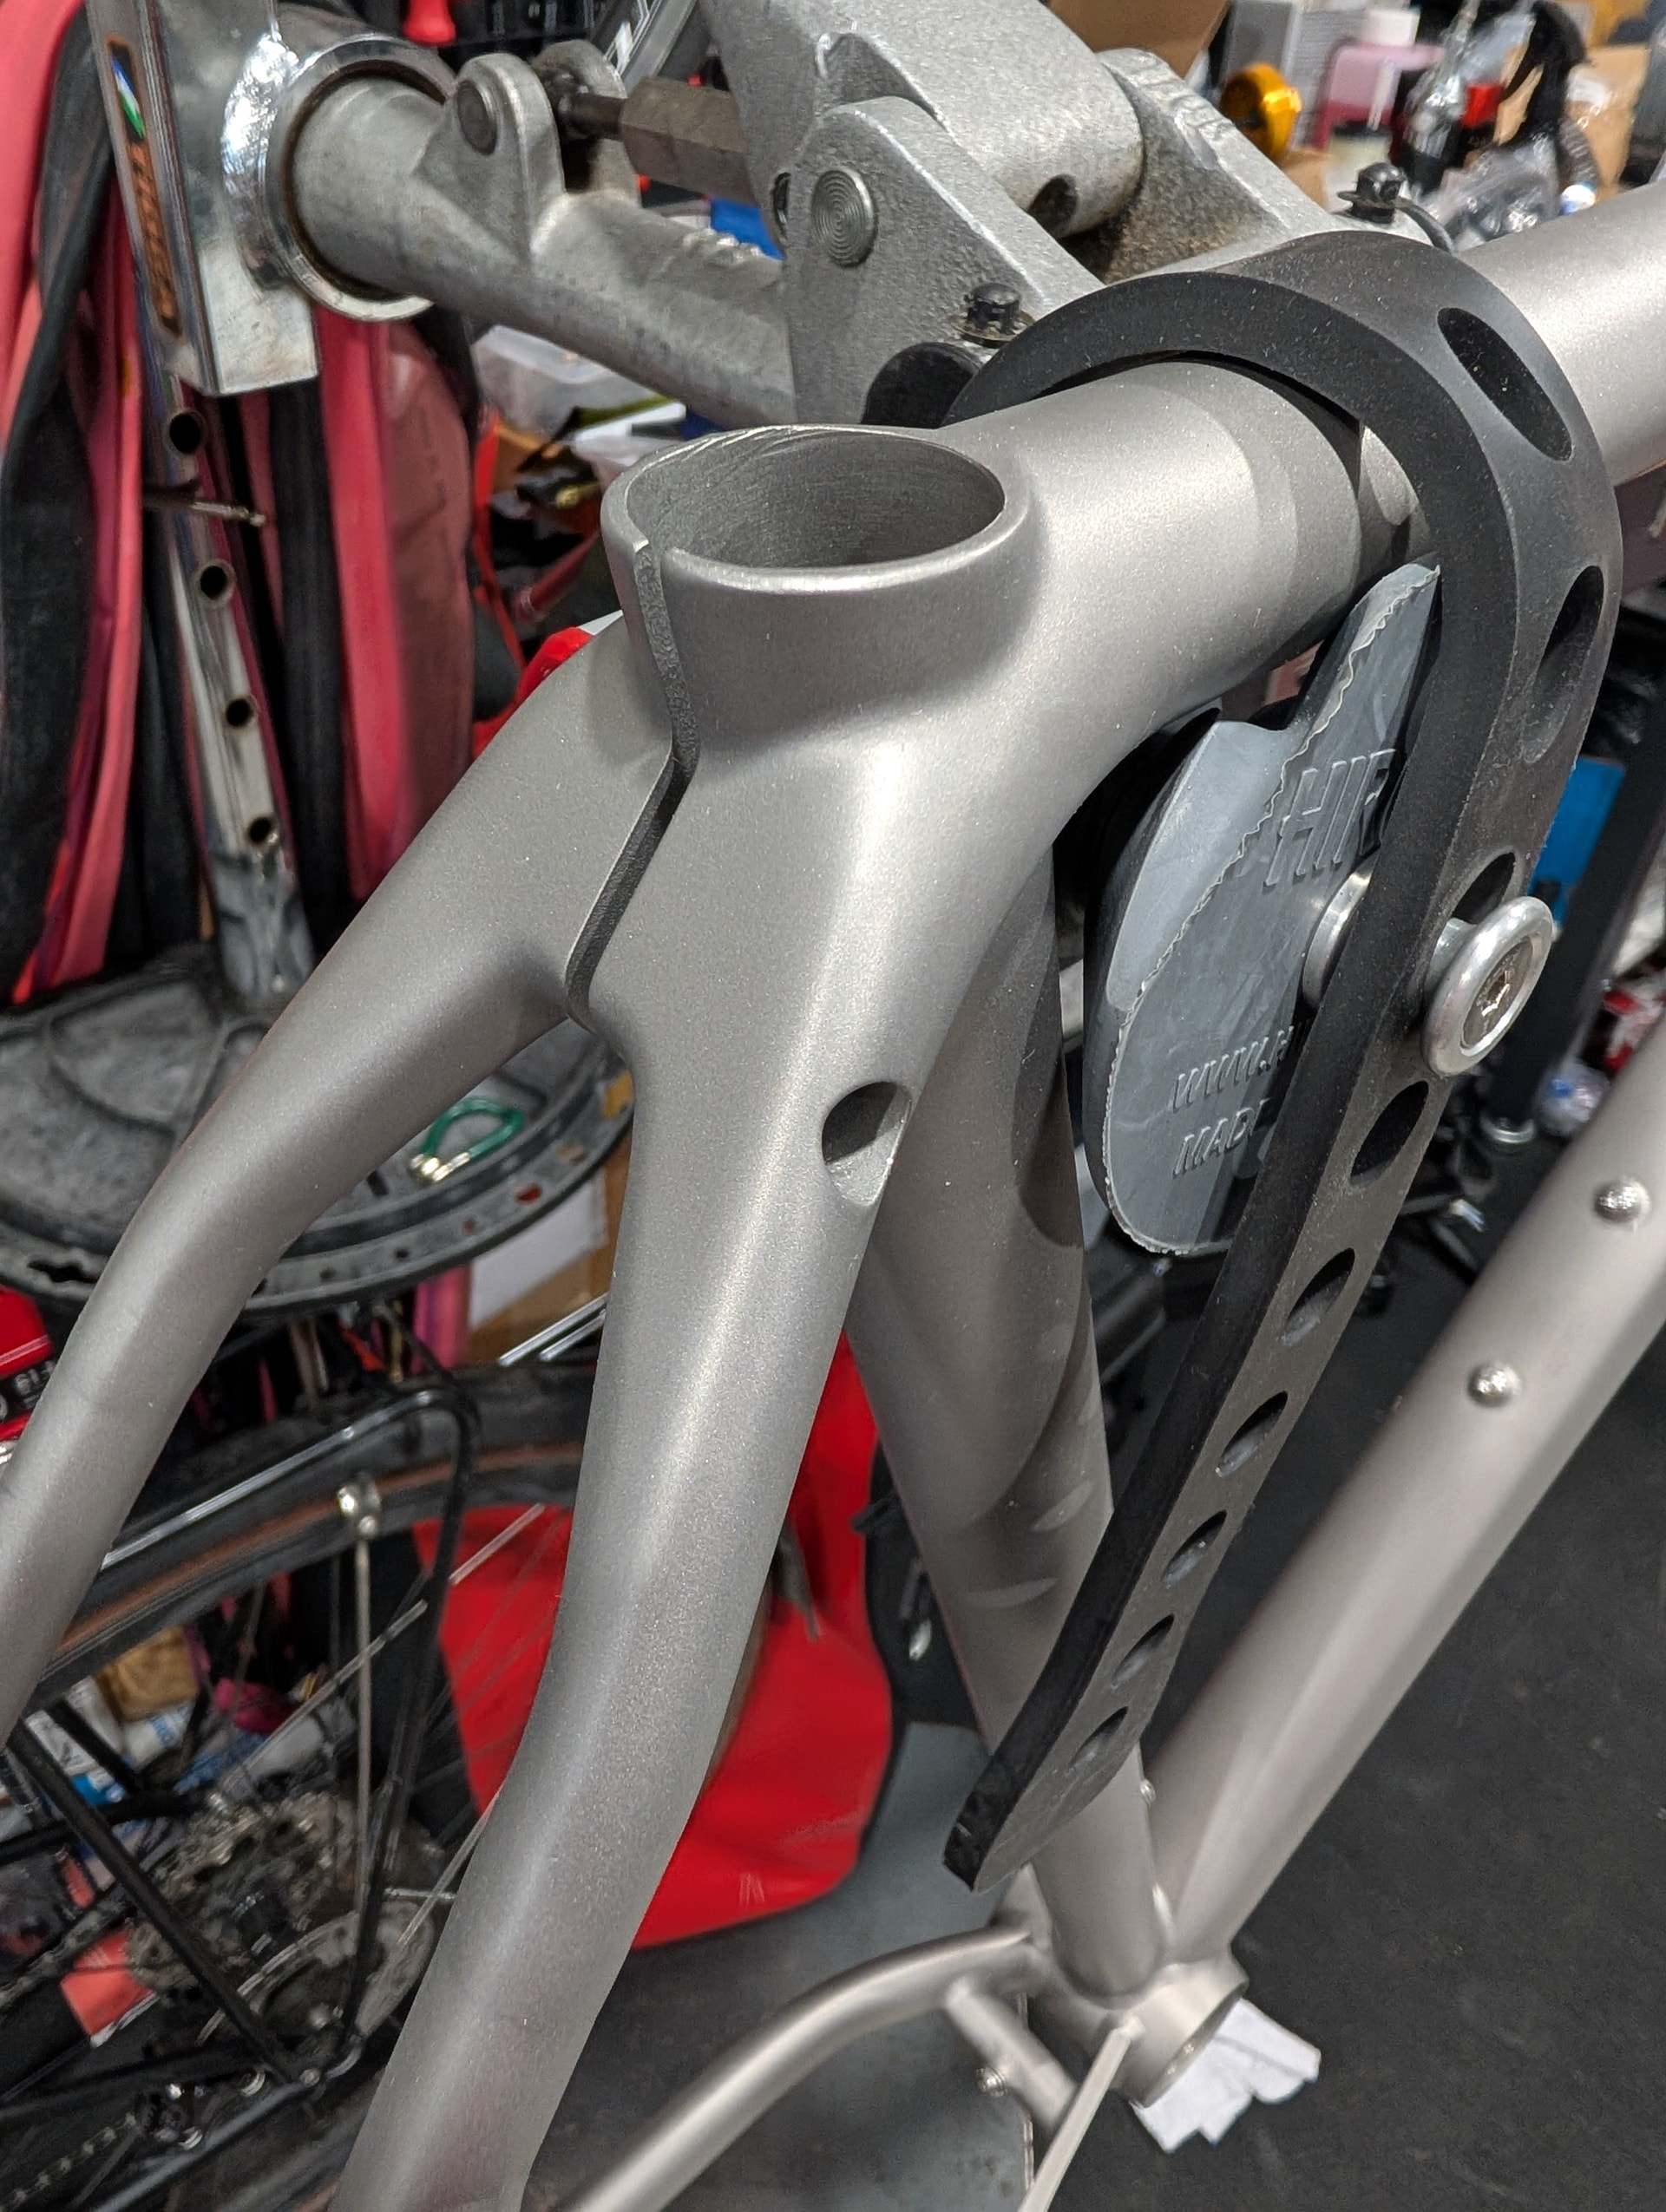
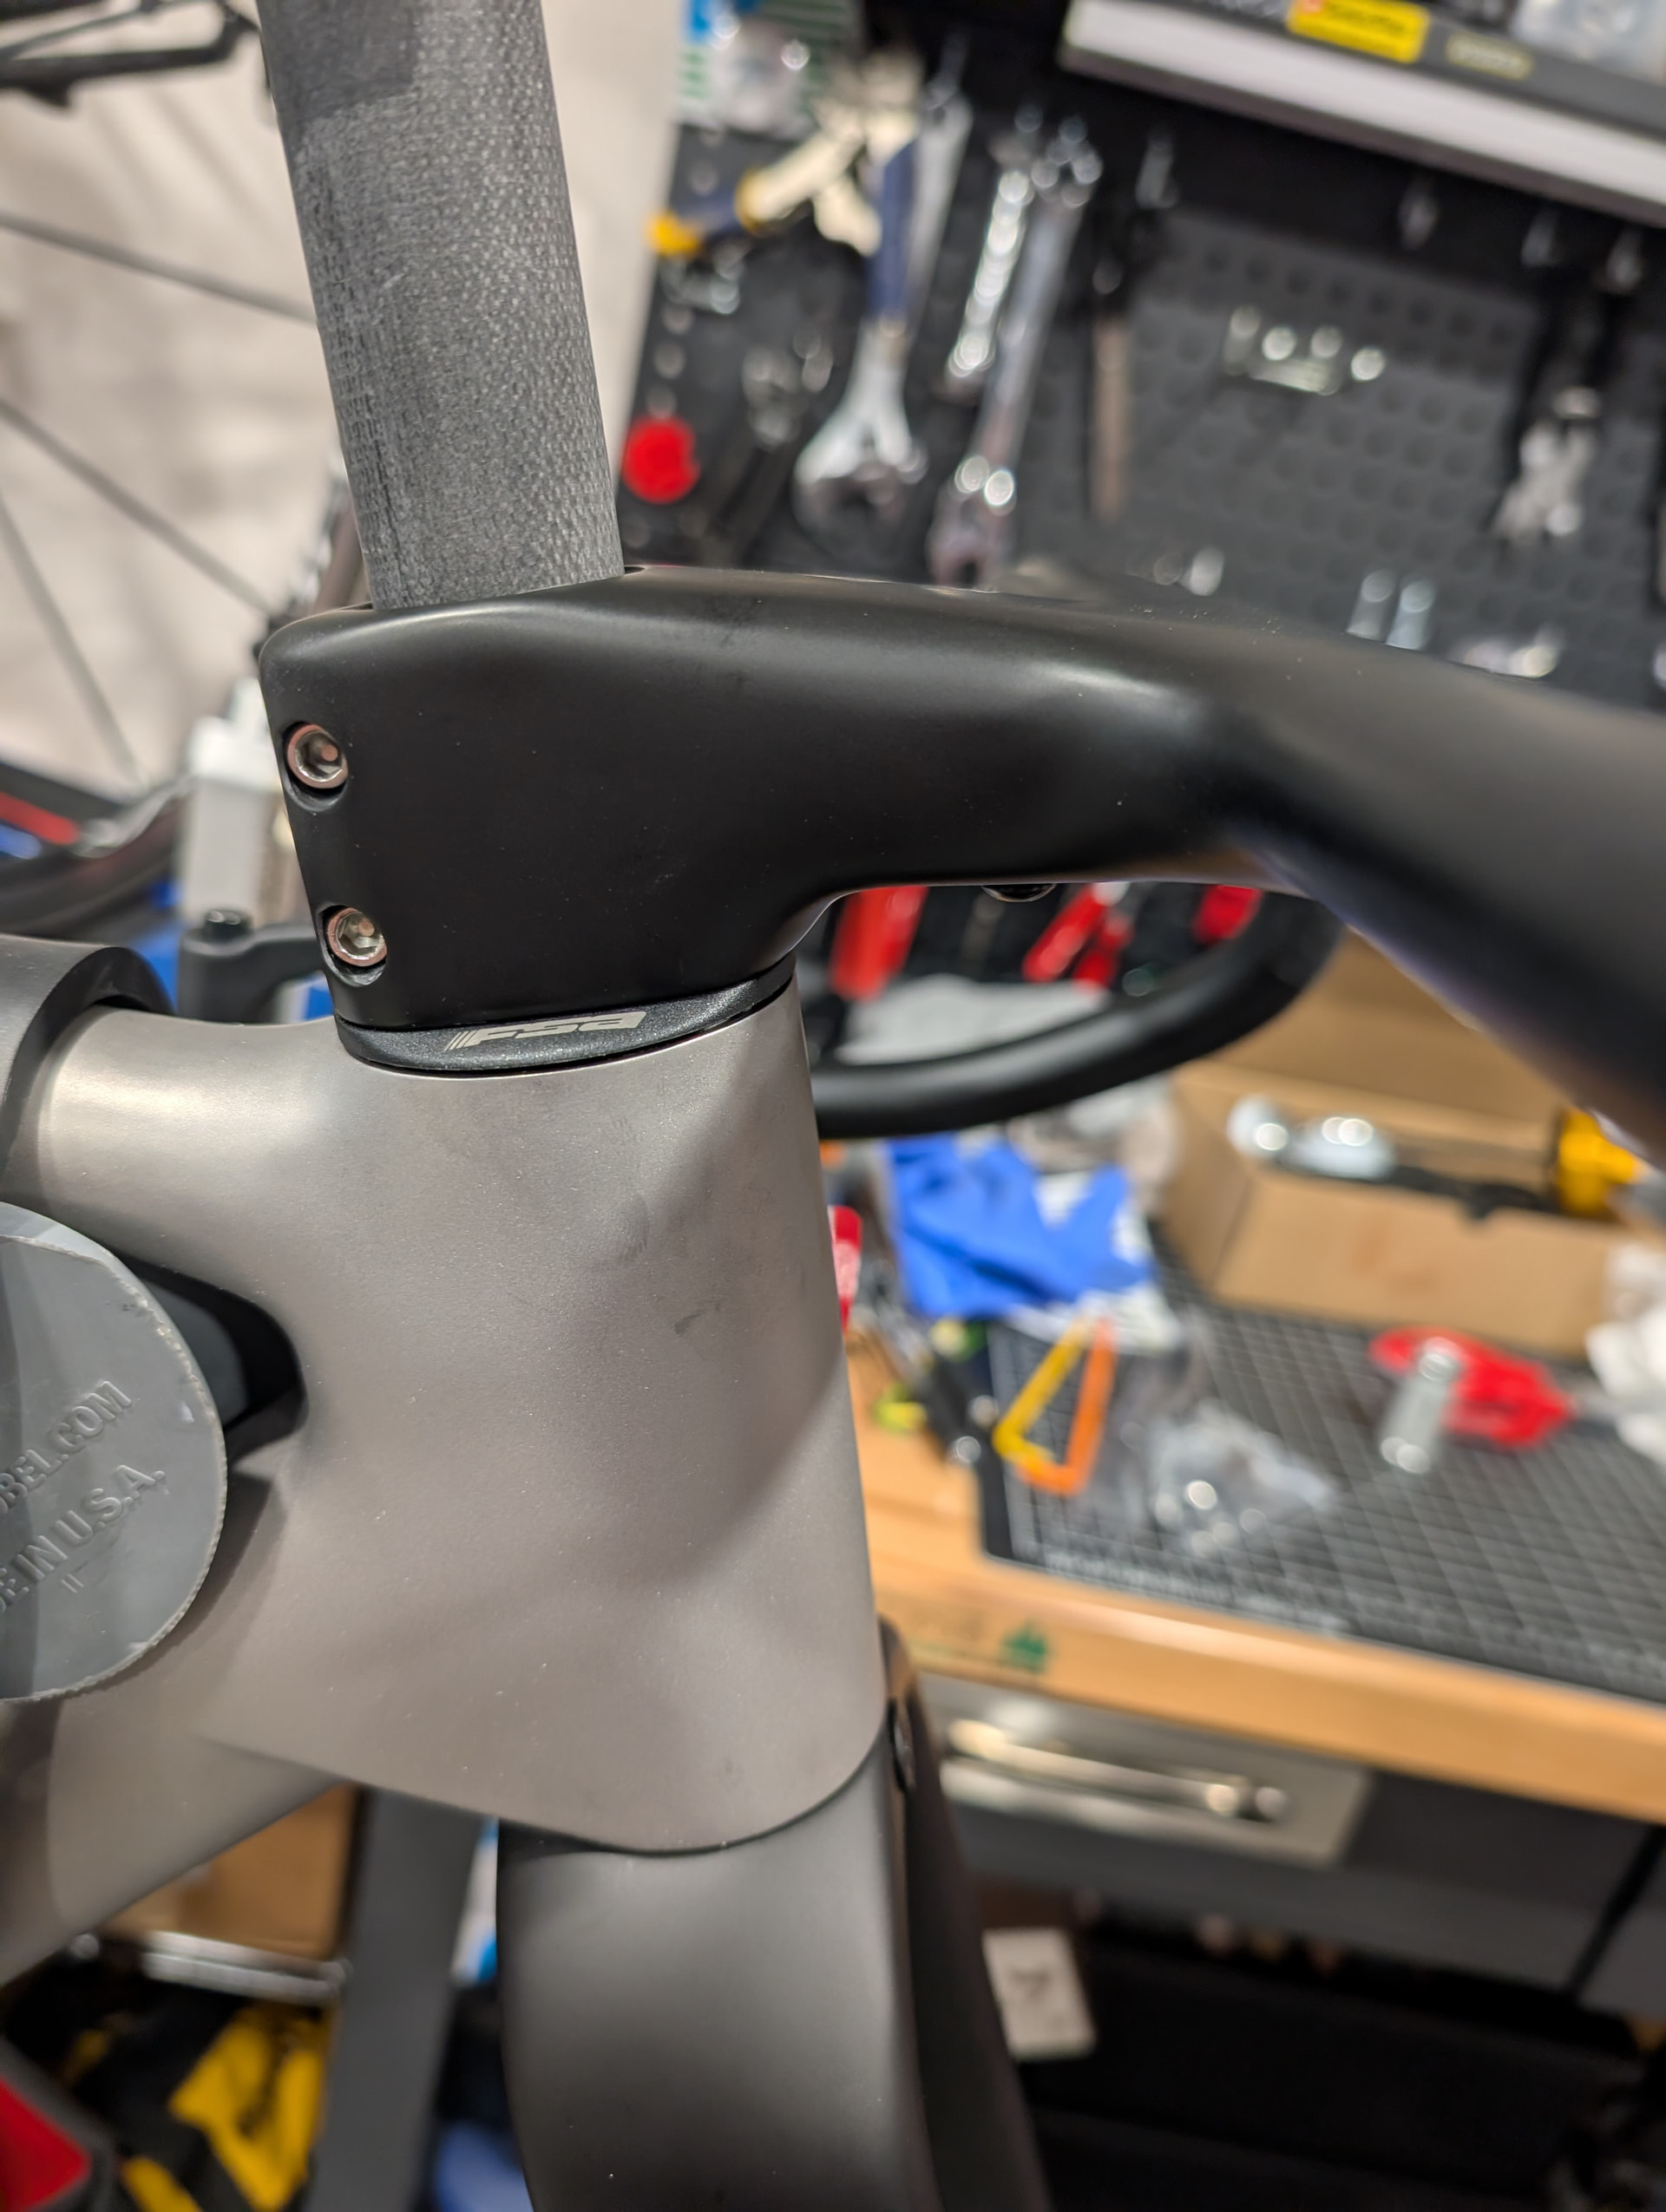
Hose routing was mostly trouble free, but the 3D printed headtube had internal ridges that wouldn’t easily let the hose pass. That was solved with an internal routing kit. Headset and bar went on without any trouble. Thank goodness for the zero stack headset cap.
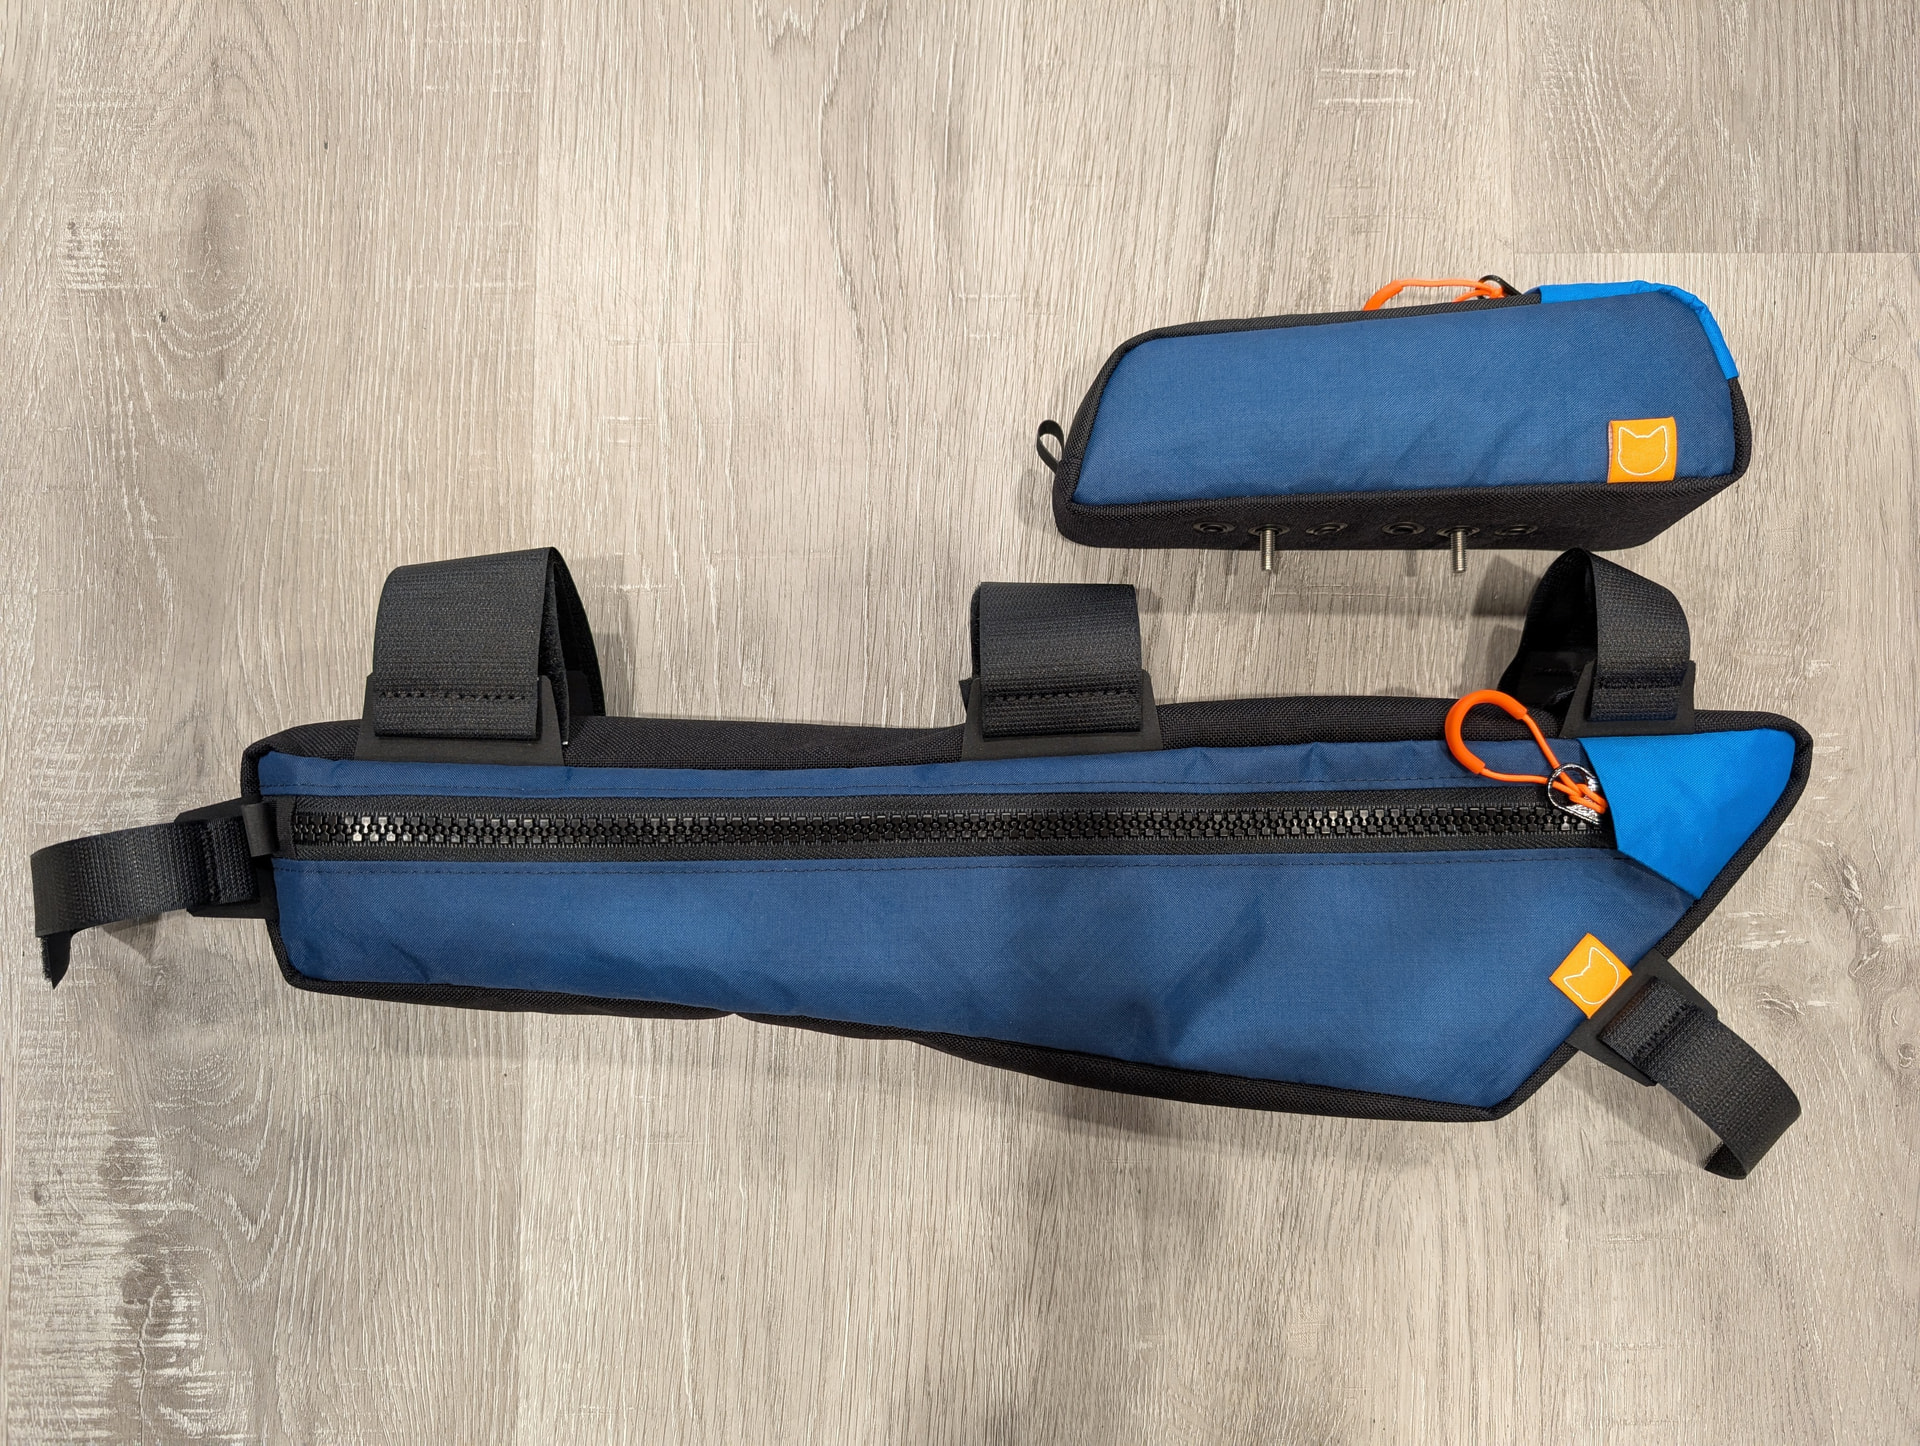
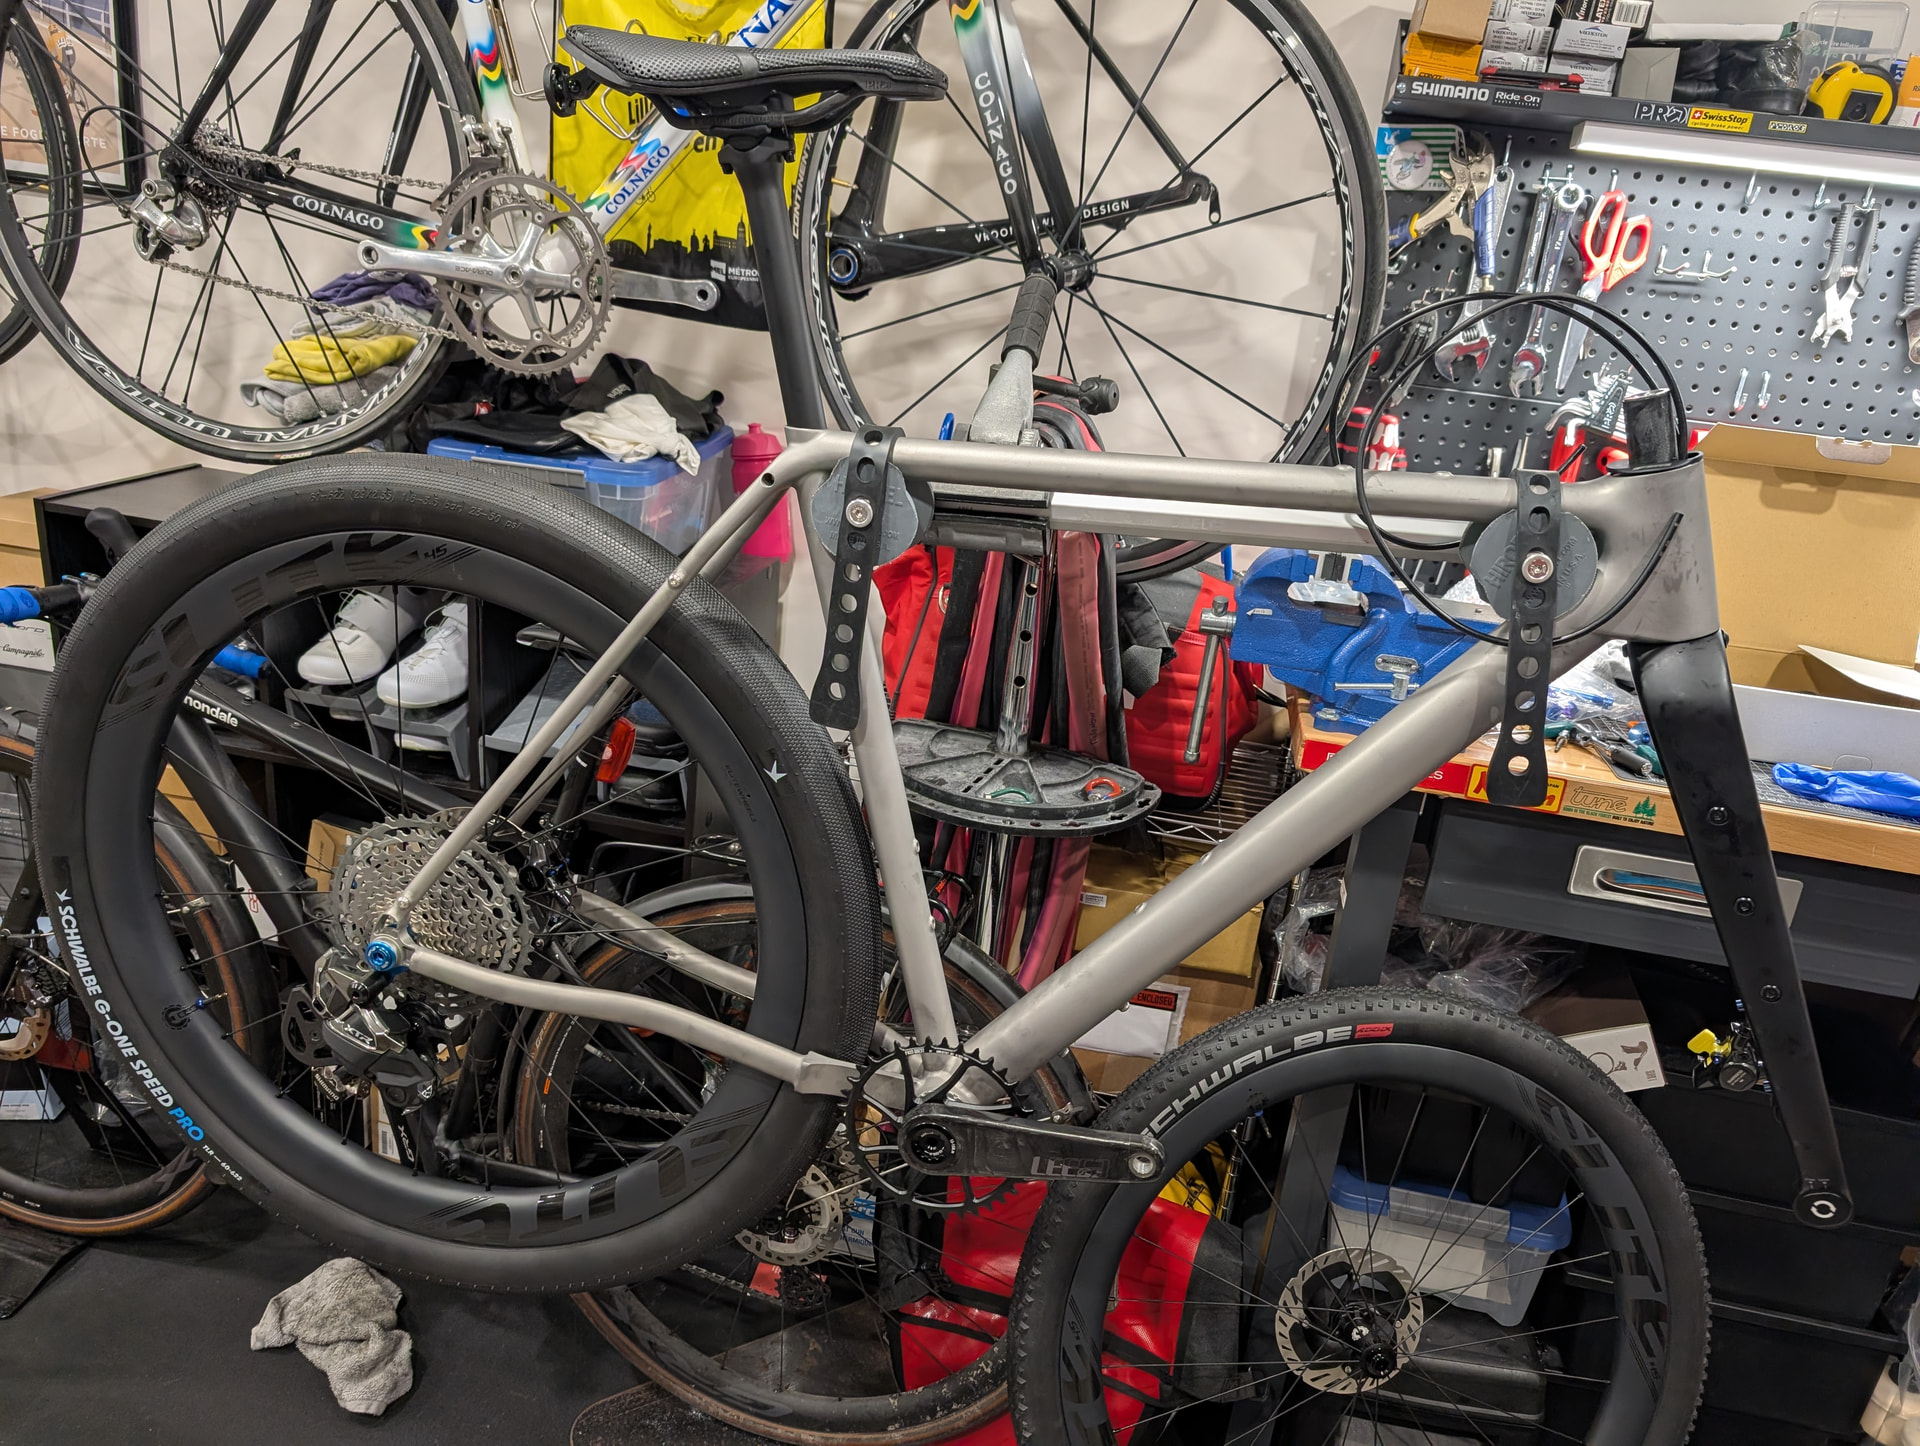
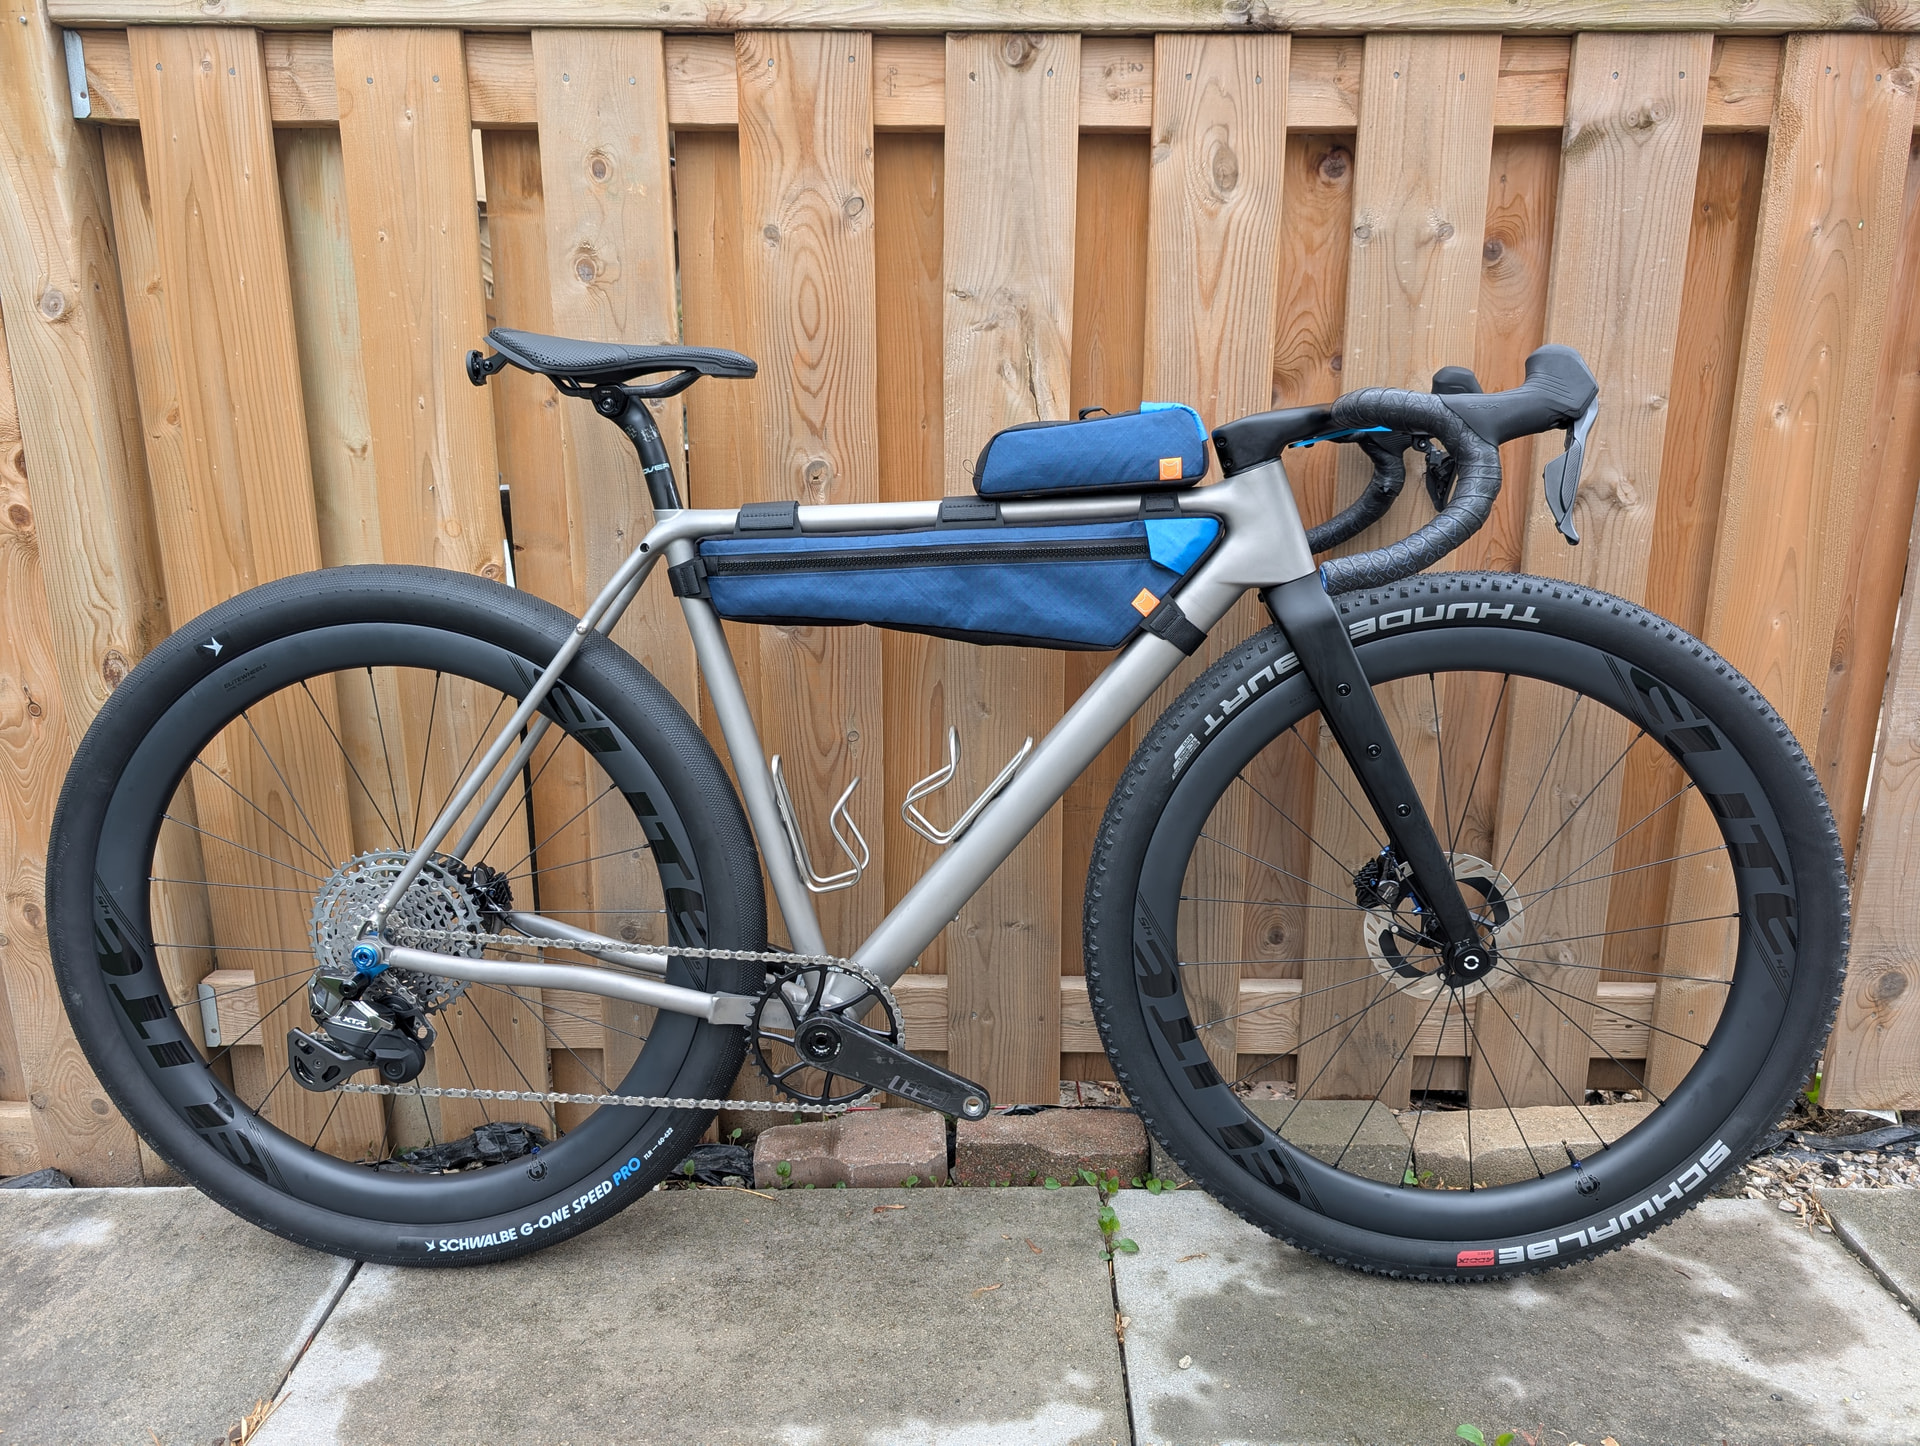
All done! The custom frame bags fit wonderfully. I was going for a classic level top tube, fistful of seatpost look and think I did well. The proportions are a bit strange with such huge tires and a really tall fork, compared to the stubby seatpost and stem. However, I think it’s nice.
Though my plan is to also use this as a winter road bike with different wheels, the proportions are even stranger with them mounted. I think it’s the long wheelbase more than anything else. I also tried this with a straight post but moved to a setback post after some measuring to get my fit right. I think the more rearward weight distribution isn’t a terrible thing either when things get steeper so I can find traction.
This is great, thanks again Drew - the bike looks amazing.
A few Qs if that’s okay please?
Can you clarify what you mean by “There were some fabrication restrictions with the tube angles at the 3D printed head tube, so I did have to make some revisions” - do you mean you ended up having to make revisions to your original geometry spec, or did Waltly end up being able to accommodate your requests (or maybe some middle ground)? How much, if any flexibility do they allow?
What are your thoughts on the finish - particularly facing/fit/straightness of the brake mounts (assume a Waltly fork as well?), BB and headset bearings?
Are you happy with the blasted finish - has it come out as expected, or now having it in person, would you go with brushed if you did it again?