“Assumption is the mother of all f*ck ups” - Lock, Stock & Two Smoking Barrels
Ace, that means the computer is less likely to hold me back.
Thanks for the alternative consideration too.
“Assumption is the mother of all f*ck ups” - Lock, Stock & Two Smoking Barrels
Ace, that means the computer is less likely to hold me back.
Thanks for the alternative consideration too.
Honestly would suggest looking at some other direction than Creality if this is your first 3D printer. The have a reputation of being fiddly at best, at least used to be. Bambulab makes a tiny and cheap entry level printer, A1 mini, seems to be on sale too, which is easy to use and prints well. Biggest downside is little smaller build plate. Also doesn’t work with engineering filaments but I would guess that not the priority, works well with PETG, TPU and PLA.
Also Mac works well, and if those are even somewhat recent the slicer shouldn’t be an issue at all, running modelling software is the more resource intensive part, but there is plenty of options.
Edit: missed the mention of that A1 in the last comment, but second that. Multicolor/AMS is fun for decorative stuff and toys, but for functional parts not really needed.
This is exactly where my research has taken me. I’m actually landing on the A1 rather than the mini, though.
A little related (albeit slightly dated) reading on the topic:
A couple of points:
Are you willing to learn a bit of CAD? There is a steep learning curve unless you’re happy to print other people’s designs. Then Fusion 360 free version is pretty much the industry standard for hobbyists wanting to do more than Tinkercad allows
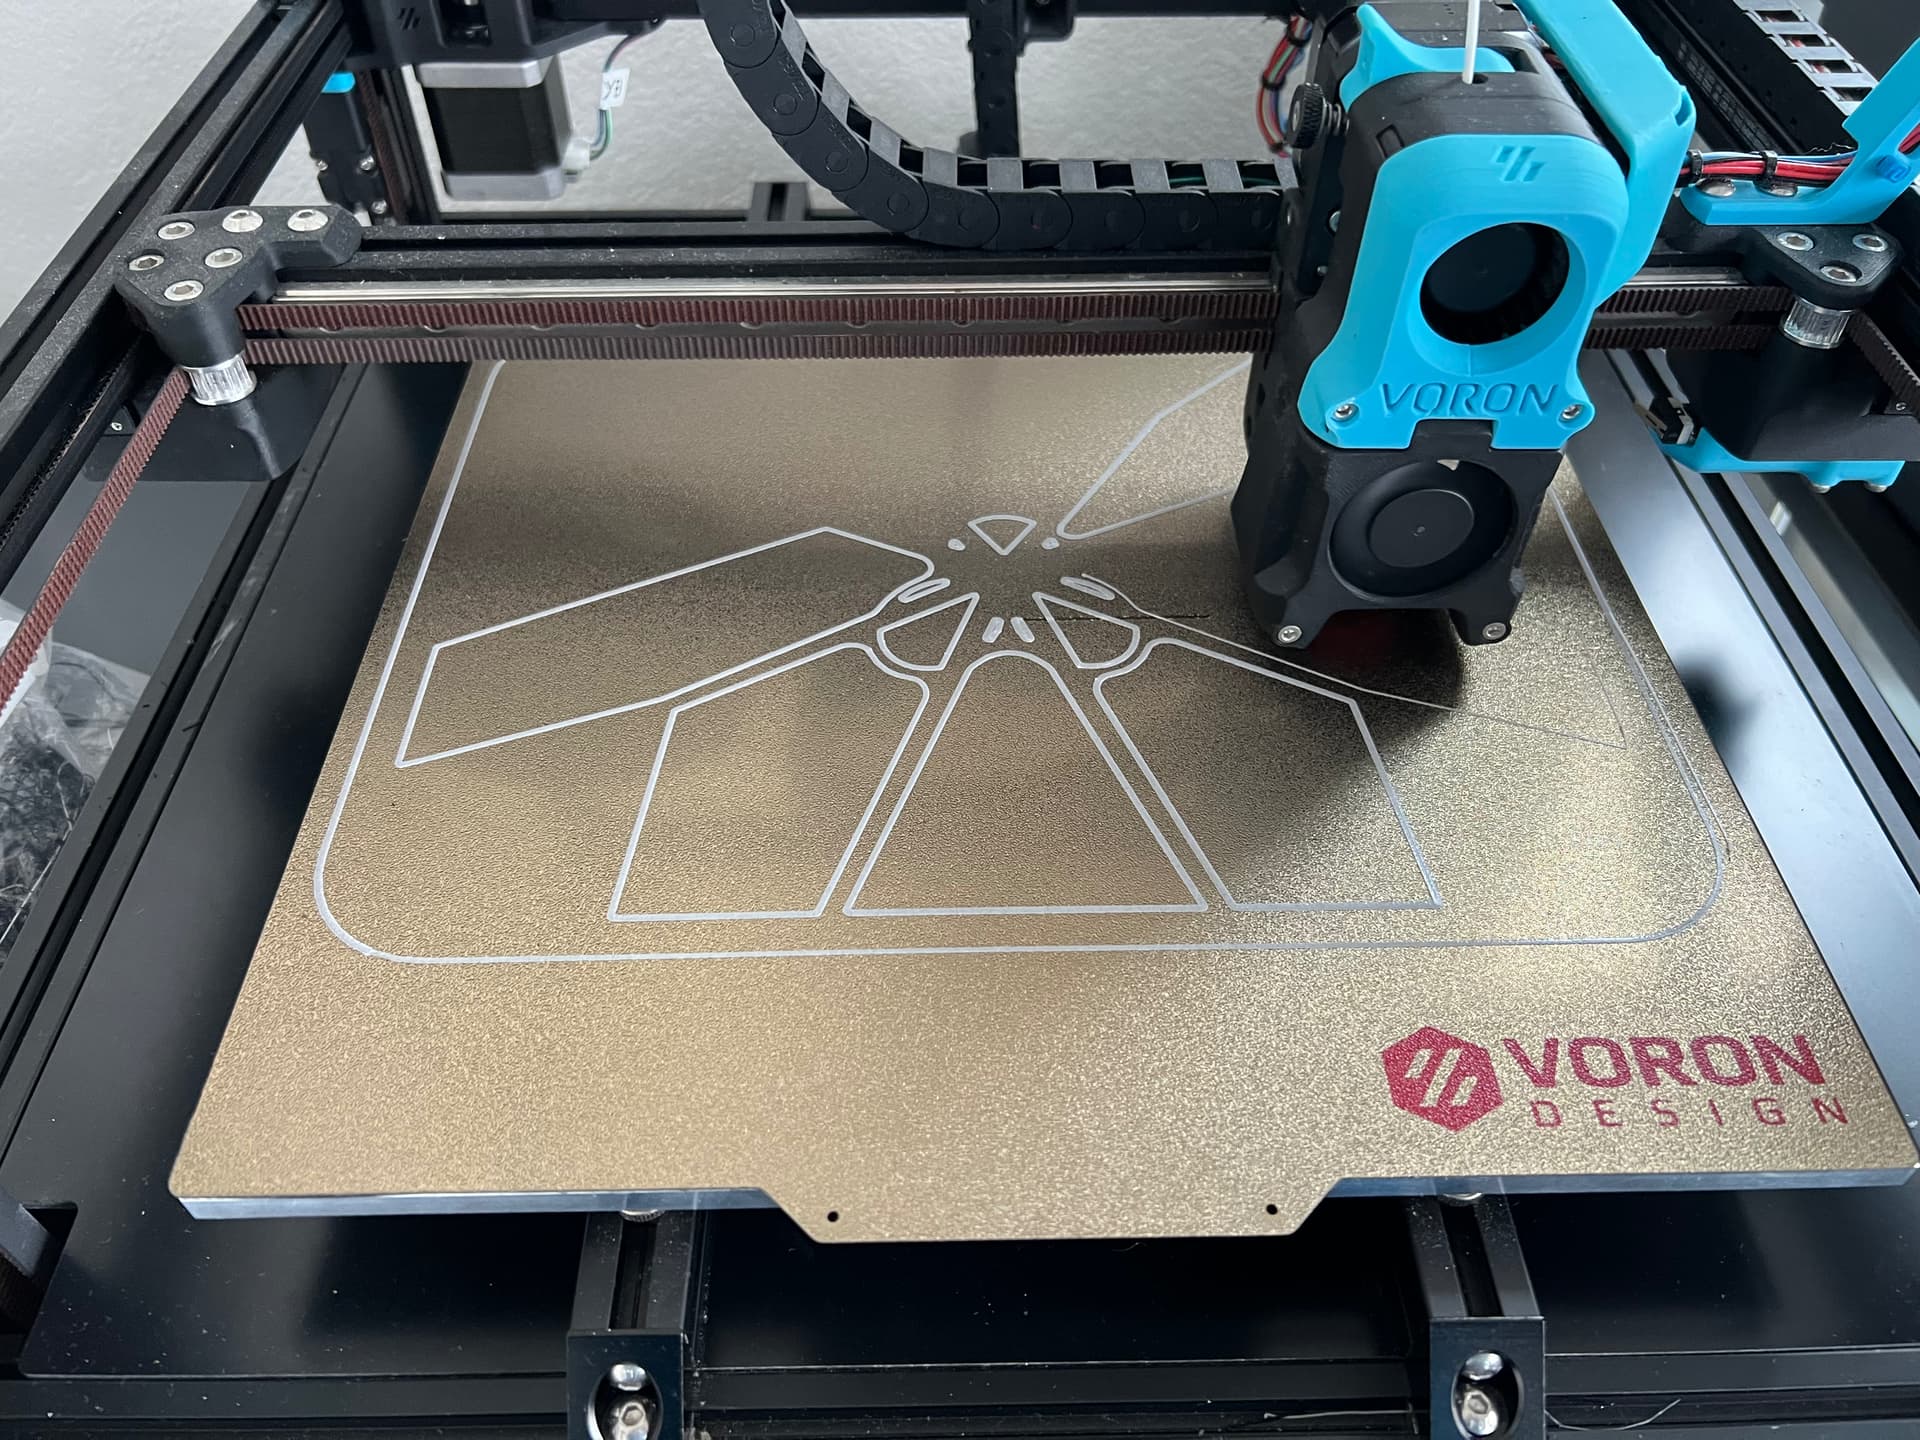
Similarly the printer. Bambulabs is as plug and play as it goes and allows you to spend time making stuff. Creality is a bit timkery Voron if you’re into bottom-up machine building and are happy restoring cars and re-wiring your house and want to spend time on this more than printing. Disclosure: I built a Voron, it was good to learn how everything works, but now I want a Bambulabs printer so it just works.
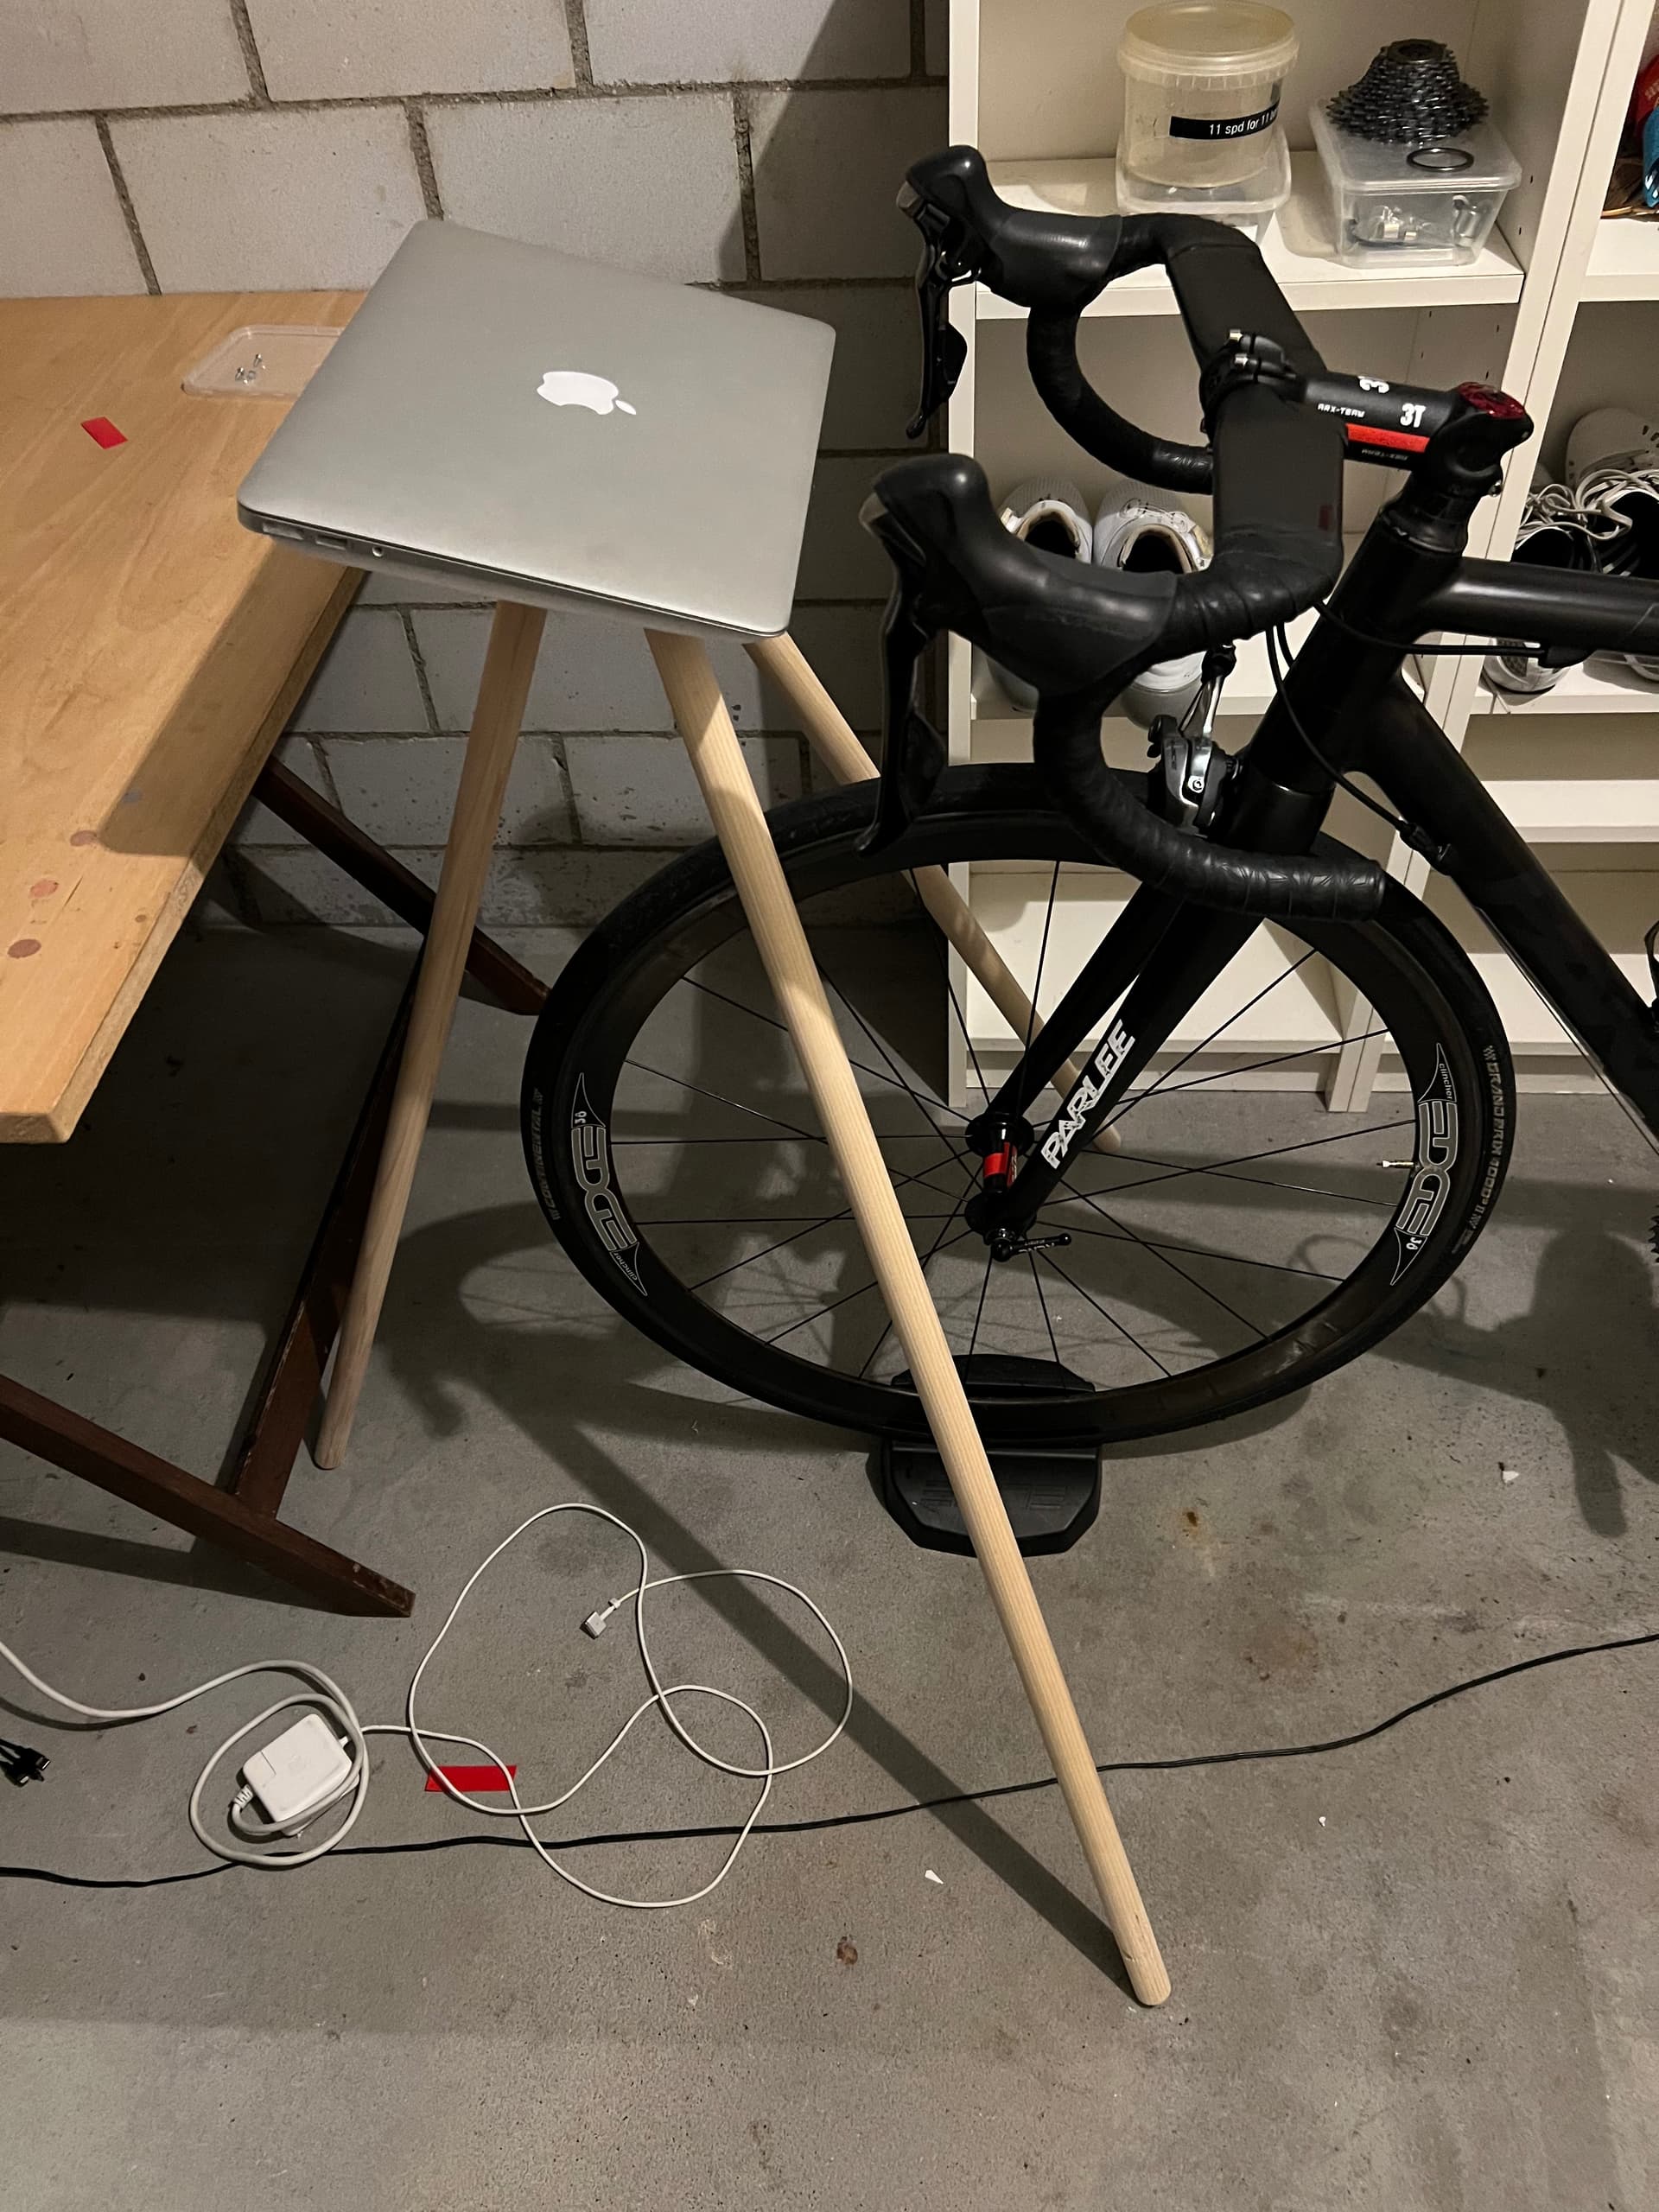
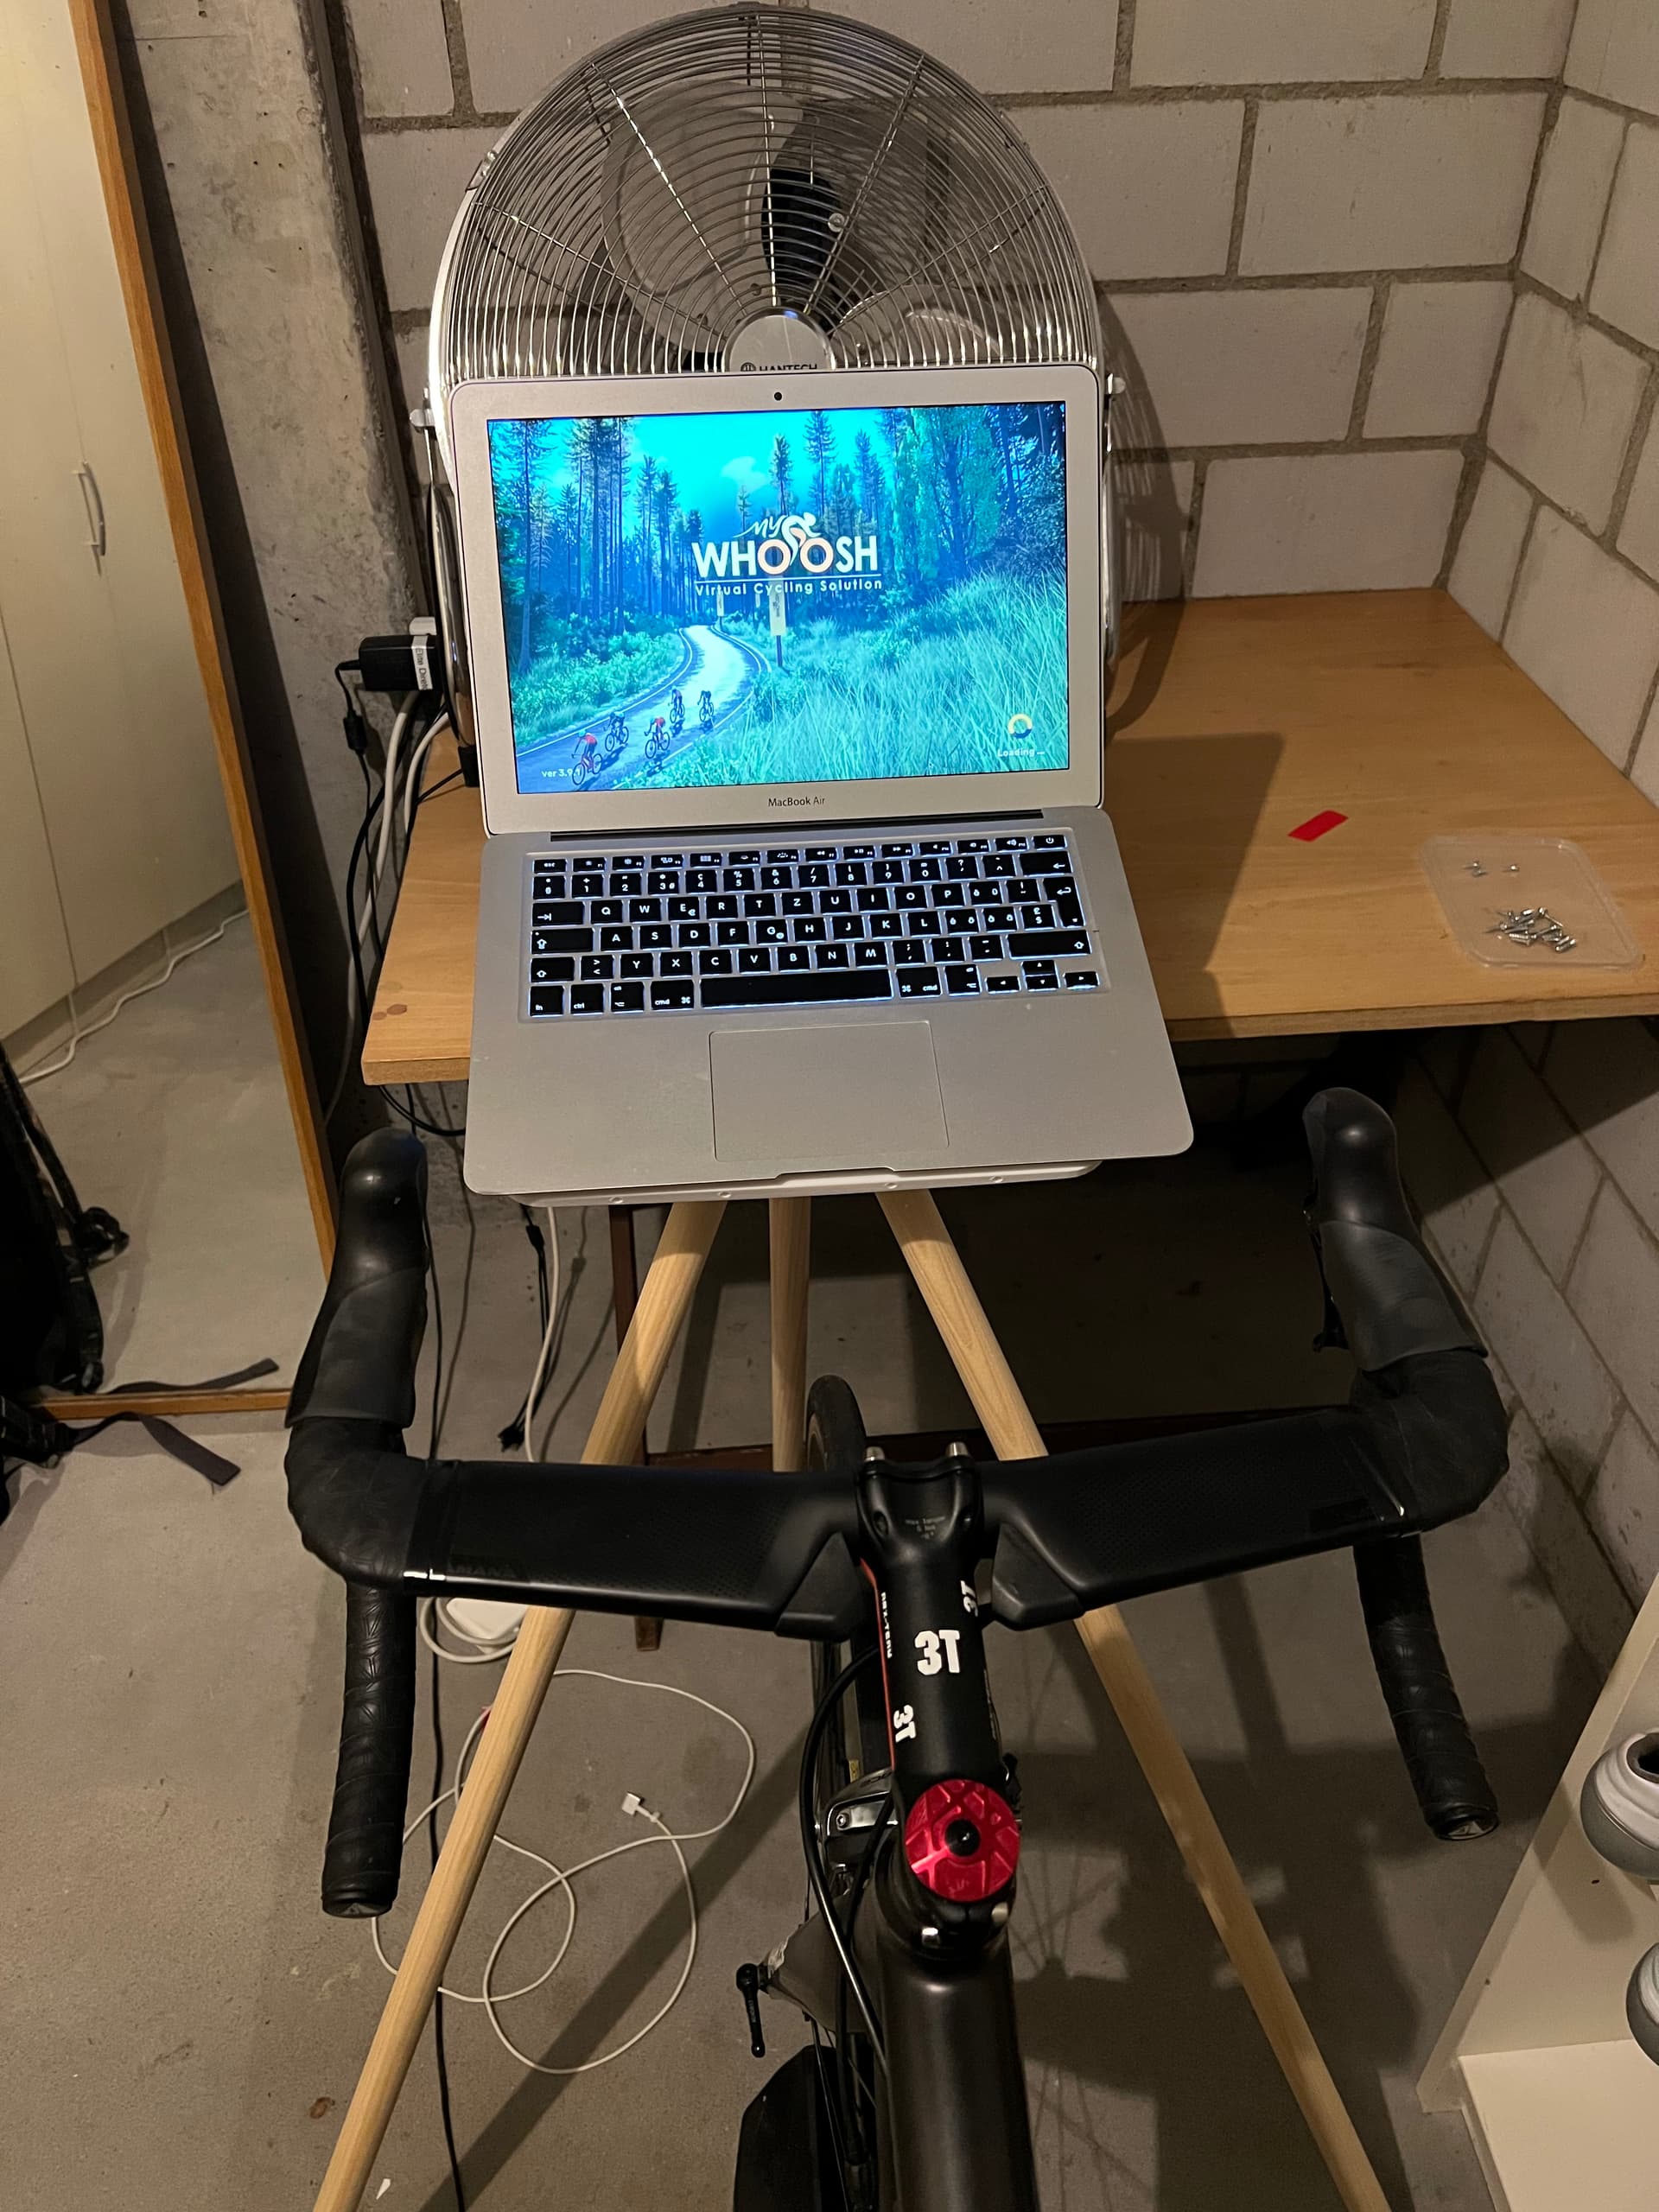
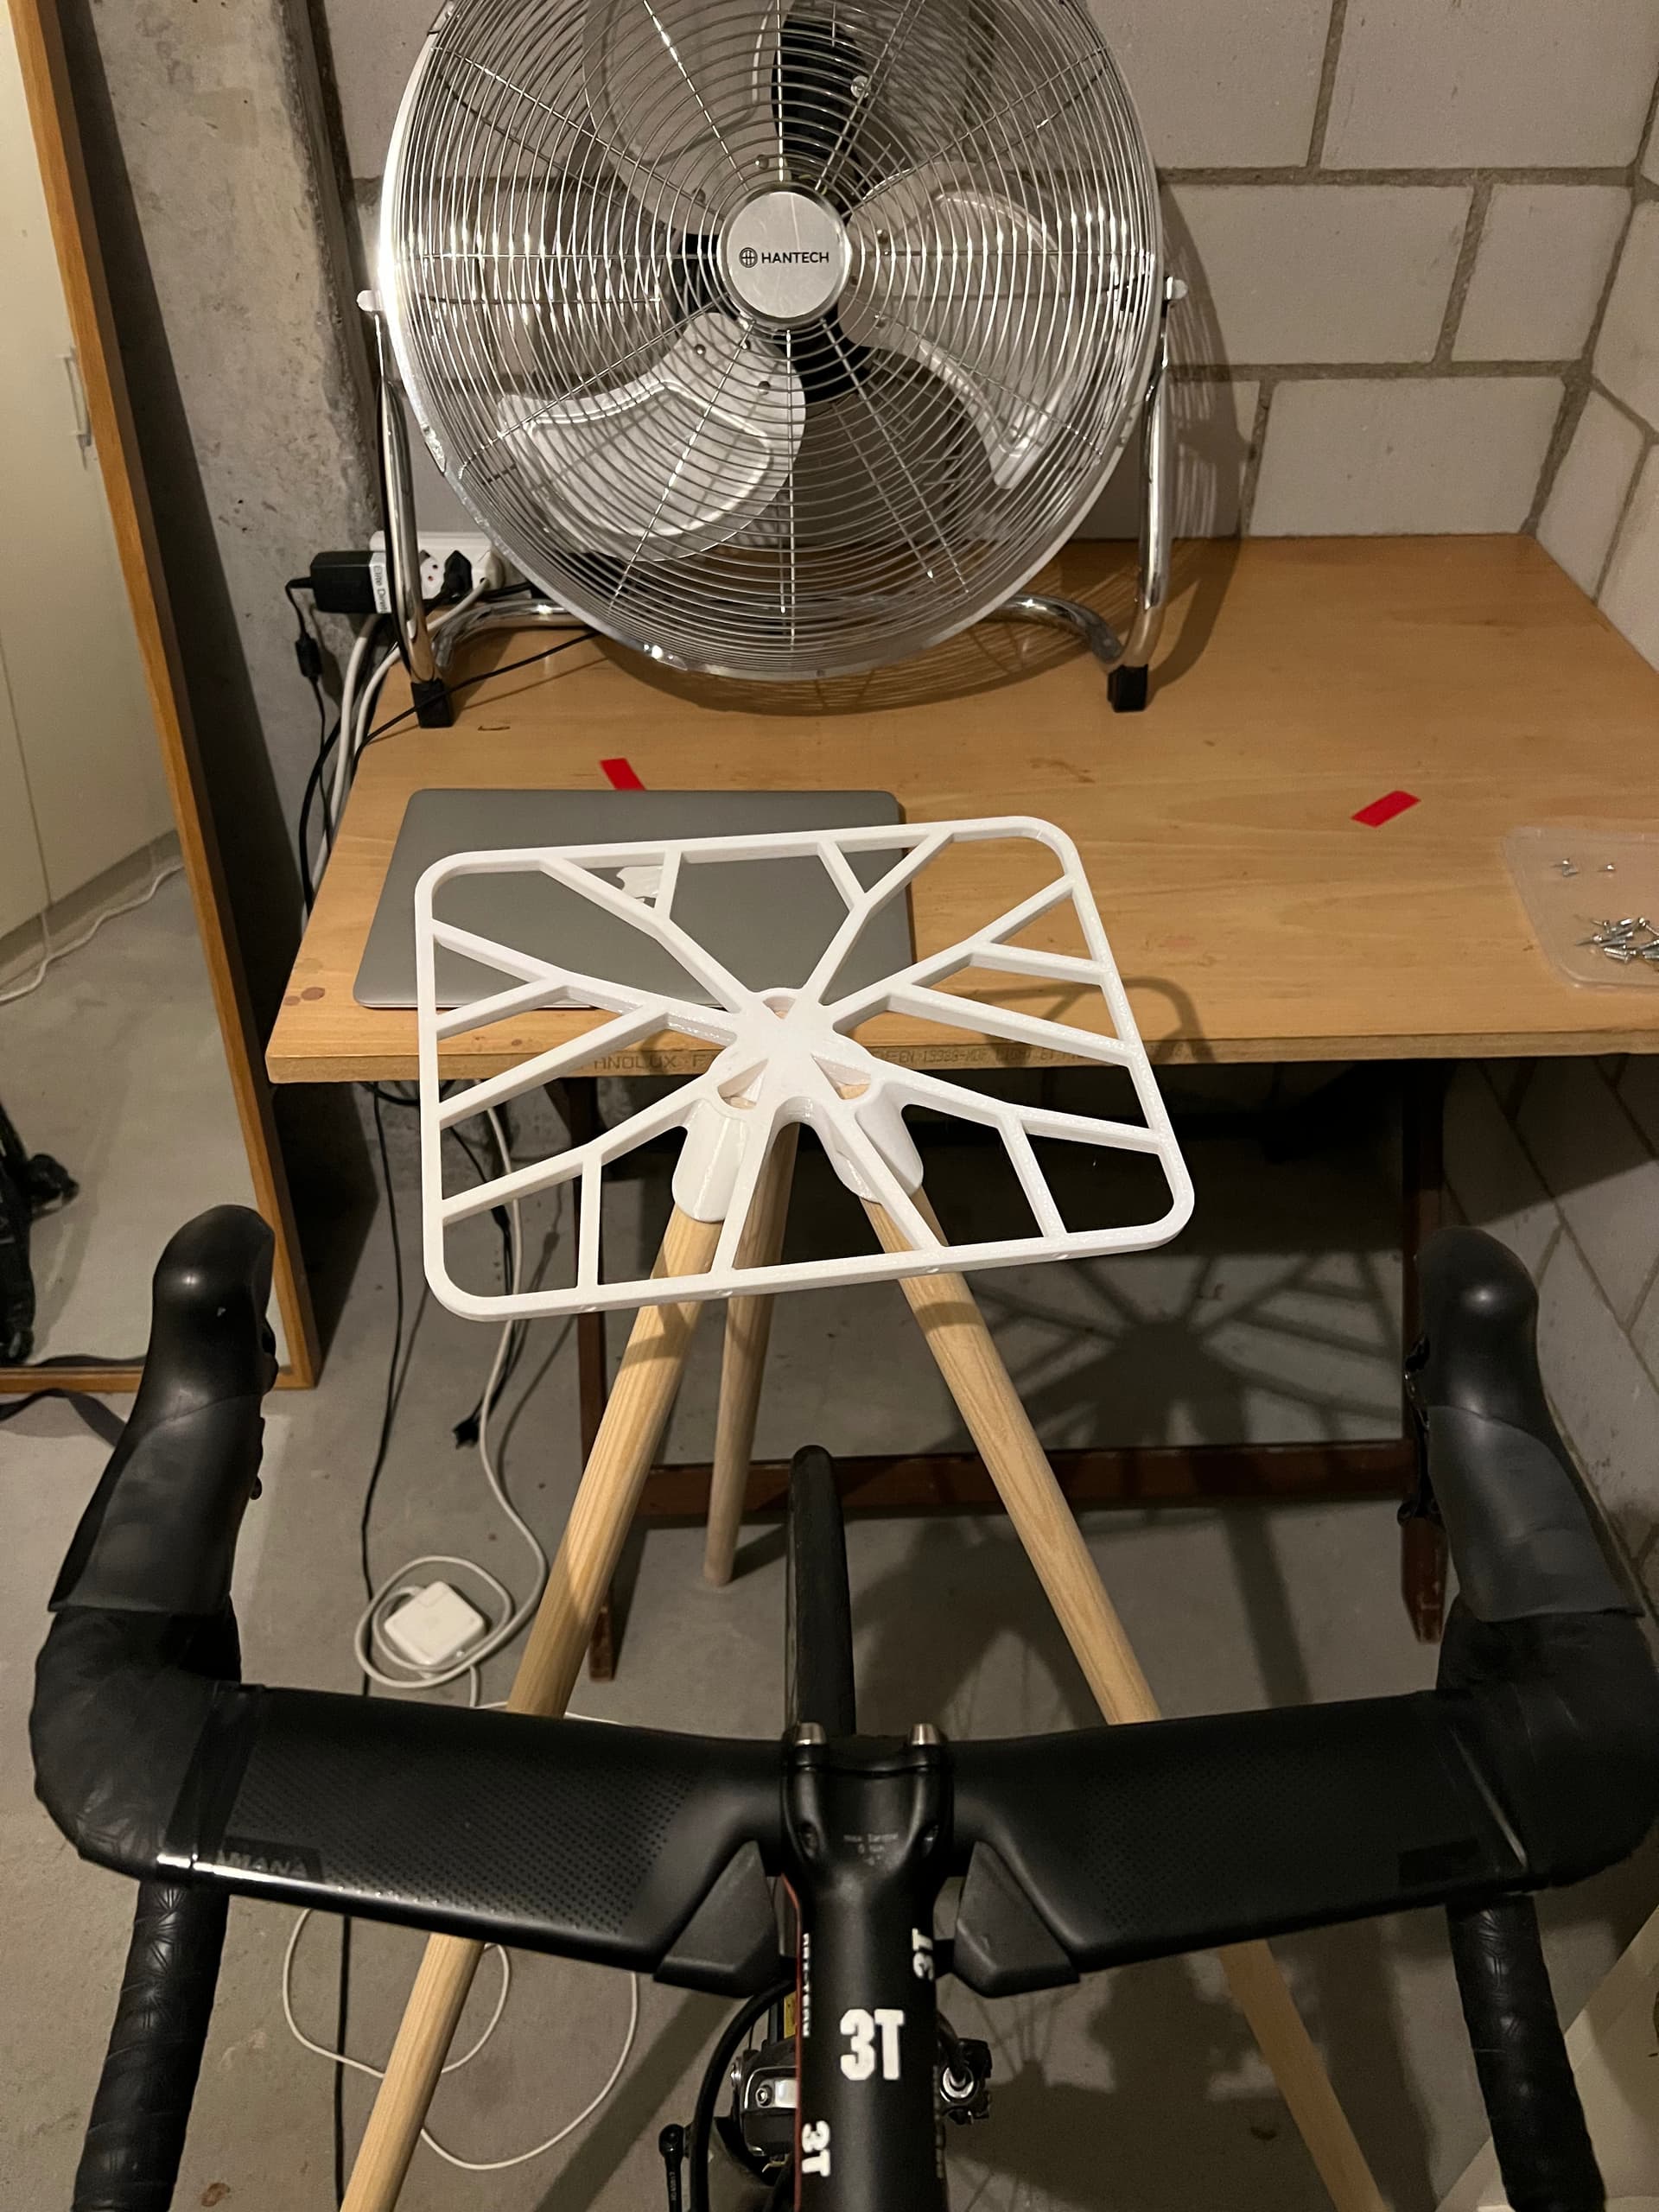
That said you can make cool stuff with any printer. A recent project going beyond small cylindrical objects was the laptop stand for turbo training inspired by the Tons stand but with more interesting organic design and $10 cost rather than $290
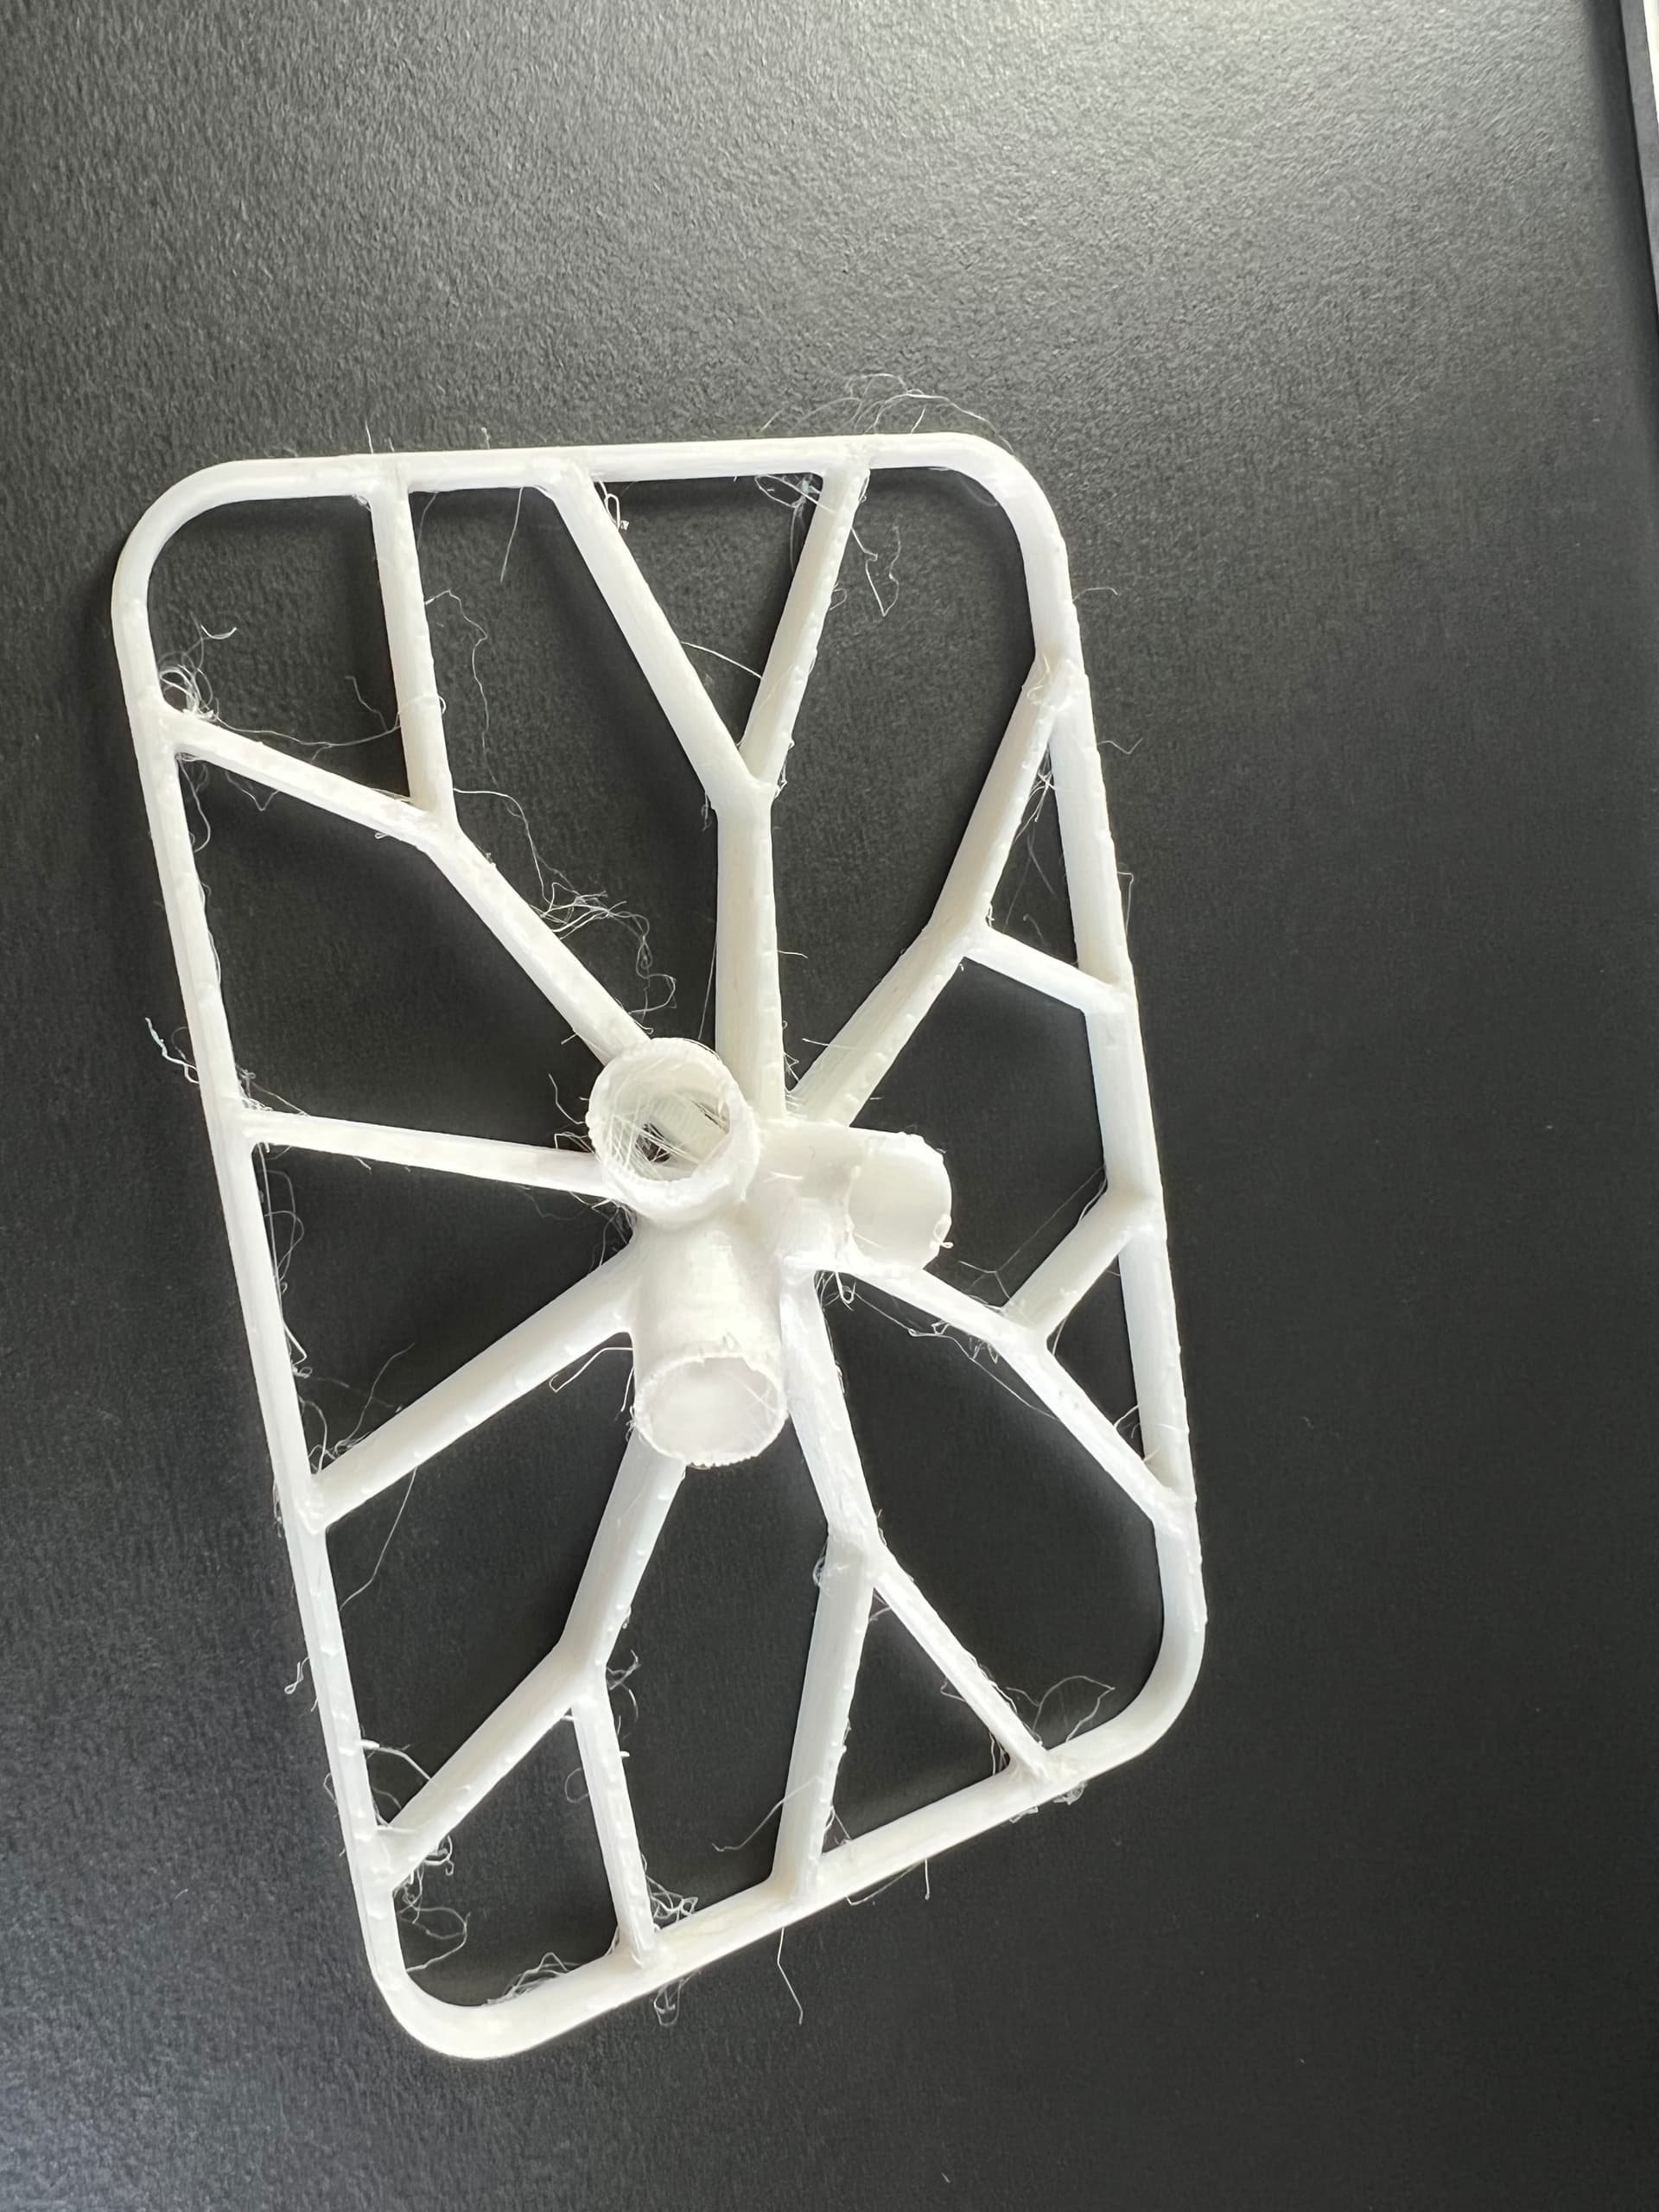
Pictures are not in order, but they show one of a few the 50% size prototype I made (1/8th print time by volume, hairy because I printed faster).
The finished object fills a 30x30cm print plate. This required a few tries to get right because printing long thin beams meant the plastic shrunk away from the build plate after a few layers. Solution was brake cleaned build plate plus a raft to stick everything down.
The design took maybe 20 hours because there are a lot of details to tweak and internal geometry to make the legs easy to fit without having slant cuts on the legs. I found there are at least 5 ways to do everything in CAD and many of them are wrong or don’t allow you to manipulate the model efficiently. The model is parameterized so you can change the main dimensions, leg lengths, offsets etc and the model updates to suit.
Work was done on the laptop shown old Macbook Air plus a Mac mini. Both run Fusion and slicers easily for simple models. Main trick is to close other stuff so you don’t have 101 other windows open at once.
Before buying a faster computer I’d buy a big screen (not one of those wide but not high gaming screens), then a 3d mouse which allows you to manipulate the drawing more easily.
The other interesting advance is using gen AI to manipulate cad models, as cad models are just fancy programming at heart.
Thanks for the detail.
I don’t need another expensive or time-consuming hobby, which is why I decided against the Creality. Designing my own stuff is highly unlikely too - I expect to only print other people’s designs.
If you only want to print other people’s designs, you don’t even necessarily need a computer. Bambu has a mobile app that works with their printers. Even if you want to use a desktop version of that or other slicers, slicing is not that resource intensive. As long as you meet the minimum system requirements for the slicing software you’re using, you should be fine.
(for clarity, there are broadly two steps to a 3d print - first is designing the 3d file itself in a CAD program, which can require some decent computing power, the second is “slicing” that 3d file into something the printer can read. The slicing step needs to be done for your specific filament, printer, quality vs speed requirements, etc. so is always done at point of print.)
Slow reply - but, wow, thanks that’s really cool. Did you find files on this, or work it up from your own scans?
I’ll see who might print locally (and will explore if I can get my own, too - excited to learn more of this). @OffbondageFanboy Thanks mate ![]() will let you know how I go once I’ve got some printing options!
will let you know how I go once I’ve got some printing options!
Others have mentioned this, but the printer itself has a computer running it. You only need a computer to slice (i.e. process the design for your printer and filament). That’s a very easy task, I’ve done it on a Raspberry Pi. And now Prusa (my printer brand) has an app you can do it on, so you only need your phone. So no need to worry at all about whatever system you’ve got.
However if you want to create your own designs, CAD software can require quite a bit of computer power (although still doable on a basic laptop). But then again, if you know how to do CAD work, you know more than me ![]()
Let’s just say I sit at the source, didn’t have to do too much digging. You’re welcome, I am happy to help.
What material did you use for your cable guides? I’ll be curious to see how well they hold up in use. About 6 months ago, my son designed and printed a custom cable guide for his Allied All Road because he wanted to do a dropper post, so he needed to get another cable in through his down tube. It only lasted about 3 months - the derailleur cable tension going thru the ABS was too much. Perhaps PETG or some carbon reinforced material would be more appropriate, but I think he’s thinking he may need to CNC something out of aluminum.
Hi William.
I really like PCTG for functional prints: NZD$49 and especially PCTG co-extruded Carbon fiber core NZD$79 1KG 3DEA co nz
3djake lists 18 different types of black PCTG from multiple brands , I’m sure you will find some wherever you are
PCTG is similar to PETG (has less glycol I believe) and offers significantly higher toughness, impact resistance, and thermal stability. It has great UV resistance, is almost isotropic, and has better chemical resistance than cheaper materials, and it is food-safe. It also prints without and enclosure. I have a Bambu A1 .A few points about
Not all CF is created equal.
The cheapest CF filaments just have CF powder/dust. they will look good, but it won’t enhance much else.
The size, amount and distibution of the fibers affect the physical properties.
Some Carbon fiber will decrease “strength “through lower interlayer bonding strength, but increase accuracy and wear on parts it touches while decreasing lifting, warping.
Co-extruded CF chopped carbon has higher tensile strength and toughness. while maintaining its interlayer strength.
CF continuous fiber has far superior physical properties but the machine cost more than Tadej’s Y1Rs.
Regards GC
Armchair engineer (but the arm literally fell off!)
Ps Sorry for the spelling and grammar. Dyslexia is my first language.
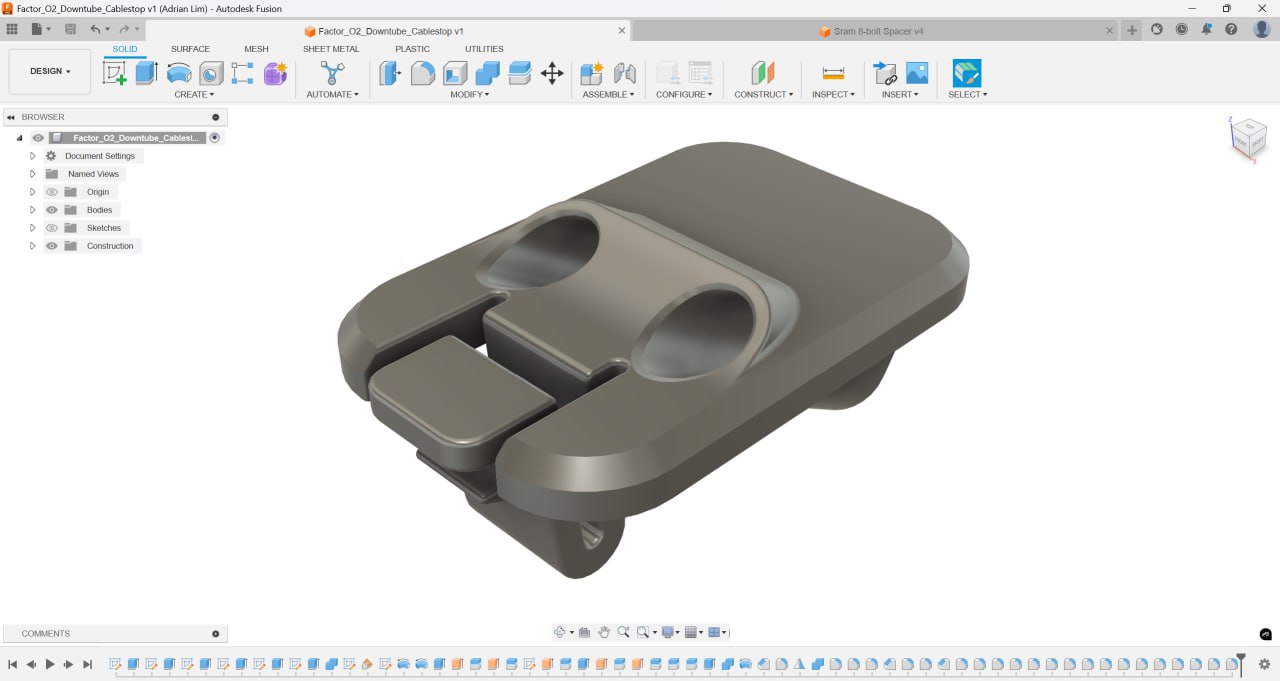
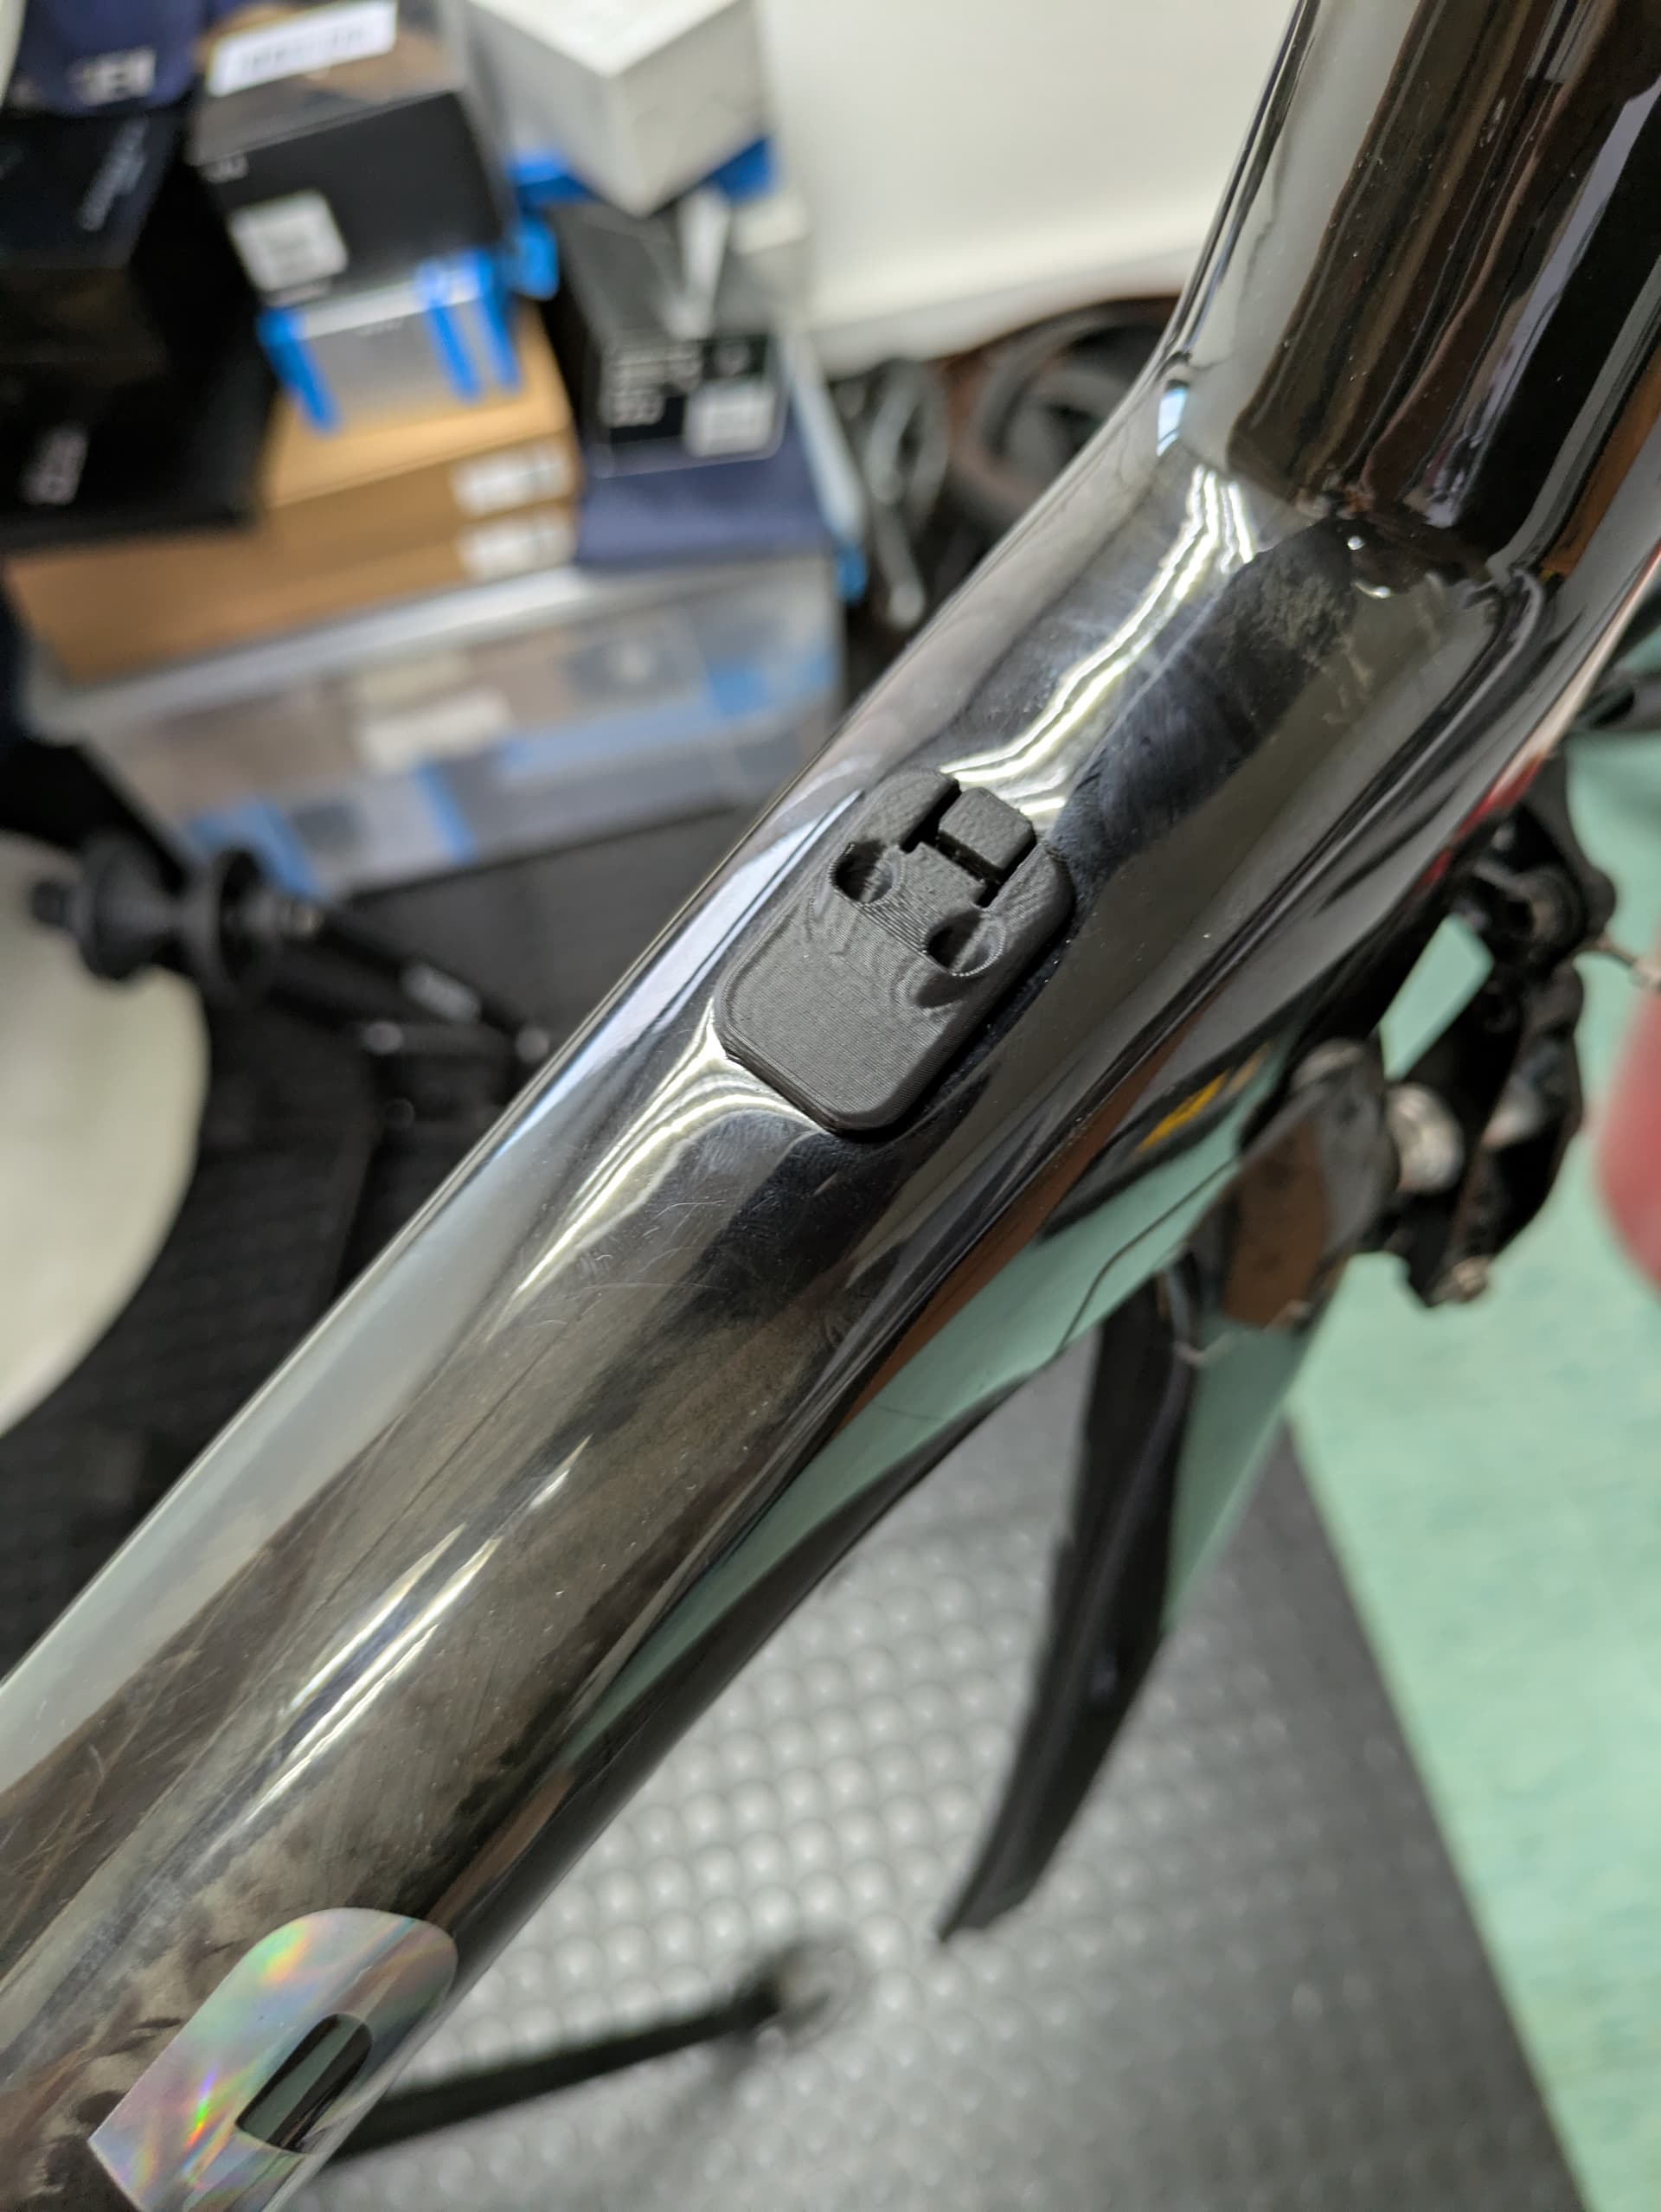
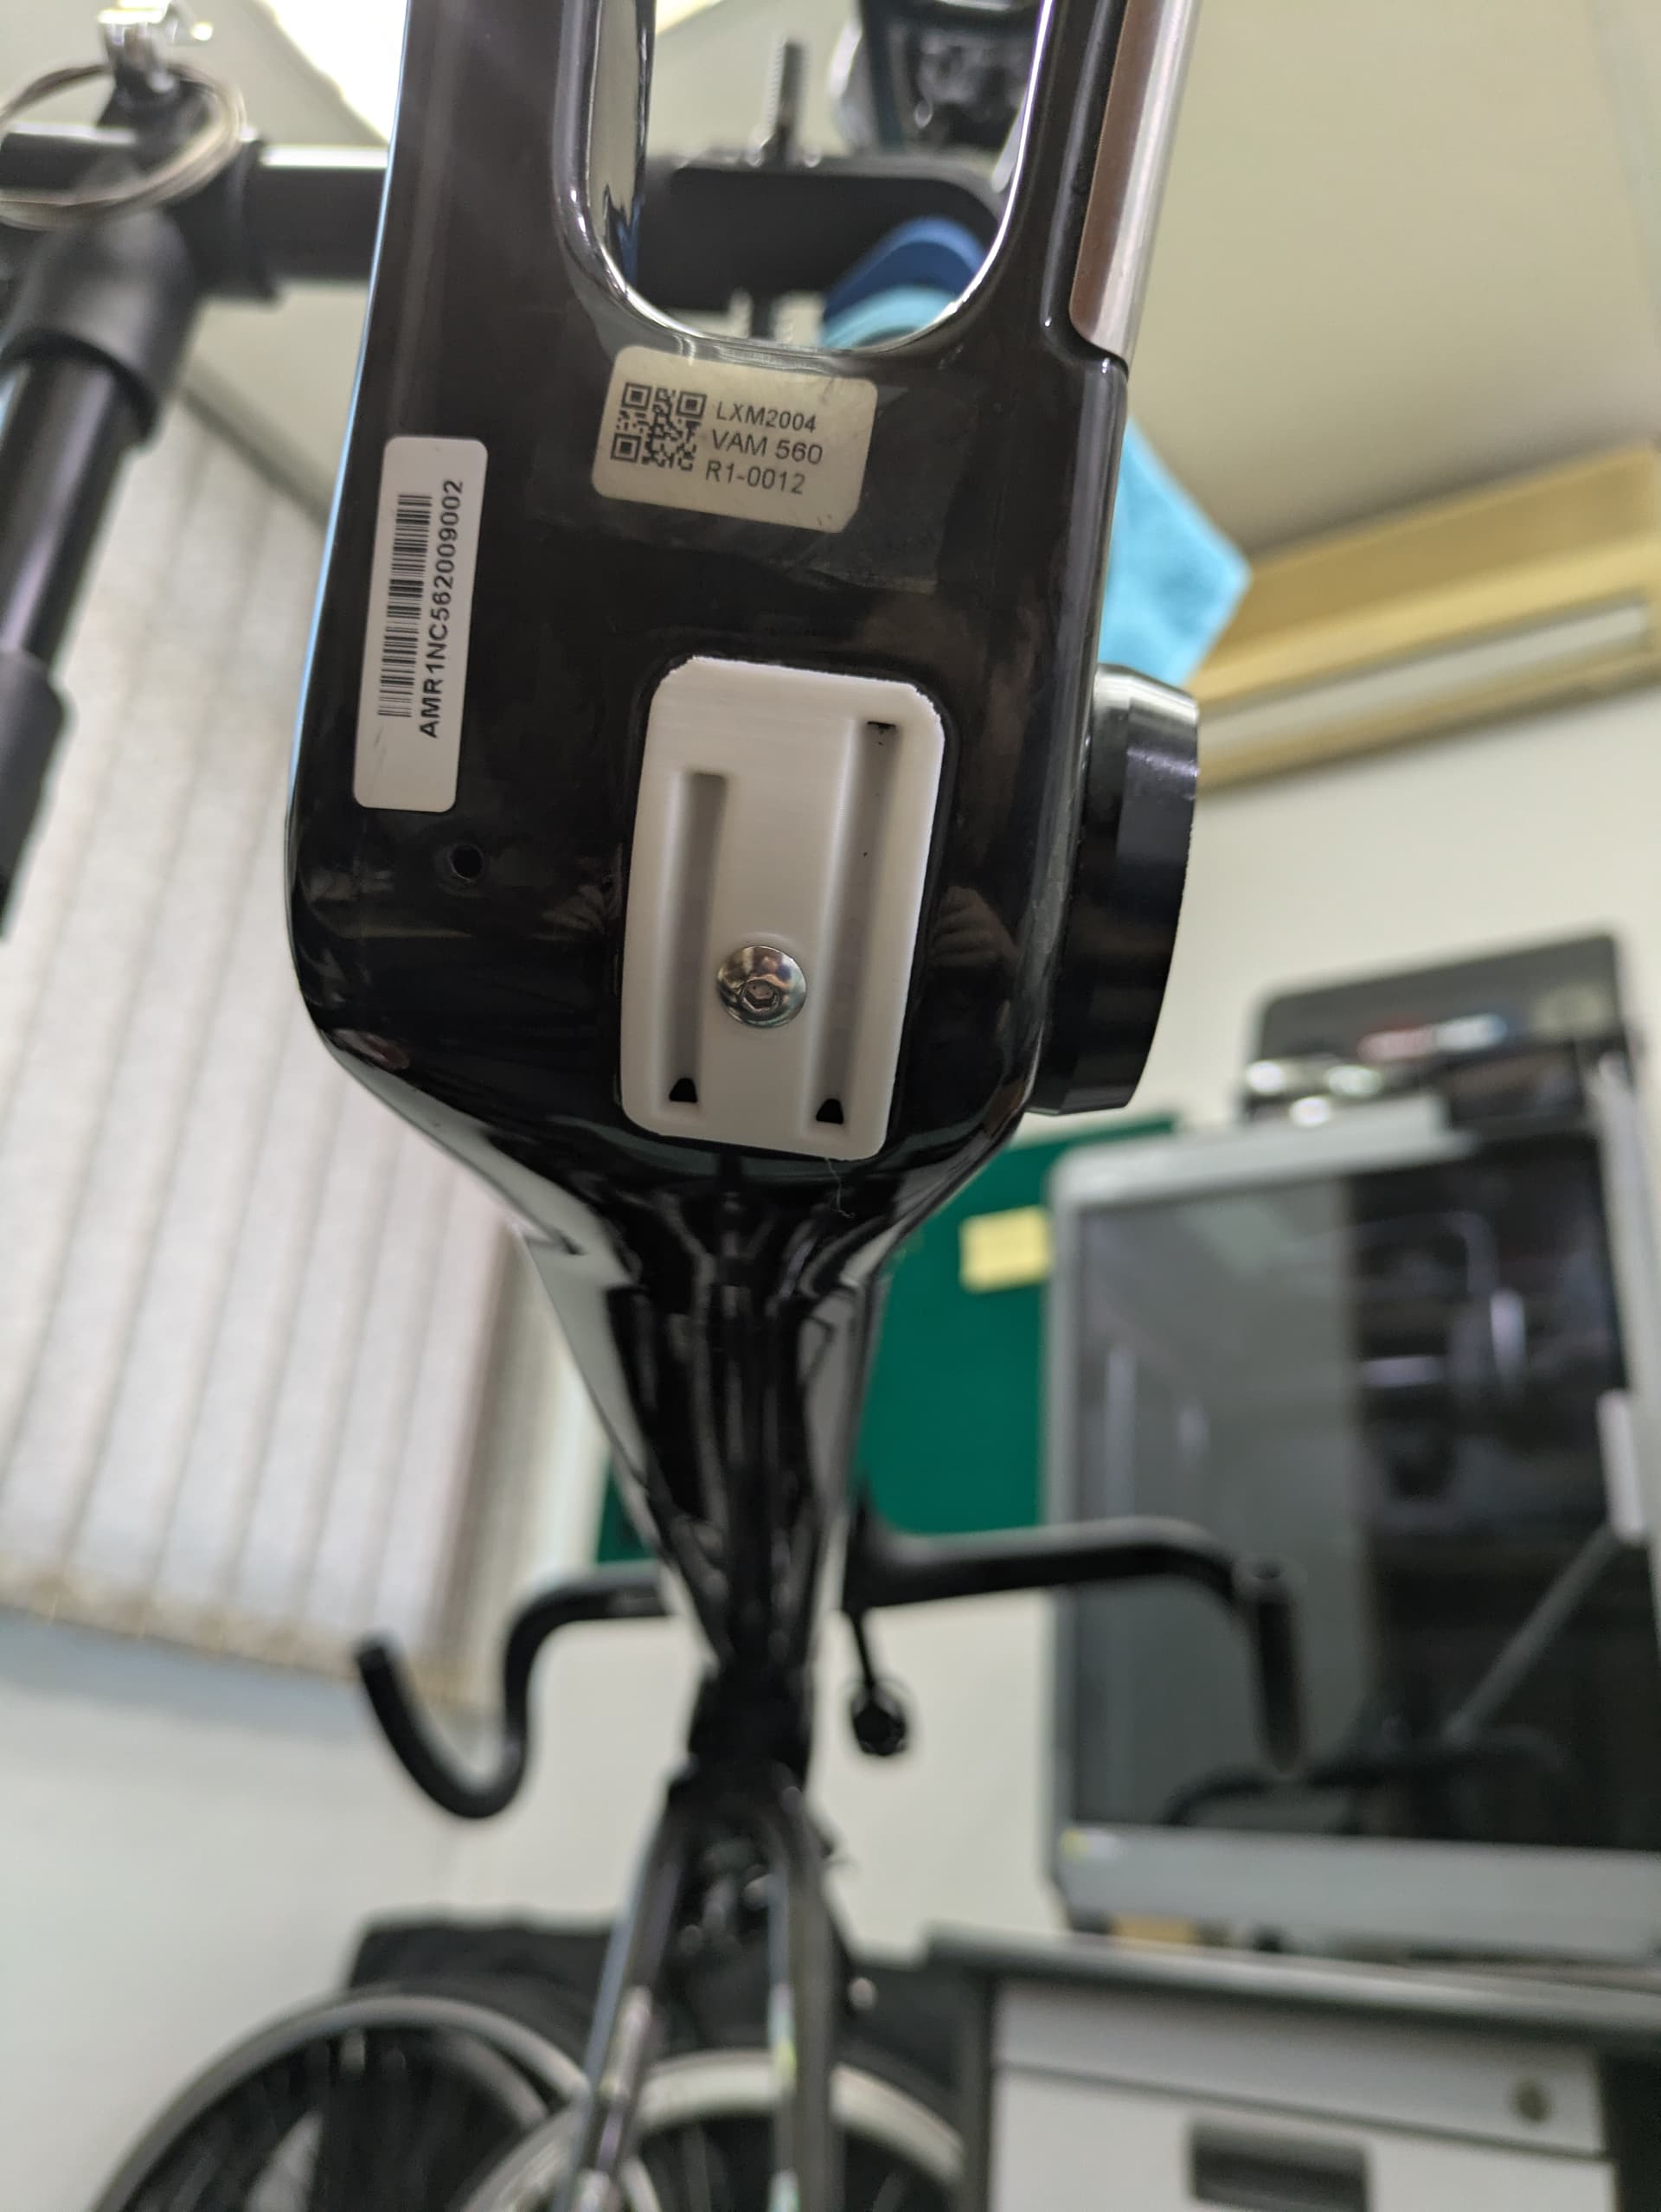
You’re right. I’m using my own printer (FDM) for prototyping to check part fitment, but the final part will be done using SLS PA12 Nylon (outsourced). I suppose the BB cable guide could be just PLA, since the stresses are more compression and not shear compared to the cable outer stops at the top of the downtube and end of the chainstay.
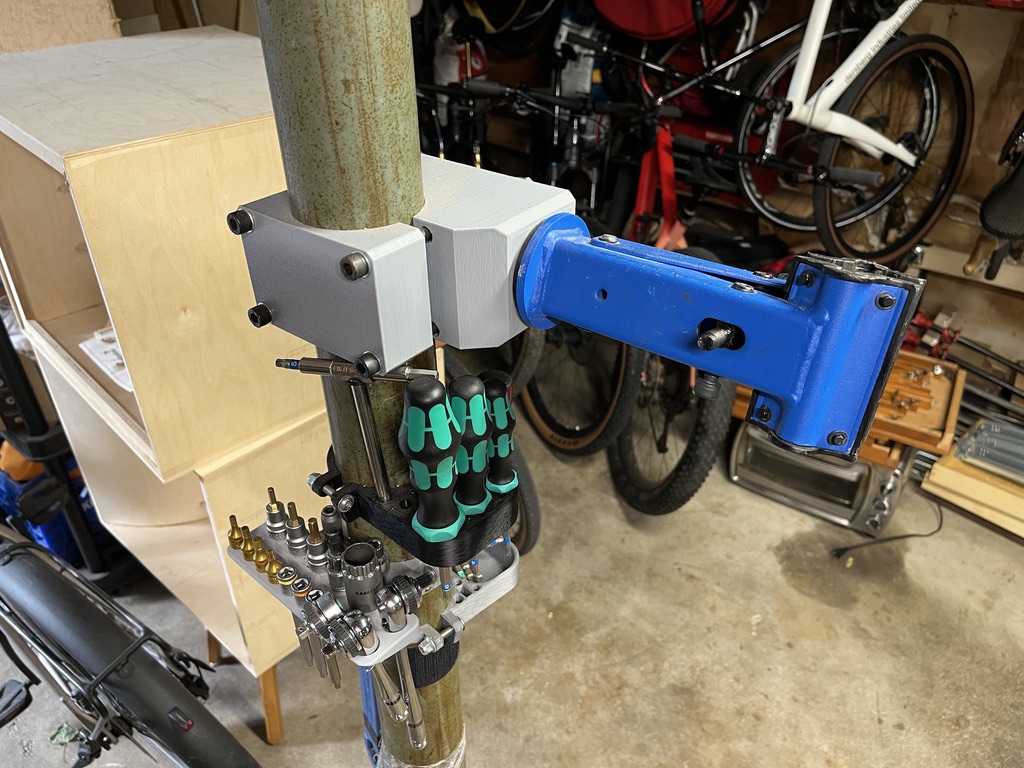
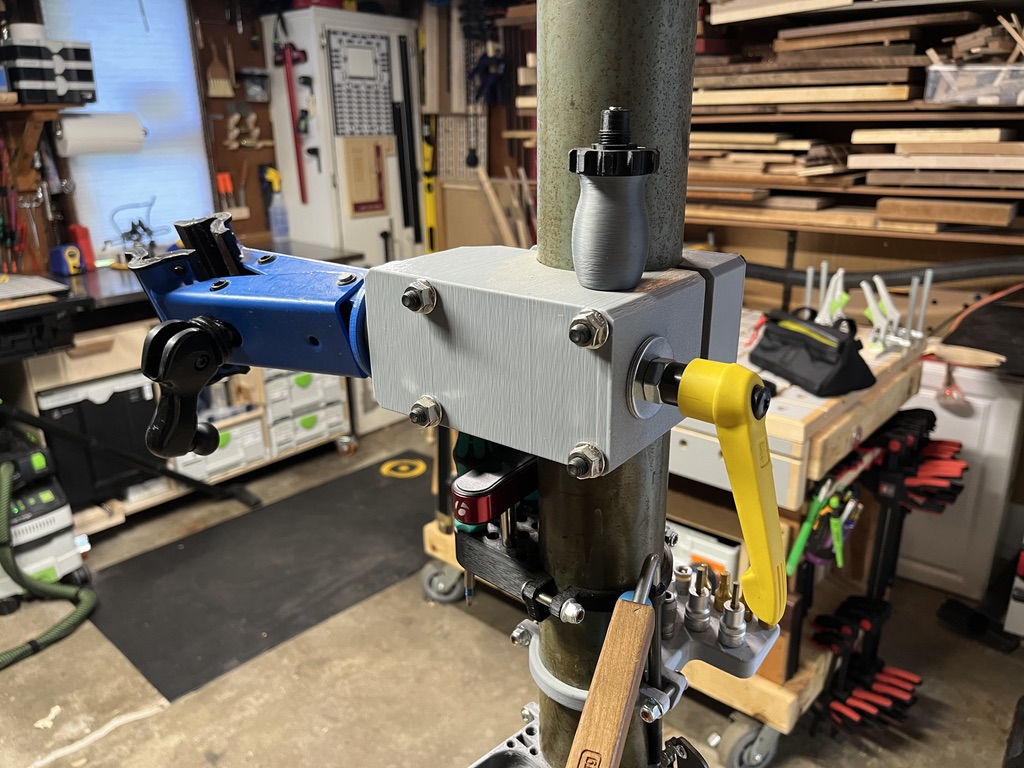
My friend (hi Royce!) already had a 3D printer when he won a cheap Sovol through some IG contest, so he gave it to me. And wow, even a cheap printer has been an awesome addition to my making habit/addiction. My garage is half bikes and half woodworking, and there is just so much fun stuff you can make. Here are a few of my favorite bike-related prints:
Here’s a few designs I’ve done.
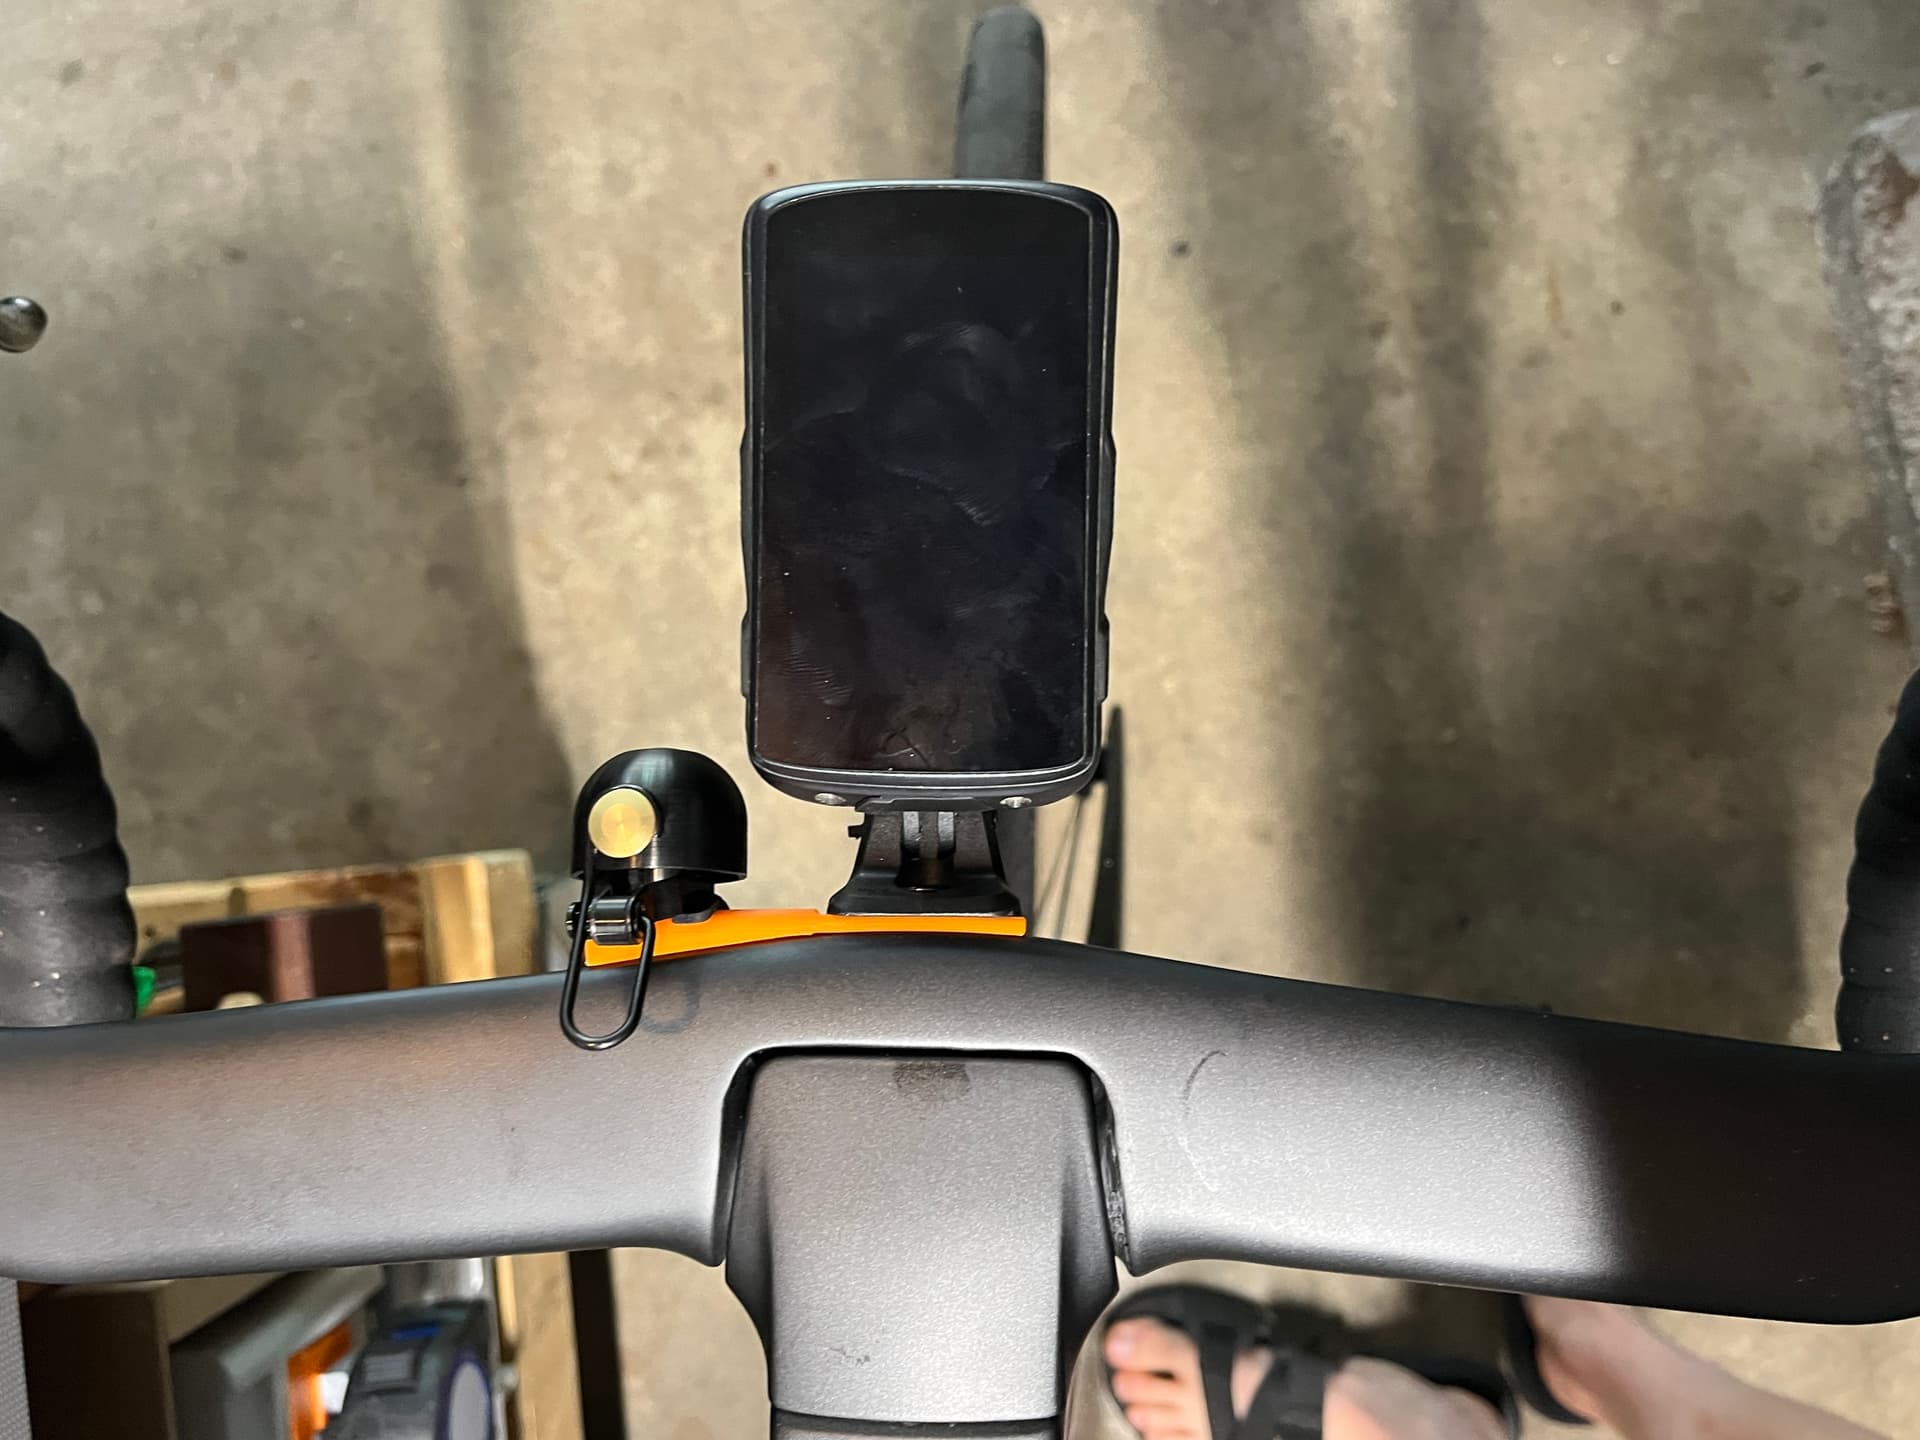
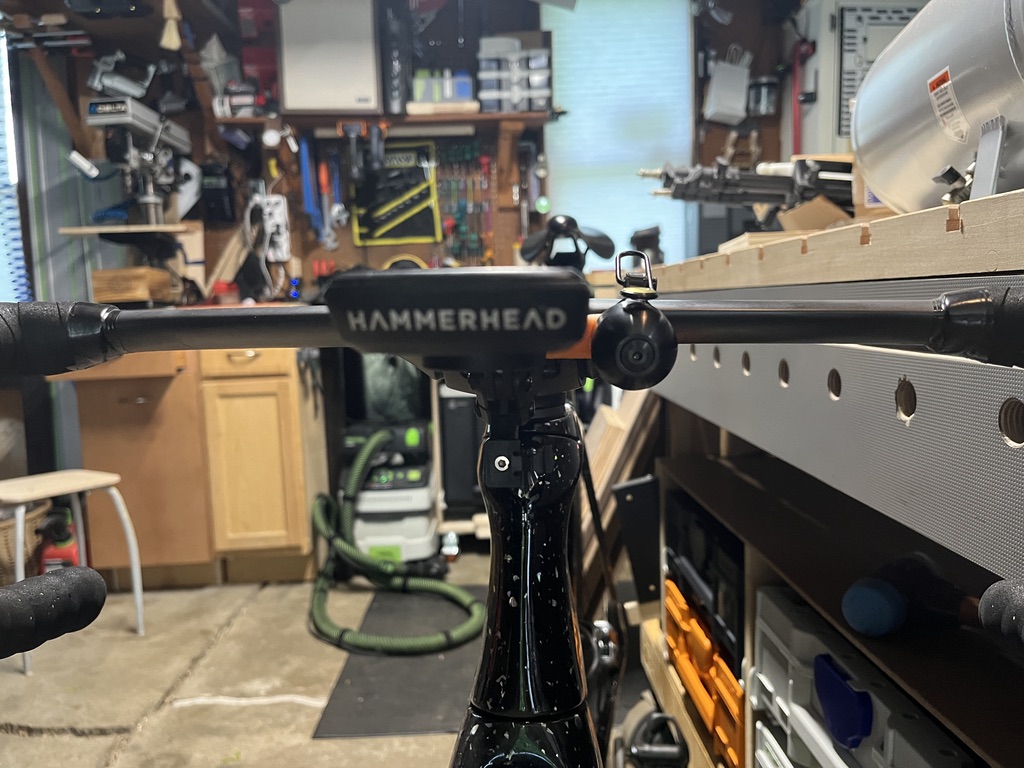
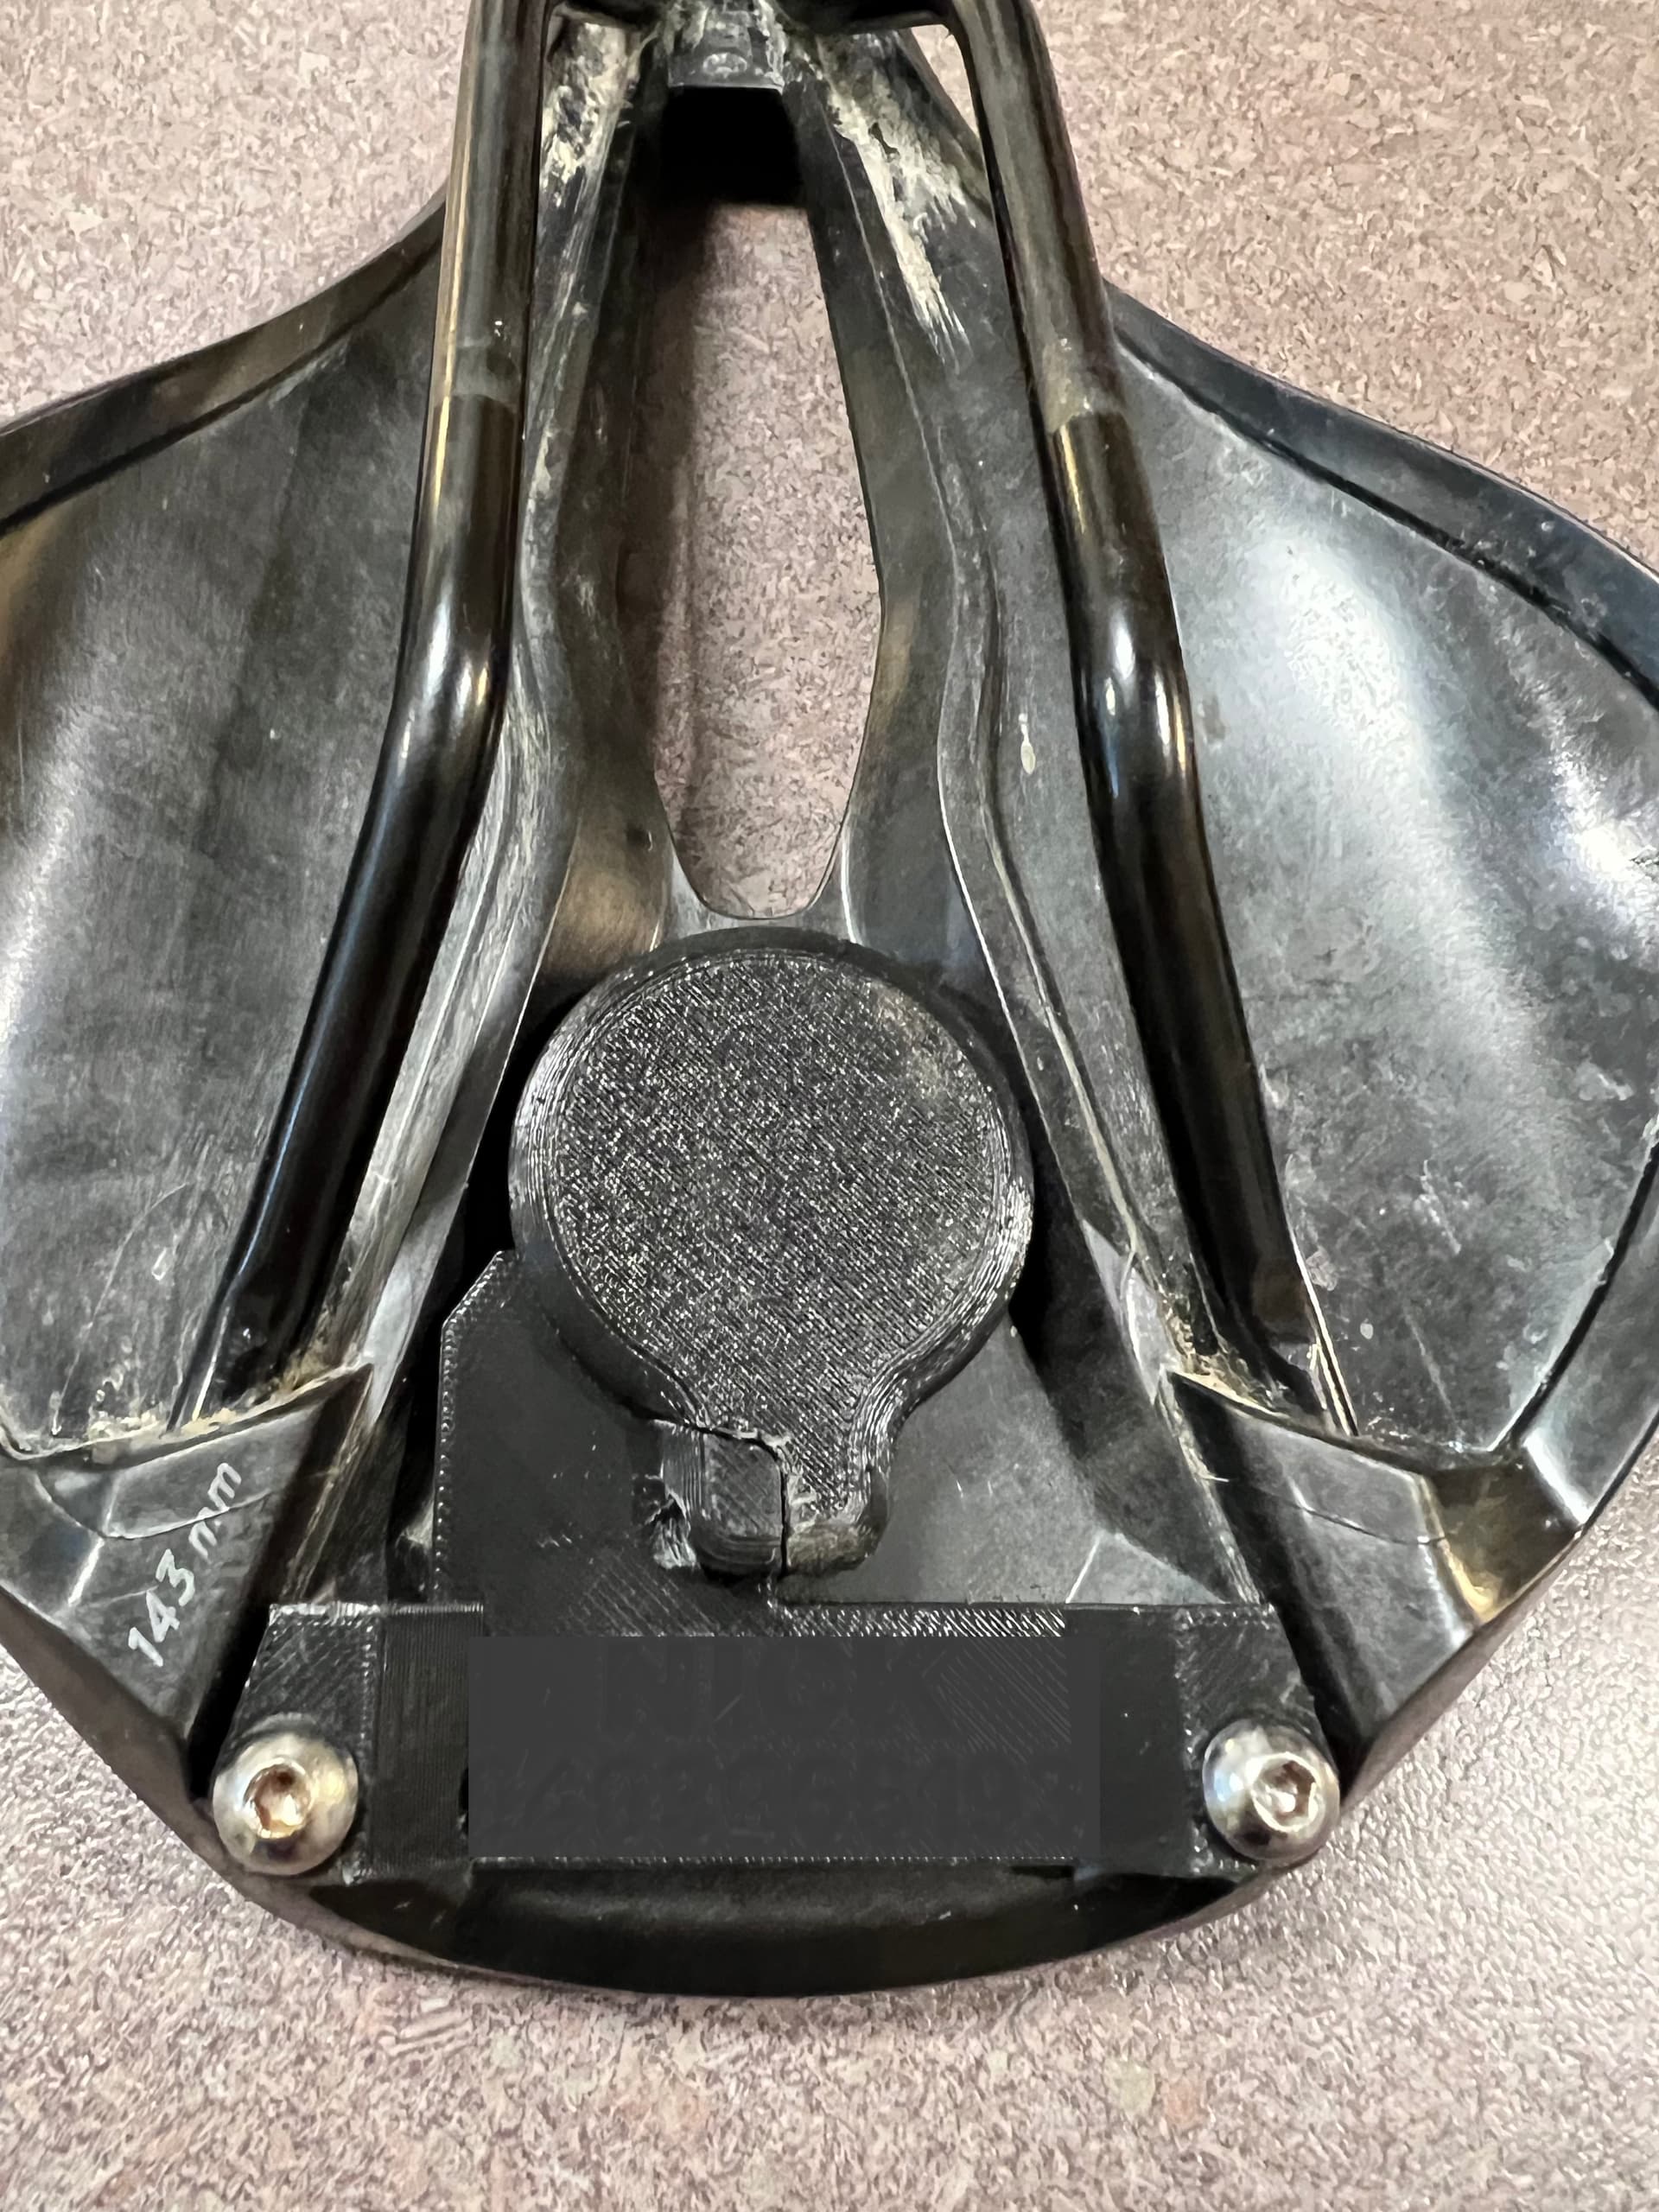
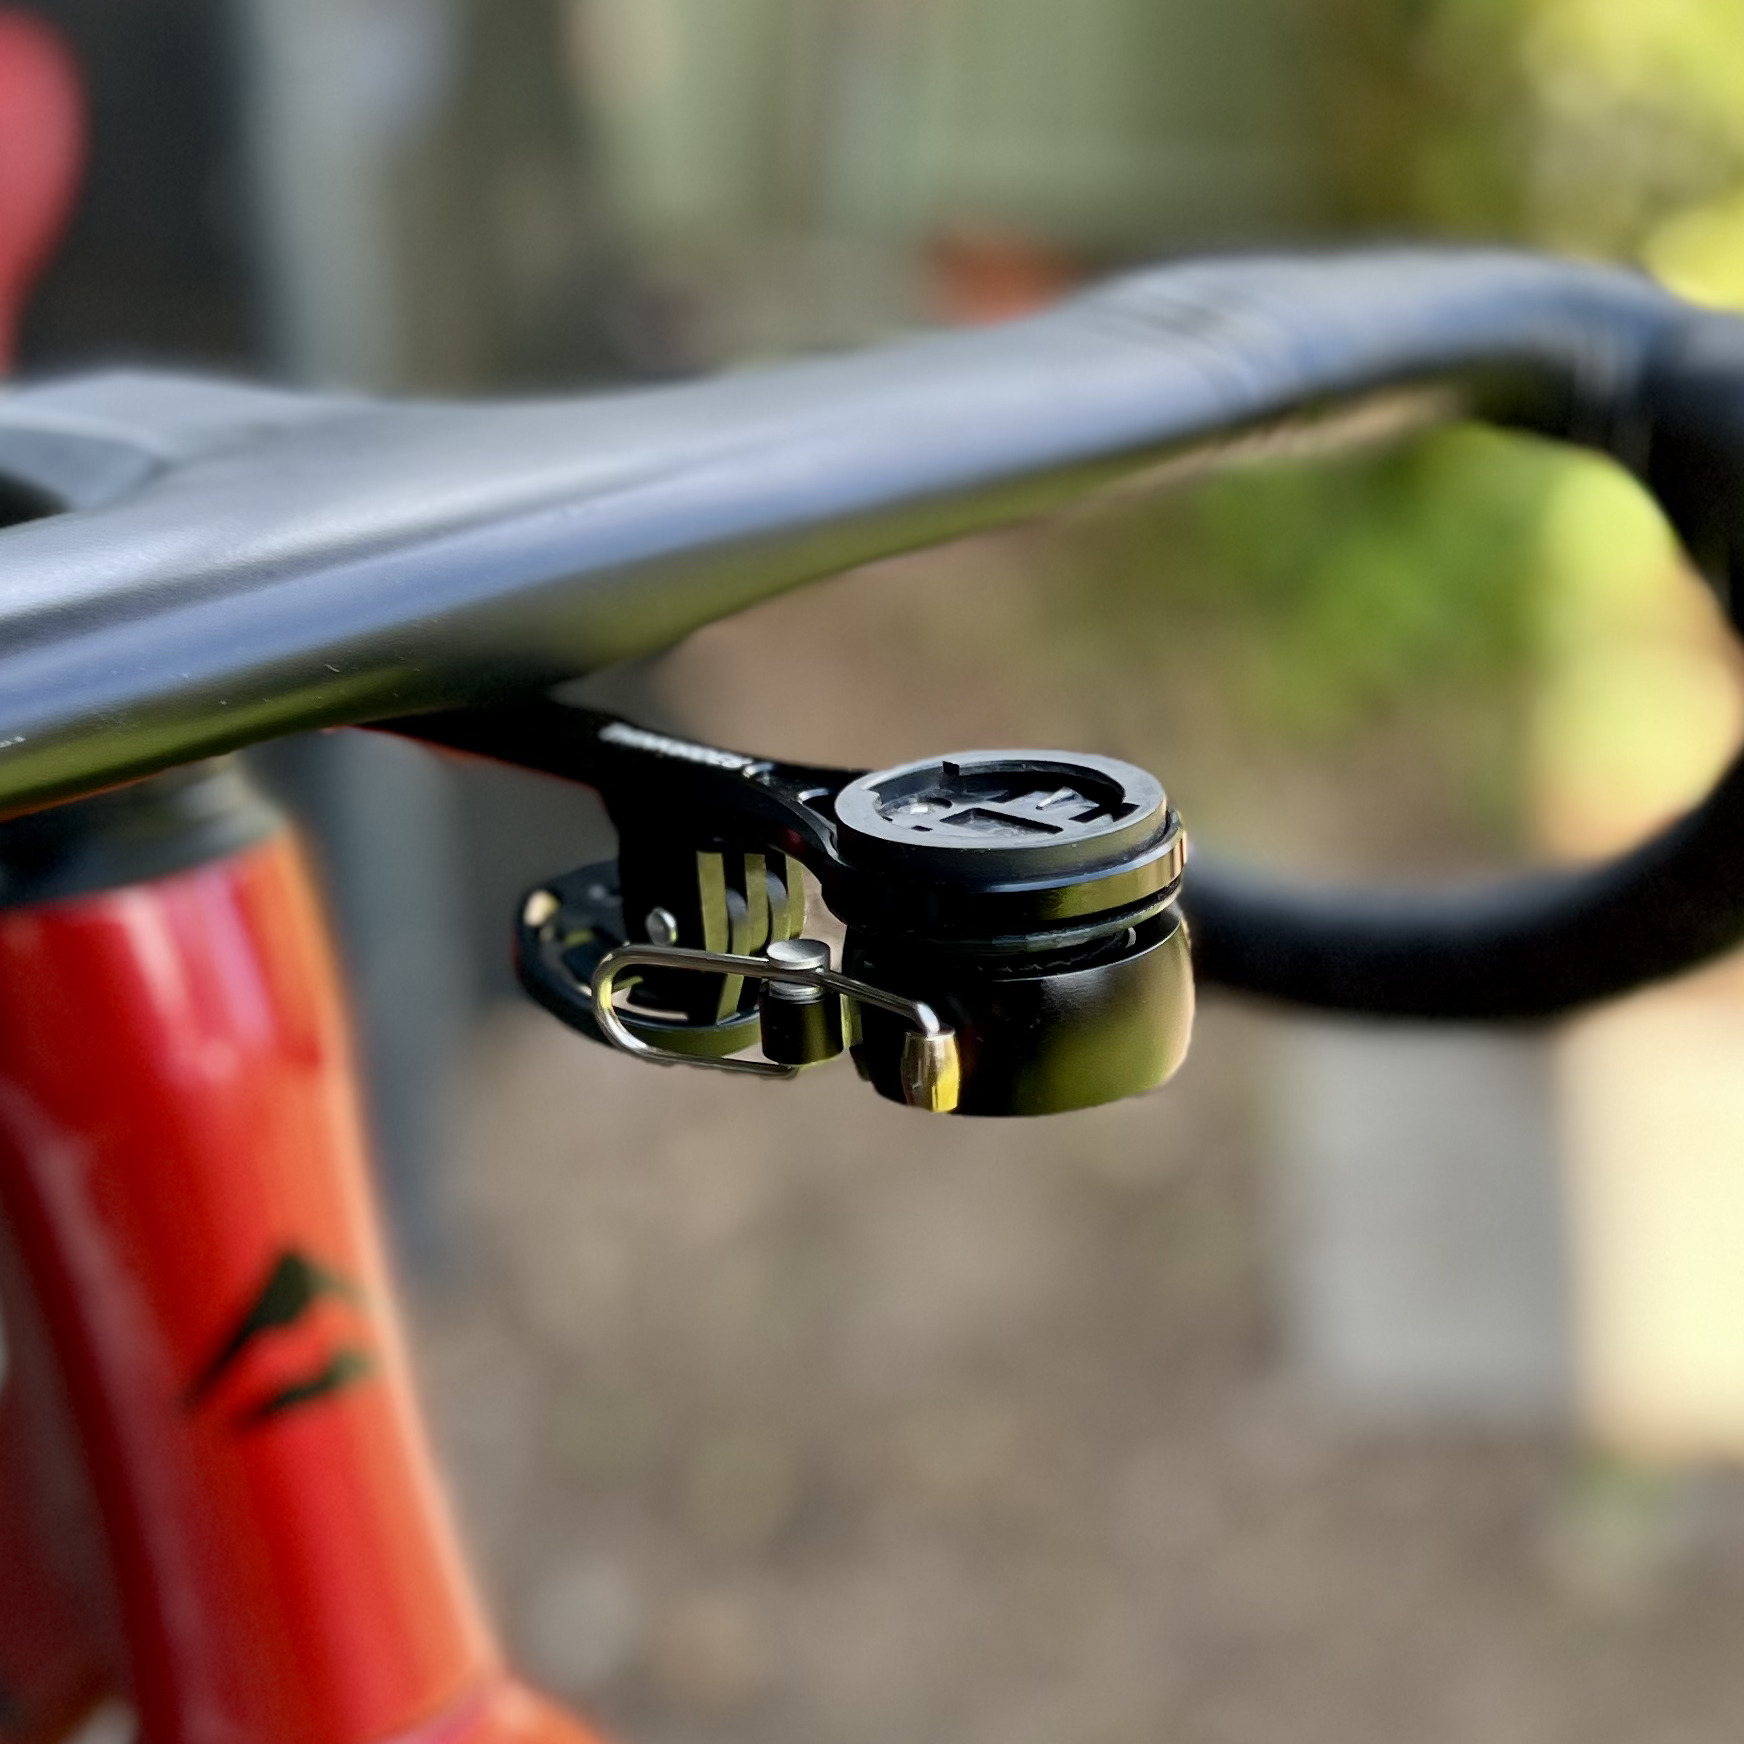
Stealth AirTag holder for Specialized saddles and a under-mount attachment for a Knog bell.
That knog bell looks good
So I was finally able to let loose with my new A1 yesterday. I hadn’t fully realised quite how big it was going to be, but it’s not so big as to be a problem - and it was always a determined choice based on not wanting to be hamstrung by a smaller print capability.
It is superbly packaged, it went together really easily, and it’s super easy to use with the touch screen, the app and the Bambu Studio software to slice a downloaded design ready to print. I did have a slight issue with it picking up the filament initially, but a quick Google yielded an easy solution to that.
The first few prints are out and I’m really happy with it. I now need to move it out of the kitchen - I think my wife is only even vaguely accepting of that because it was my birthday yesterday, but I’m pretty sure my safety window on that has now pretty much expired!
The challenge there is that I want it in my workshop, but that gets damp when it rains and pretty hot in the summer - I’m not sure either of those things are conducive to good management & storage of the filament, let alone being the best way to take care of the machine itself…