10mm I think, I’ll have to check, it’s all packed away now.
The other option regarding ski waxing is to build a wax box. Imagine a coffin with the ski vices inside the box. Then you wax and scrape the skis and all the wax stays in the box (in theory). When done you could use pulleys to lift the whole lot up to the ceiling for storage.
https://www.rei.com/blog/snowsports/diy-how-to-build-a-portable-ski-or-snowboard-waxing-table
1 Like
Time for an update.
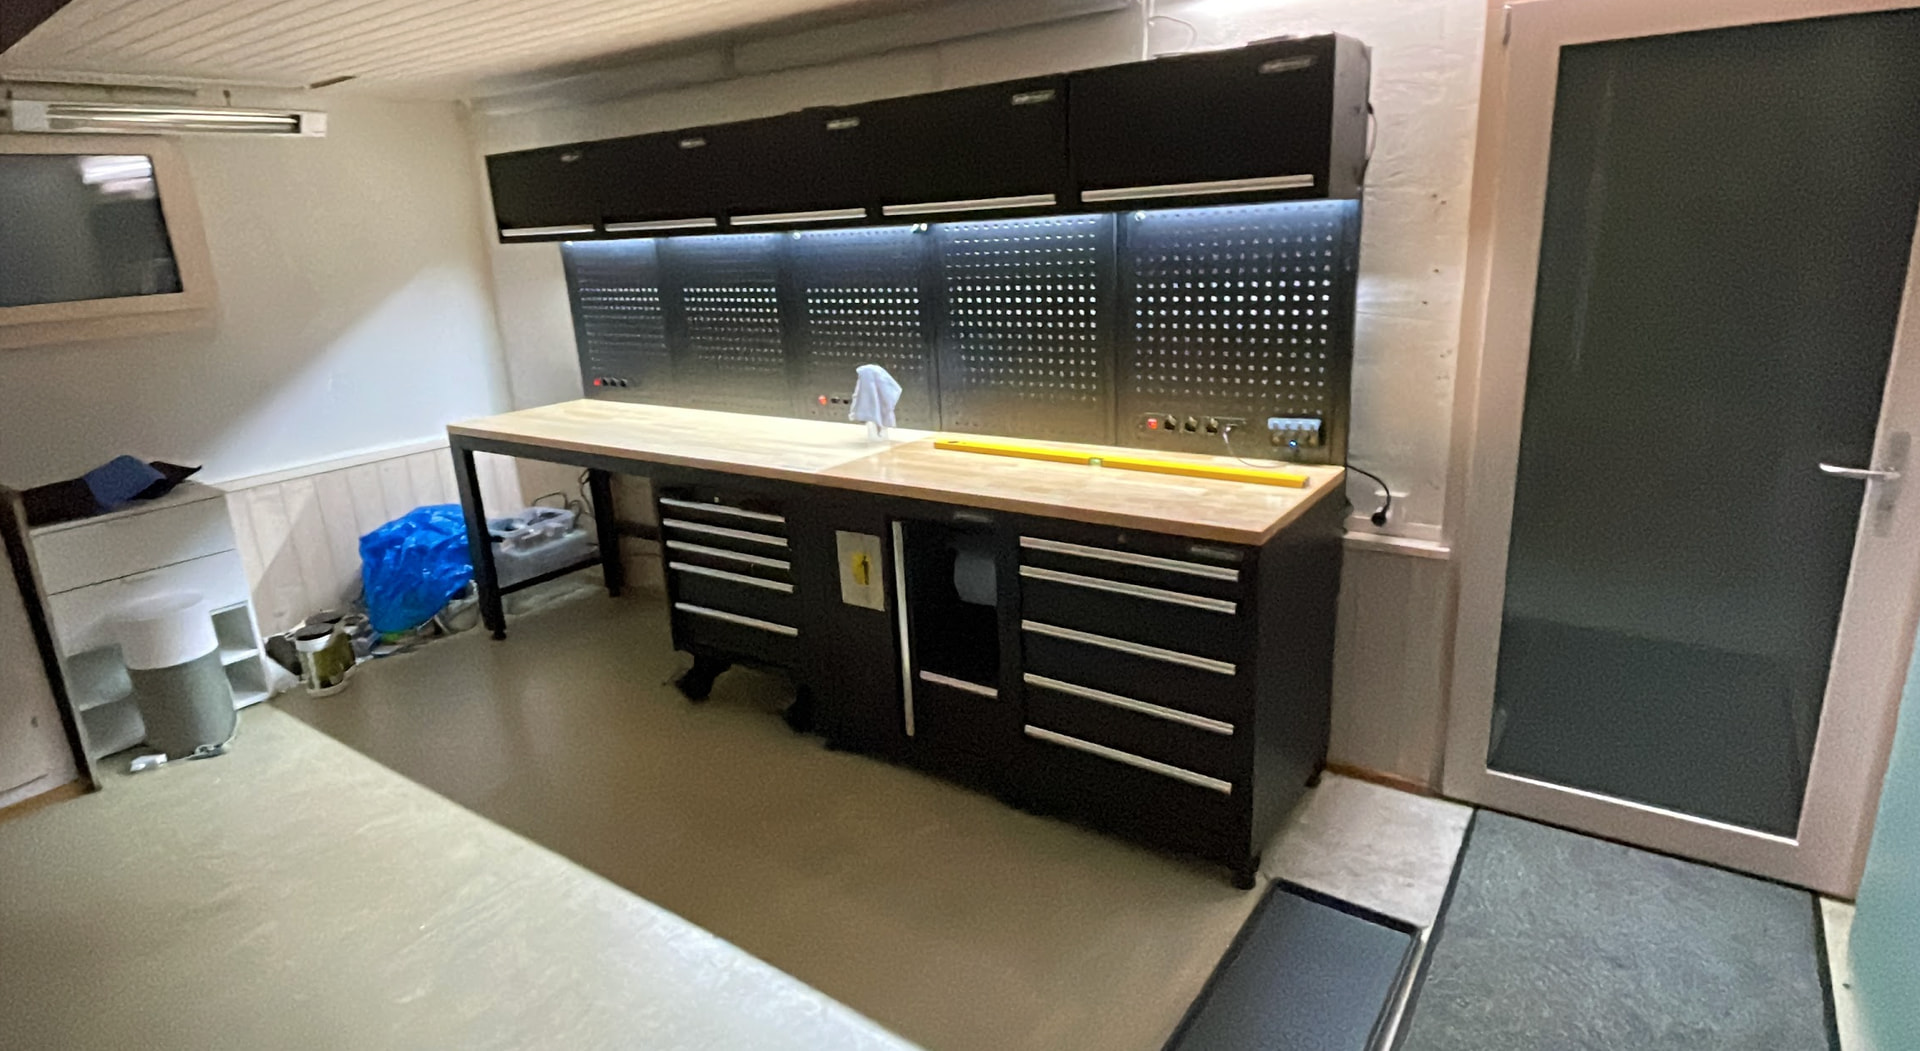
I had to swap the room for the workshop and the bike storage, but that means the bike storage is smaller, but the workshop part can be a lot bigger. The cross country ski waxing setup is in the bike storage part and the 3d printer (prusa core one) is in the workshop part.
- I ordered the Kraftmeister stuff, overall it is quite good and talking to them was efficient and helpful.
- The LEDs in the top cabinets are awesome, but they cause them to not have a flat floor, so you do lose usable space there.
- The pegboard panels are not flat against the wall here. due to the wooden lower wall sticking out. They can oscillate a bit because of this. For this reason I decided the 3D printer does not get a spot on the workbench (+ it was taller than expected anyway)
- Drawers are awesome and especially the thin ones. I will expand the workbench (picture below) into a full L shape with two more cabinets with as 5 low ones and two high ones each. For scale, the long side will be 4 meters long, the short side 2.
- That expansion already arrived, two 85 kg cabinets stacked on top of each other. Each on their own mini wooden pallet. Given that I don’t own a forklift, unpacking was both a lovely puzzle as well as strength training …
- The drawers do not slide out 100%, there is a small part that does not come out, so this needs to be taken into account when doing the tool layout.
- The trash can cabinet is amazing, I debated for a while whether to buy it or not, as it takes up a lot of space for very little storage but I love it.
- Good quality foam for tool storage is amazing, and cutting out shapes is actually surprisingly fast. Designing tool holders with a 3D printer is a lot more work and requires many more attempts.
- I put my air quality sensor in this room, the 3D printer seems pretty safe. But Swix HS6 for the xc skis results in a crazy amount of PM2.5 particles.
- Still need to figure out where I want to put the vise
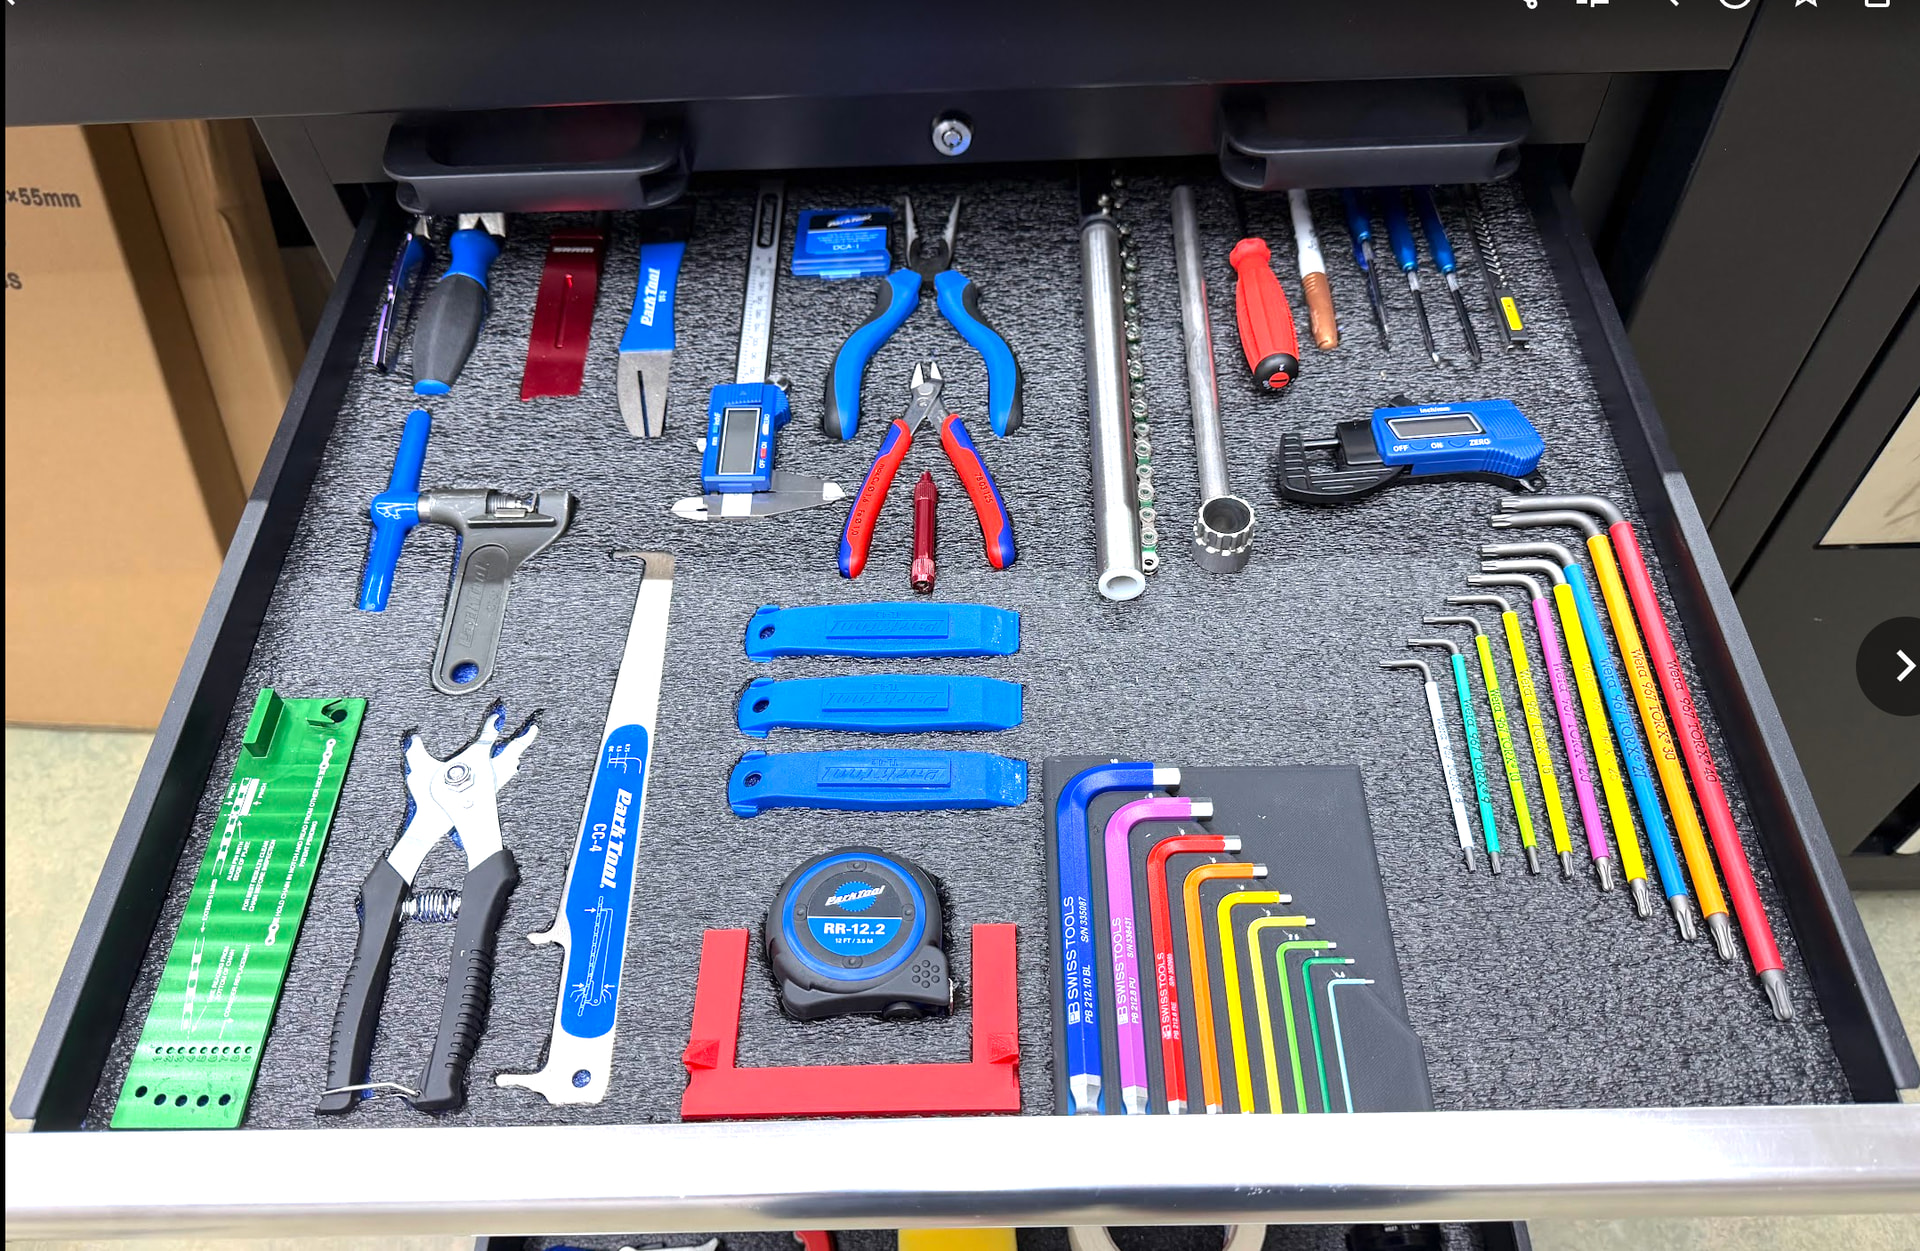
This is my main drawer for the key tasks I do most often
- checking brake disks and brakepads
- changing/measuring chains
- dealing with tubeless stuff
- casette installation / removal
- bike position stuff
The hex key holder is 3D printed because cutting out the 1.5mm in foam is a bit ridiculous. I took inspiration from the silca HX one for the design. I have an updated file in fusion to make is about 2cm less wide. Next one is a holder for the torx keys.
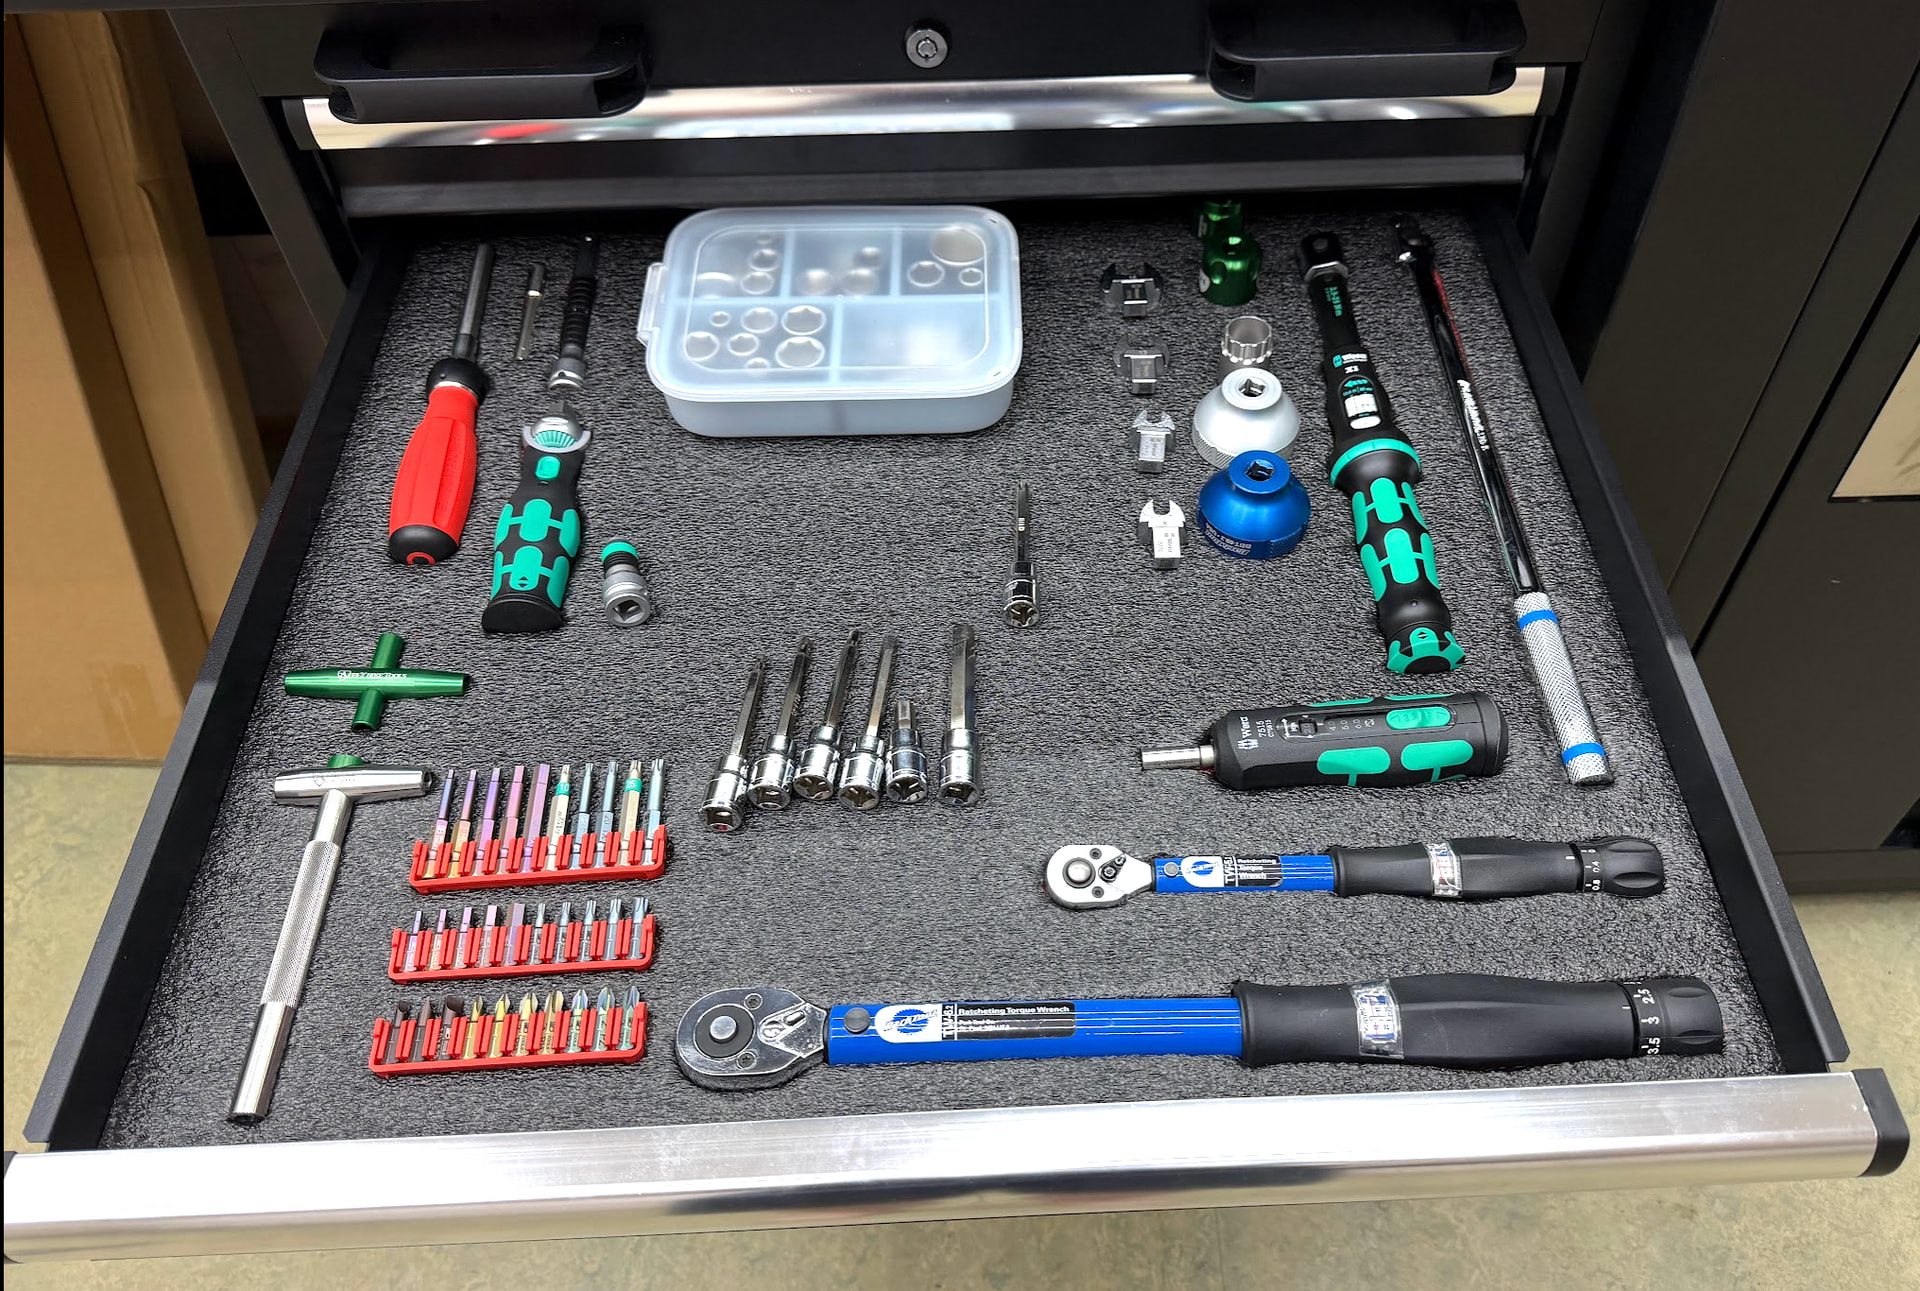
The torque tool and bit one, WIP obviously. The park tool torque wrench placement I would now do “Vertically” instead of “Horizontally” as the last bit of the drawer does not open.
The drawer with the least favorite tools, everything that smashes stuff or cuts.
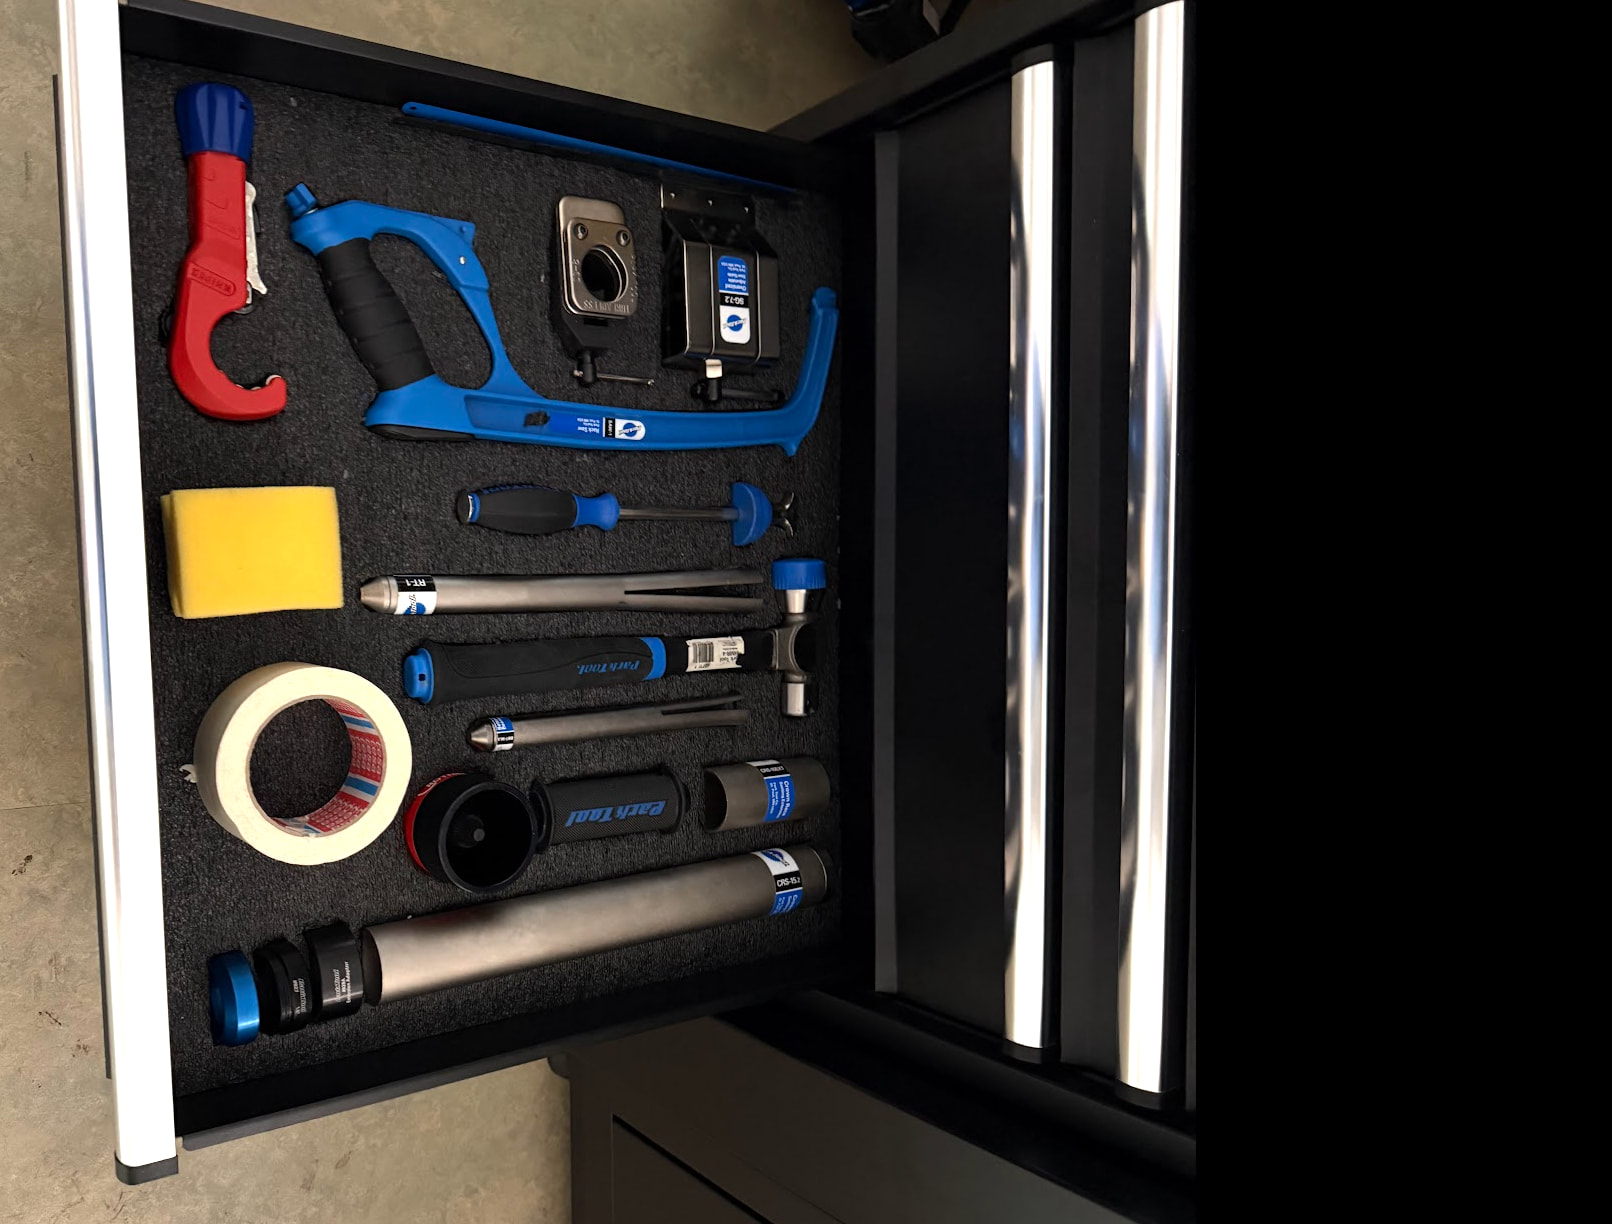
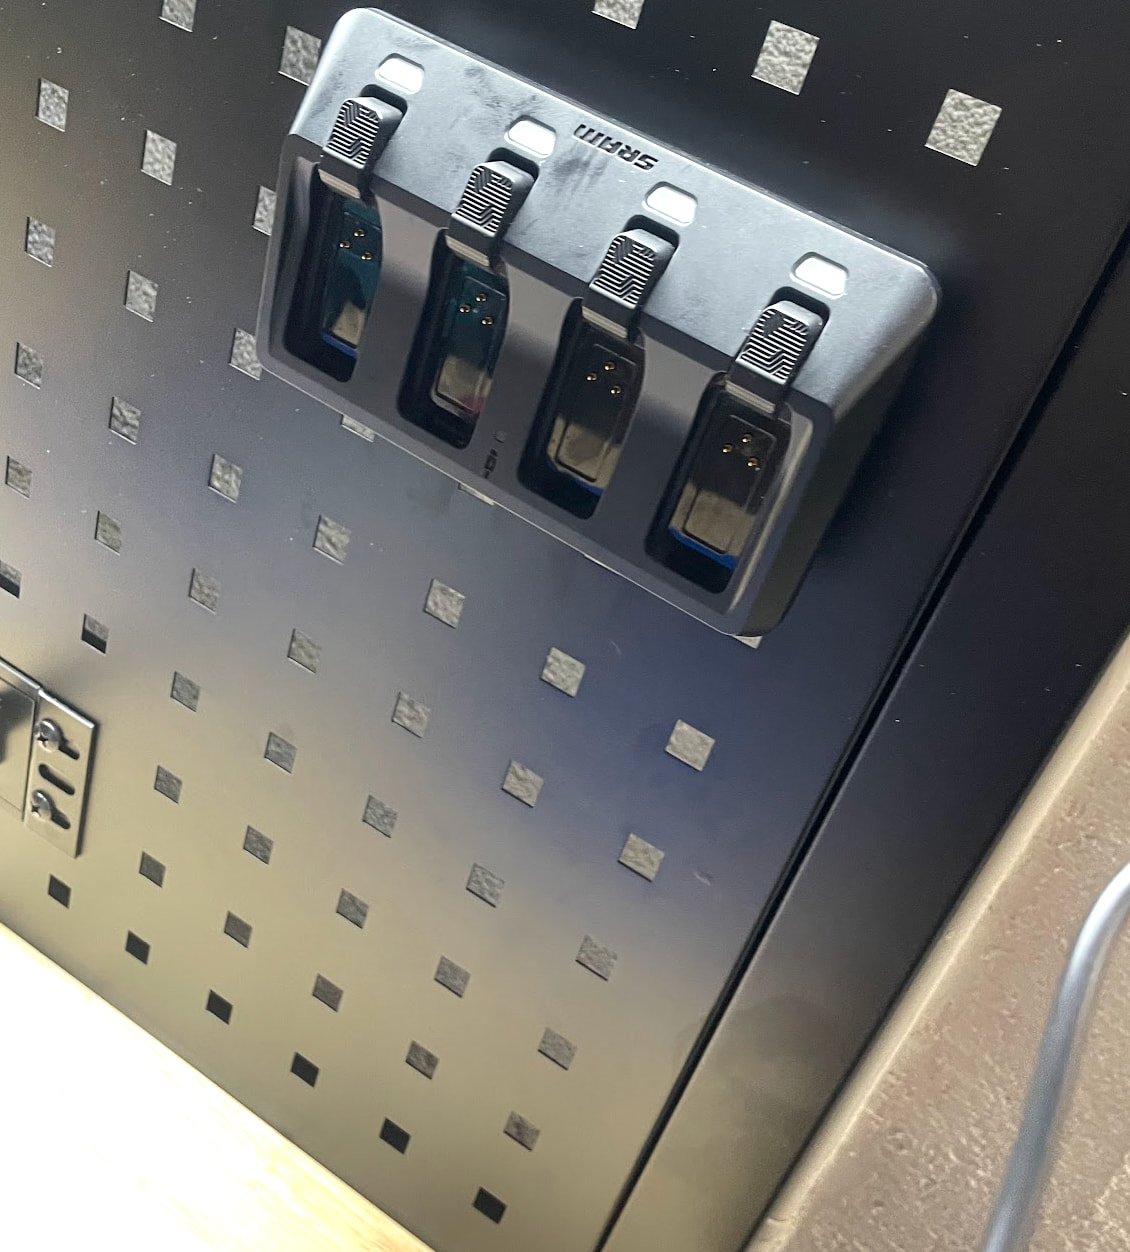
The first thing I created with the 3D printer was a holder for the sam charger.
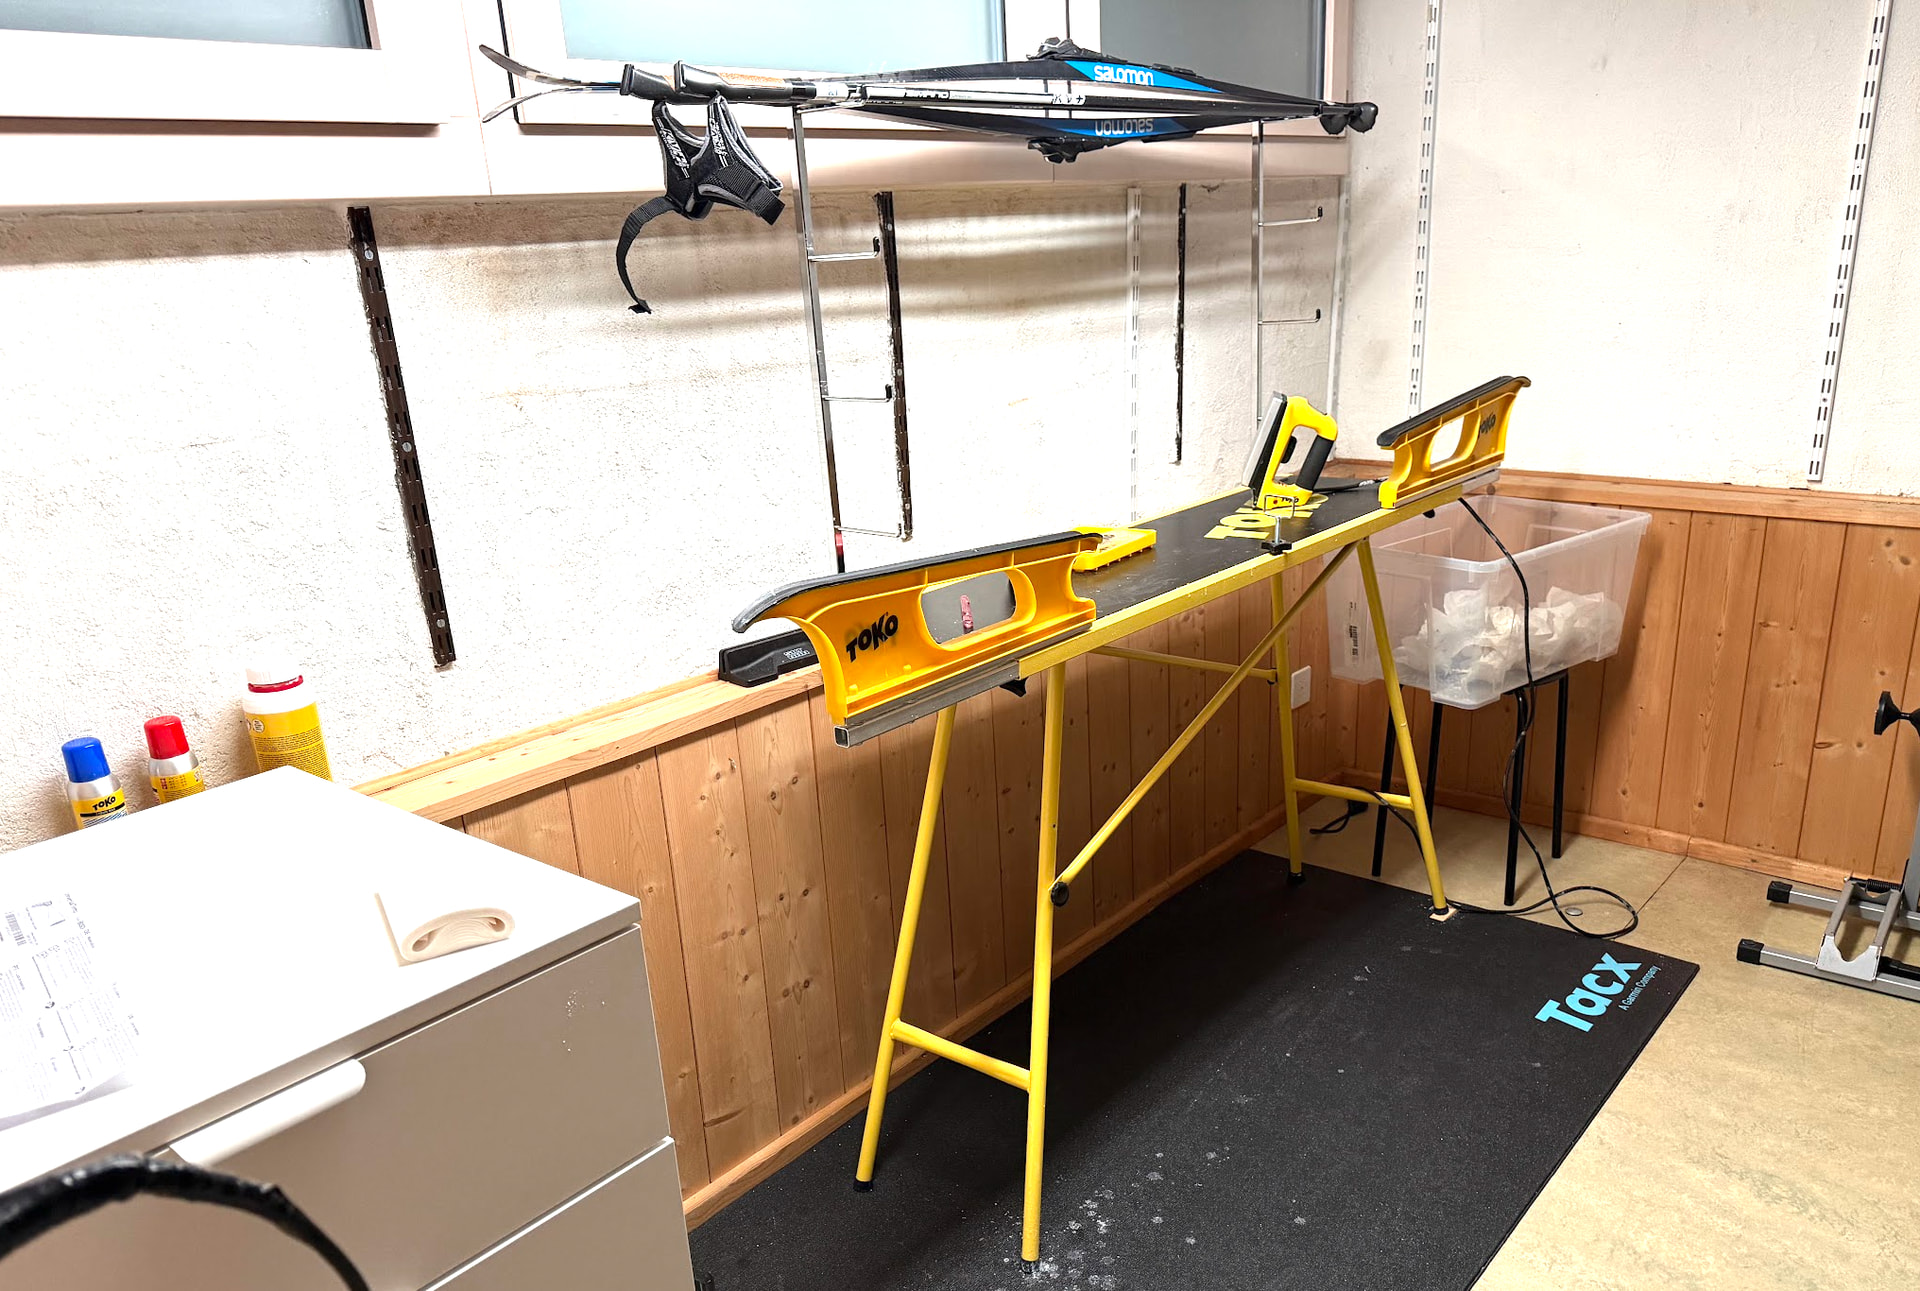
Finally the XC section in the bike storage part is still my setup that used to be next to door in the apartment we used to live in, which technically means it also used to be in the living room.
3 Likes
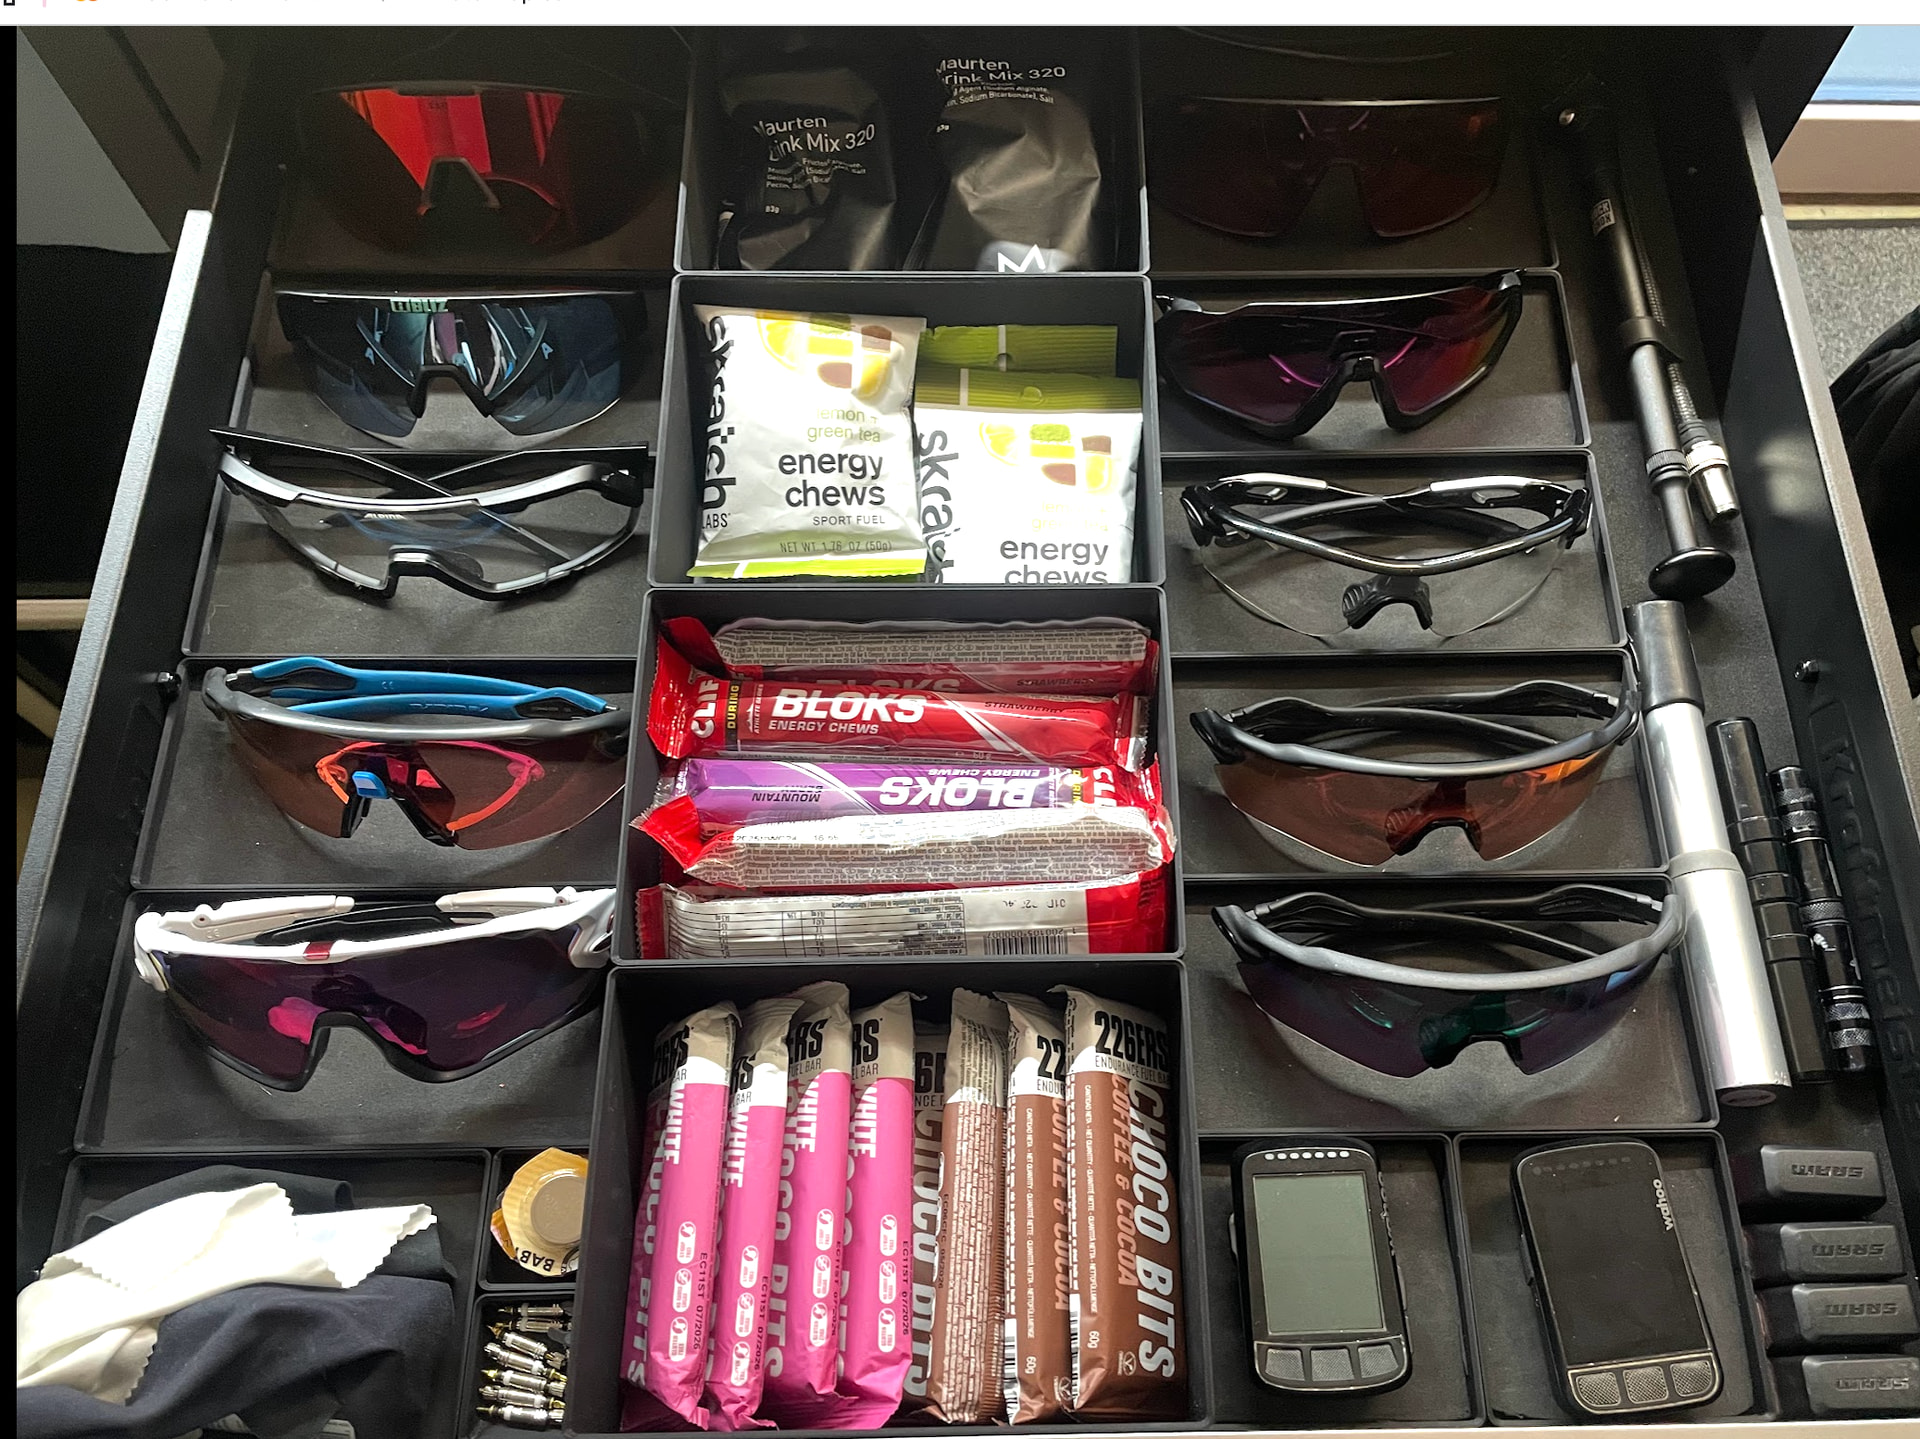
Oh and I almost forgot, the top drawer right next to the door is the lets go riding drawer, full of gridfinity 3d prints with a his and her side for the sunglasses. It also has power meter batteries, presta valve cores and nutrition. Below it is a drawer with rain jacket, arm/leg warmers/gloves/overshoes …
I want a shoe rack with a bench next to it eventually and it should fit …
1 Like
It’s looking great!
1 Like