I am very susceptible to my lever position being out even slightly, I have a medical condition and can leave my hands numb, especially the left one.
I’ve tried a ztto lever setter that was a bit crap, my question is, is there something out there that I can check the level and angle of my shifter, repeatably and with accuracy.
The Abbey Tools lever setter, in conjunction with their Hanger Alignment Gauge, should do the trick.
I’ve tried a bunch of the other type of lever setting tools that plug into the end of the handlebar end and none of them ever seemed to do any better than simply putting the bar on a flat surface and evening up the levers by rolling the bar forward and making sure each lever tip hits the surface at the same time.
The Abbey tool allows you to set the levers without having to take your bars off the bike, which is a heck of a lot harder with hydraulic brakes.
Provided your compression plug threads are square to your handlebars (not guaranteed) the Abbey Lever Setter will allow you to make sure that your levers are the same height, as long as you measure to the exact same position on the levers. If you record the depth that the HAG is set to, you can repeat that measurement. It will not really help with the horizontal / inward angle of the levers, or the transition to the bars (unless I’m missing some fitting jujitsu).
Are you trying to replicate the position of the levers between bikes? Or checking that the position of your levers remains the same over time on the same bike? I’ve personally found that having the exact same height between my levers is not really important given prior injuries that cause imbalances. If you’re just trying to maintain a known position, you could also make a jig (fancy or even just out of cardboard) that gives you a template to set the levers to.
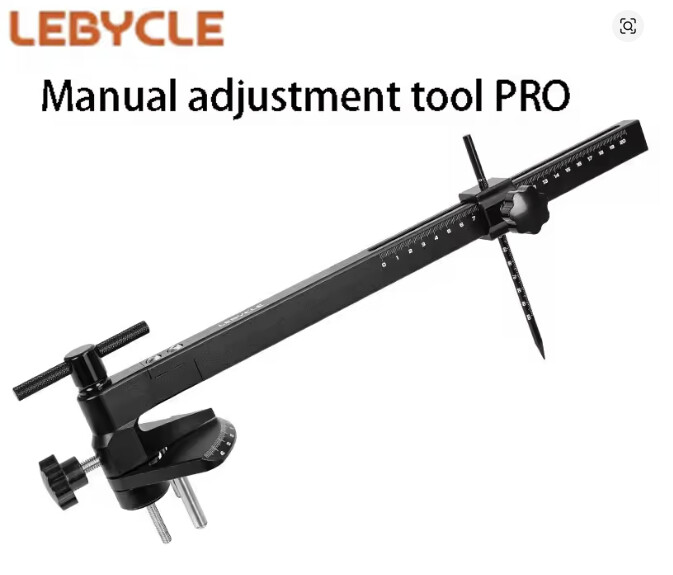
I got this off AliExpress a few weeks back and having been using it in place of the Abbey Bike Tools Lever Setter. I struggle with much embarrassment to say that I find it much better than the latter in terms of precision and repeatability of results, but I’d also say that it’s still a little rough around the edges as a lever setter.
First things first, looking at this demo video, you’d see that the dial rotates with the beam until the outer steel limit rod comes into contact with the corresponding outside edge of the stem. I’d reckon that the spacing between the 2 opposing steel limit rods was designed to accommodate a wide range of stem widths, especially with the stem sections of integrated cockpits growing in width. The design decision to allow free rotation of the dial also removes the need to calibrate the 12 o’clock position (and possibly introducing parallax error), prior to aligning the levers. In my use though, I’ve found that this actually results in a 1° - 2° error, when rotating the beam from the left to right (or vice versa). The pointer only moves, once the limit rod has made contact with the stem.
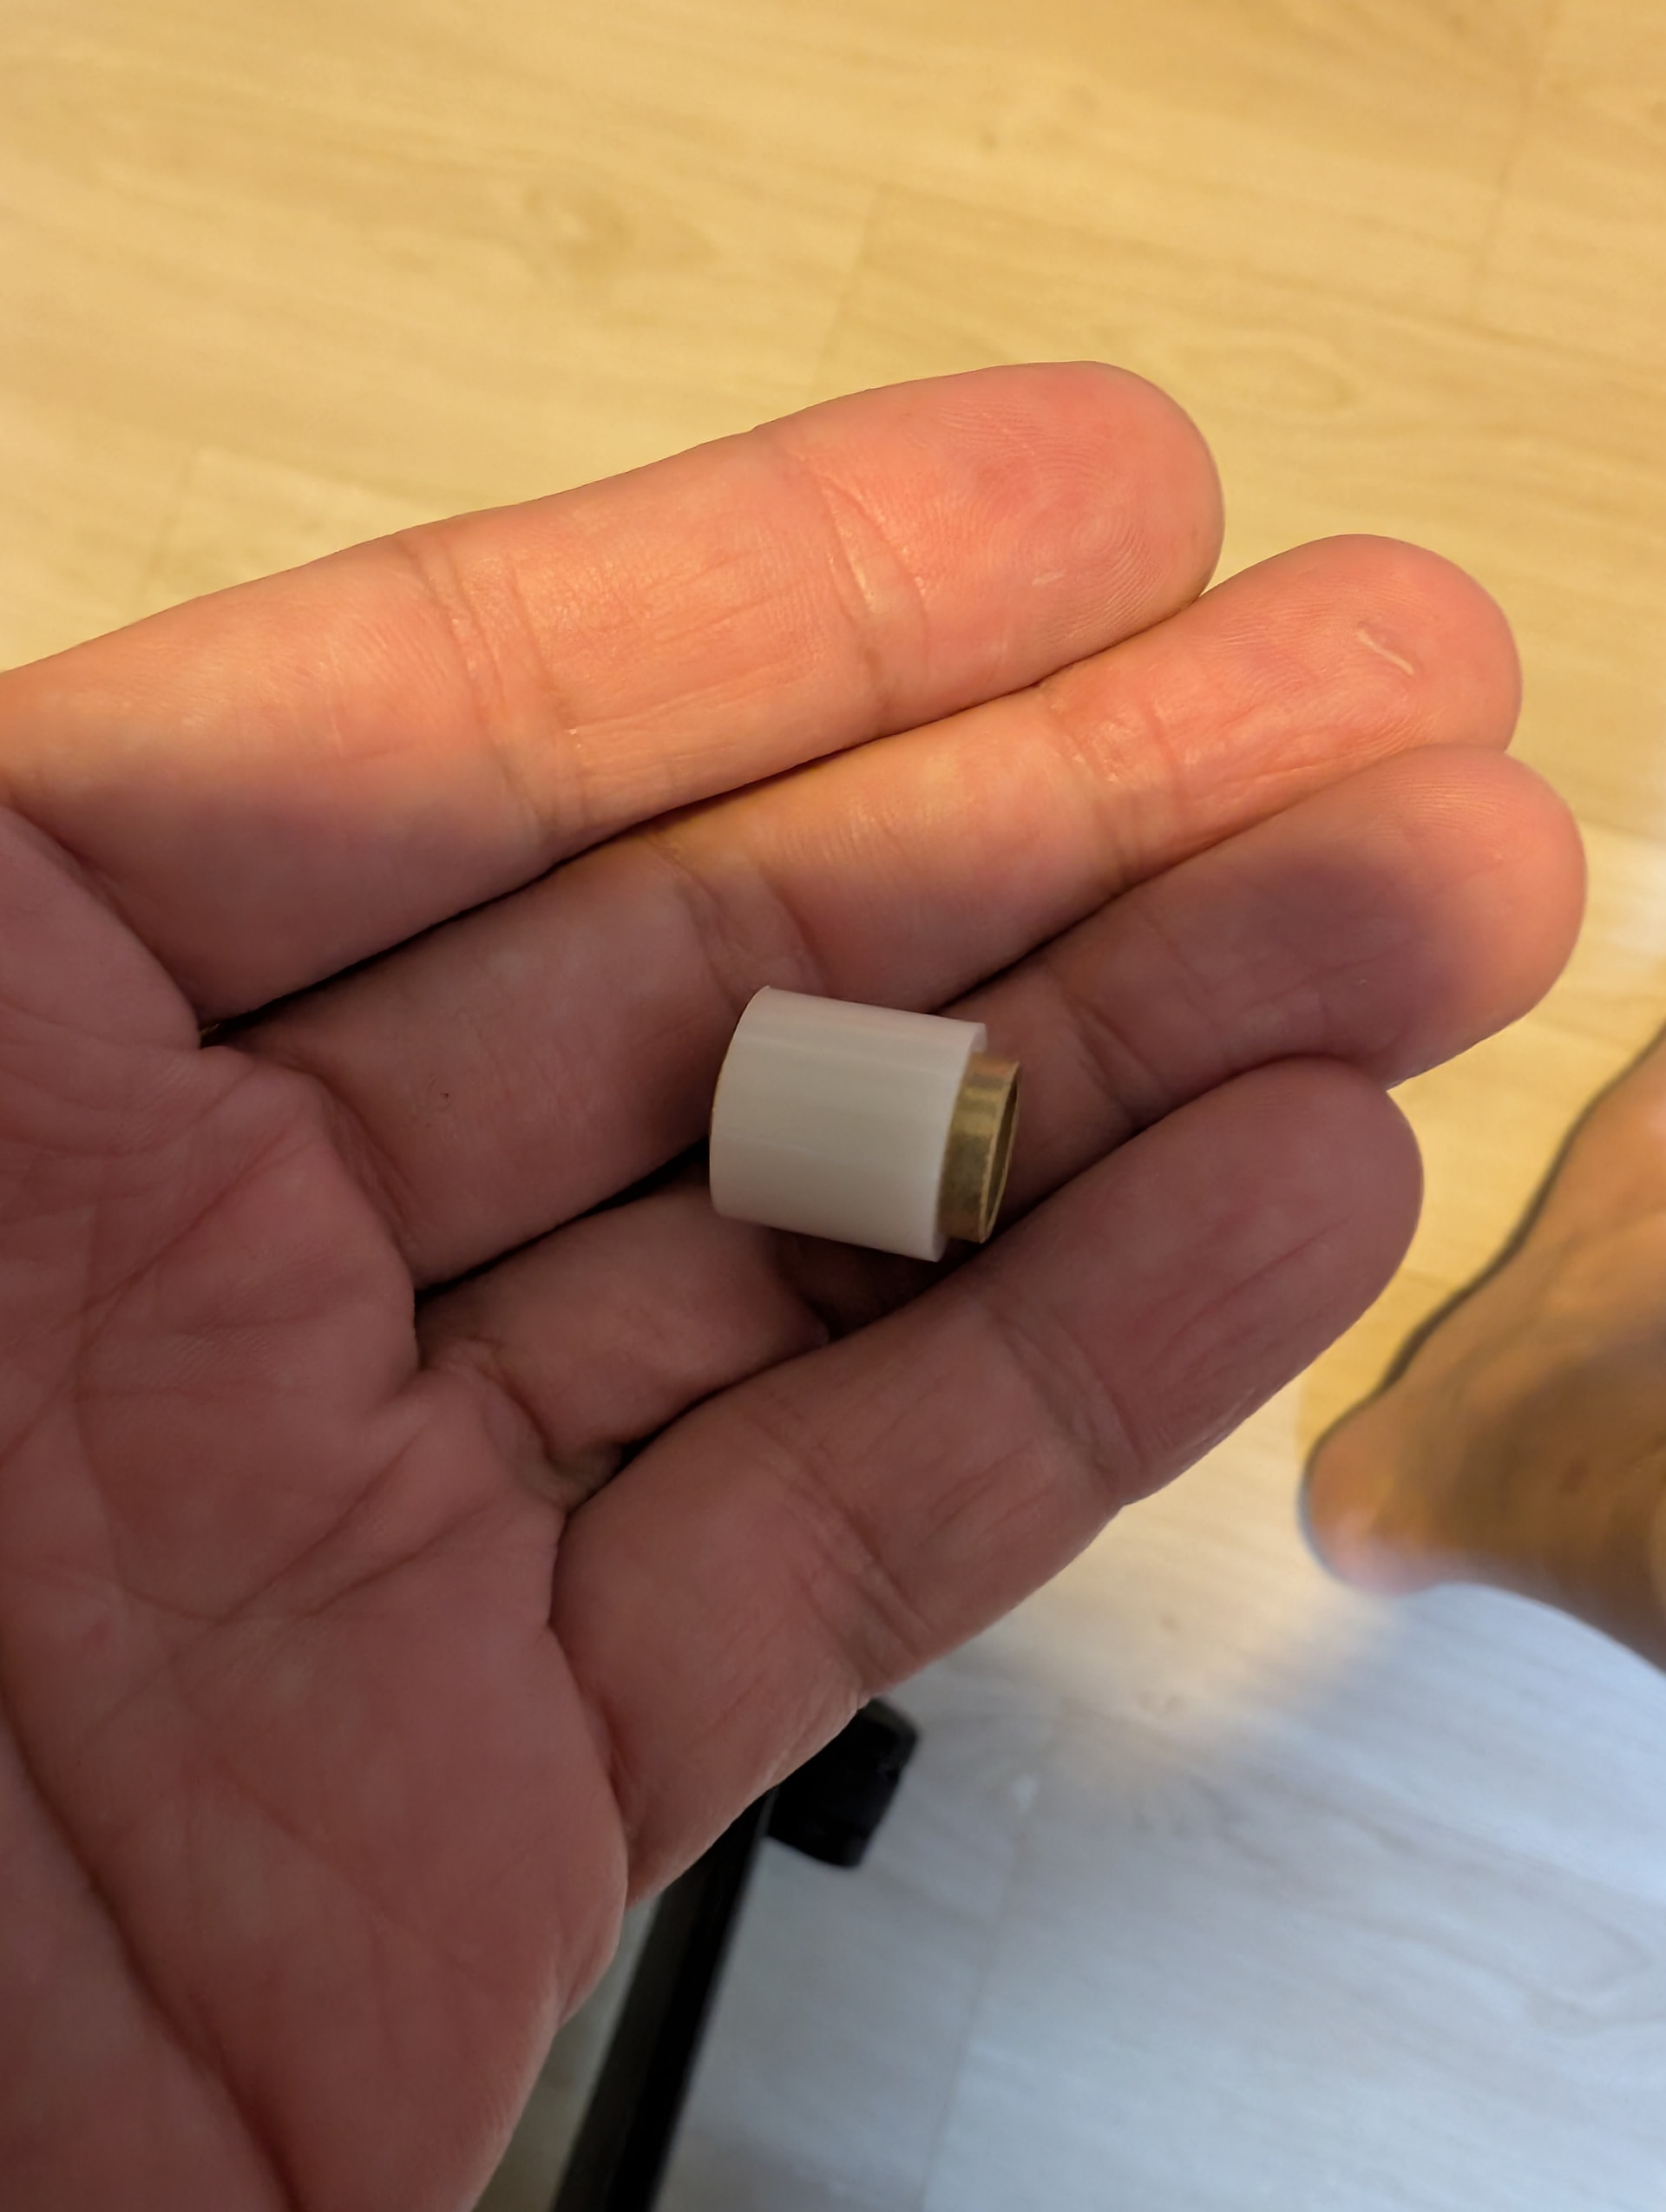
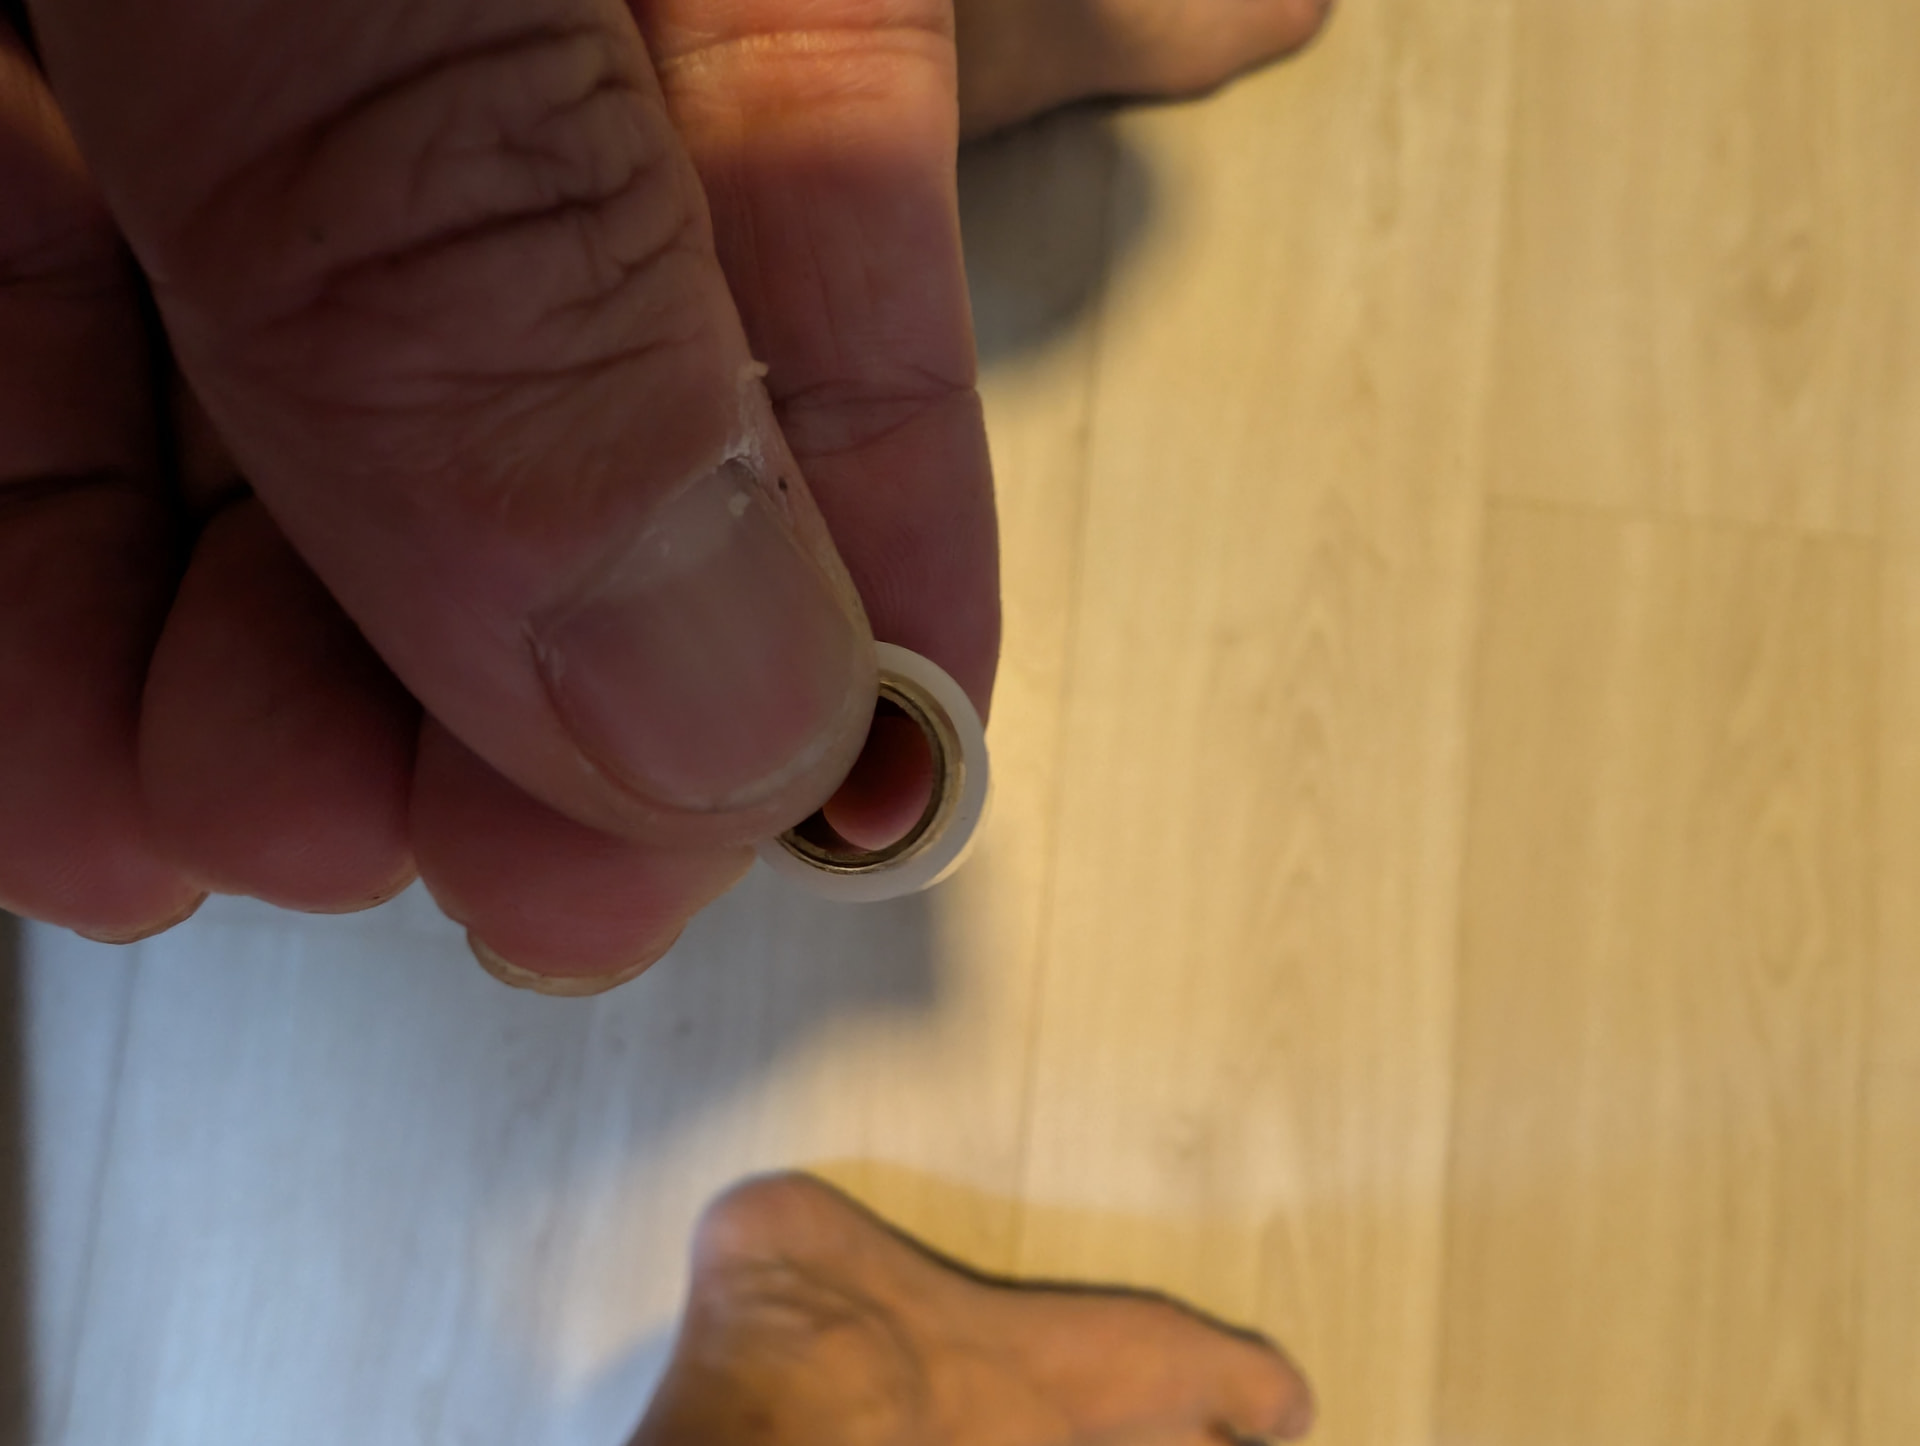
I’ve started using nylon bushings over brass bushings, to slide over the steel rods to expand the diameter of the limit rods, and reduce the gap with the stem. The brass bushing provides a tougher interface for the softer nylon bushings, while the latter minimises any potential damage to the finish of carbon/alloy stems. In the 2nd image, you’ll notice a slight gap between the brass and nylon bushings. It was wholly unintentional, but allows the adapters to accommodate a slightly wider gap range, similar to an eccentric BB. I’ll probably get the nylon bits 3D printed in various thicknesses in future for better precision.
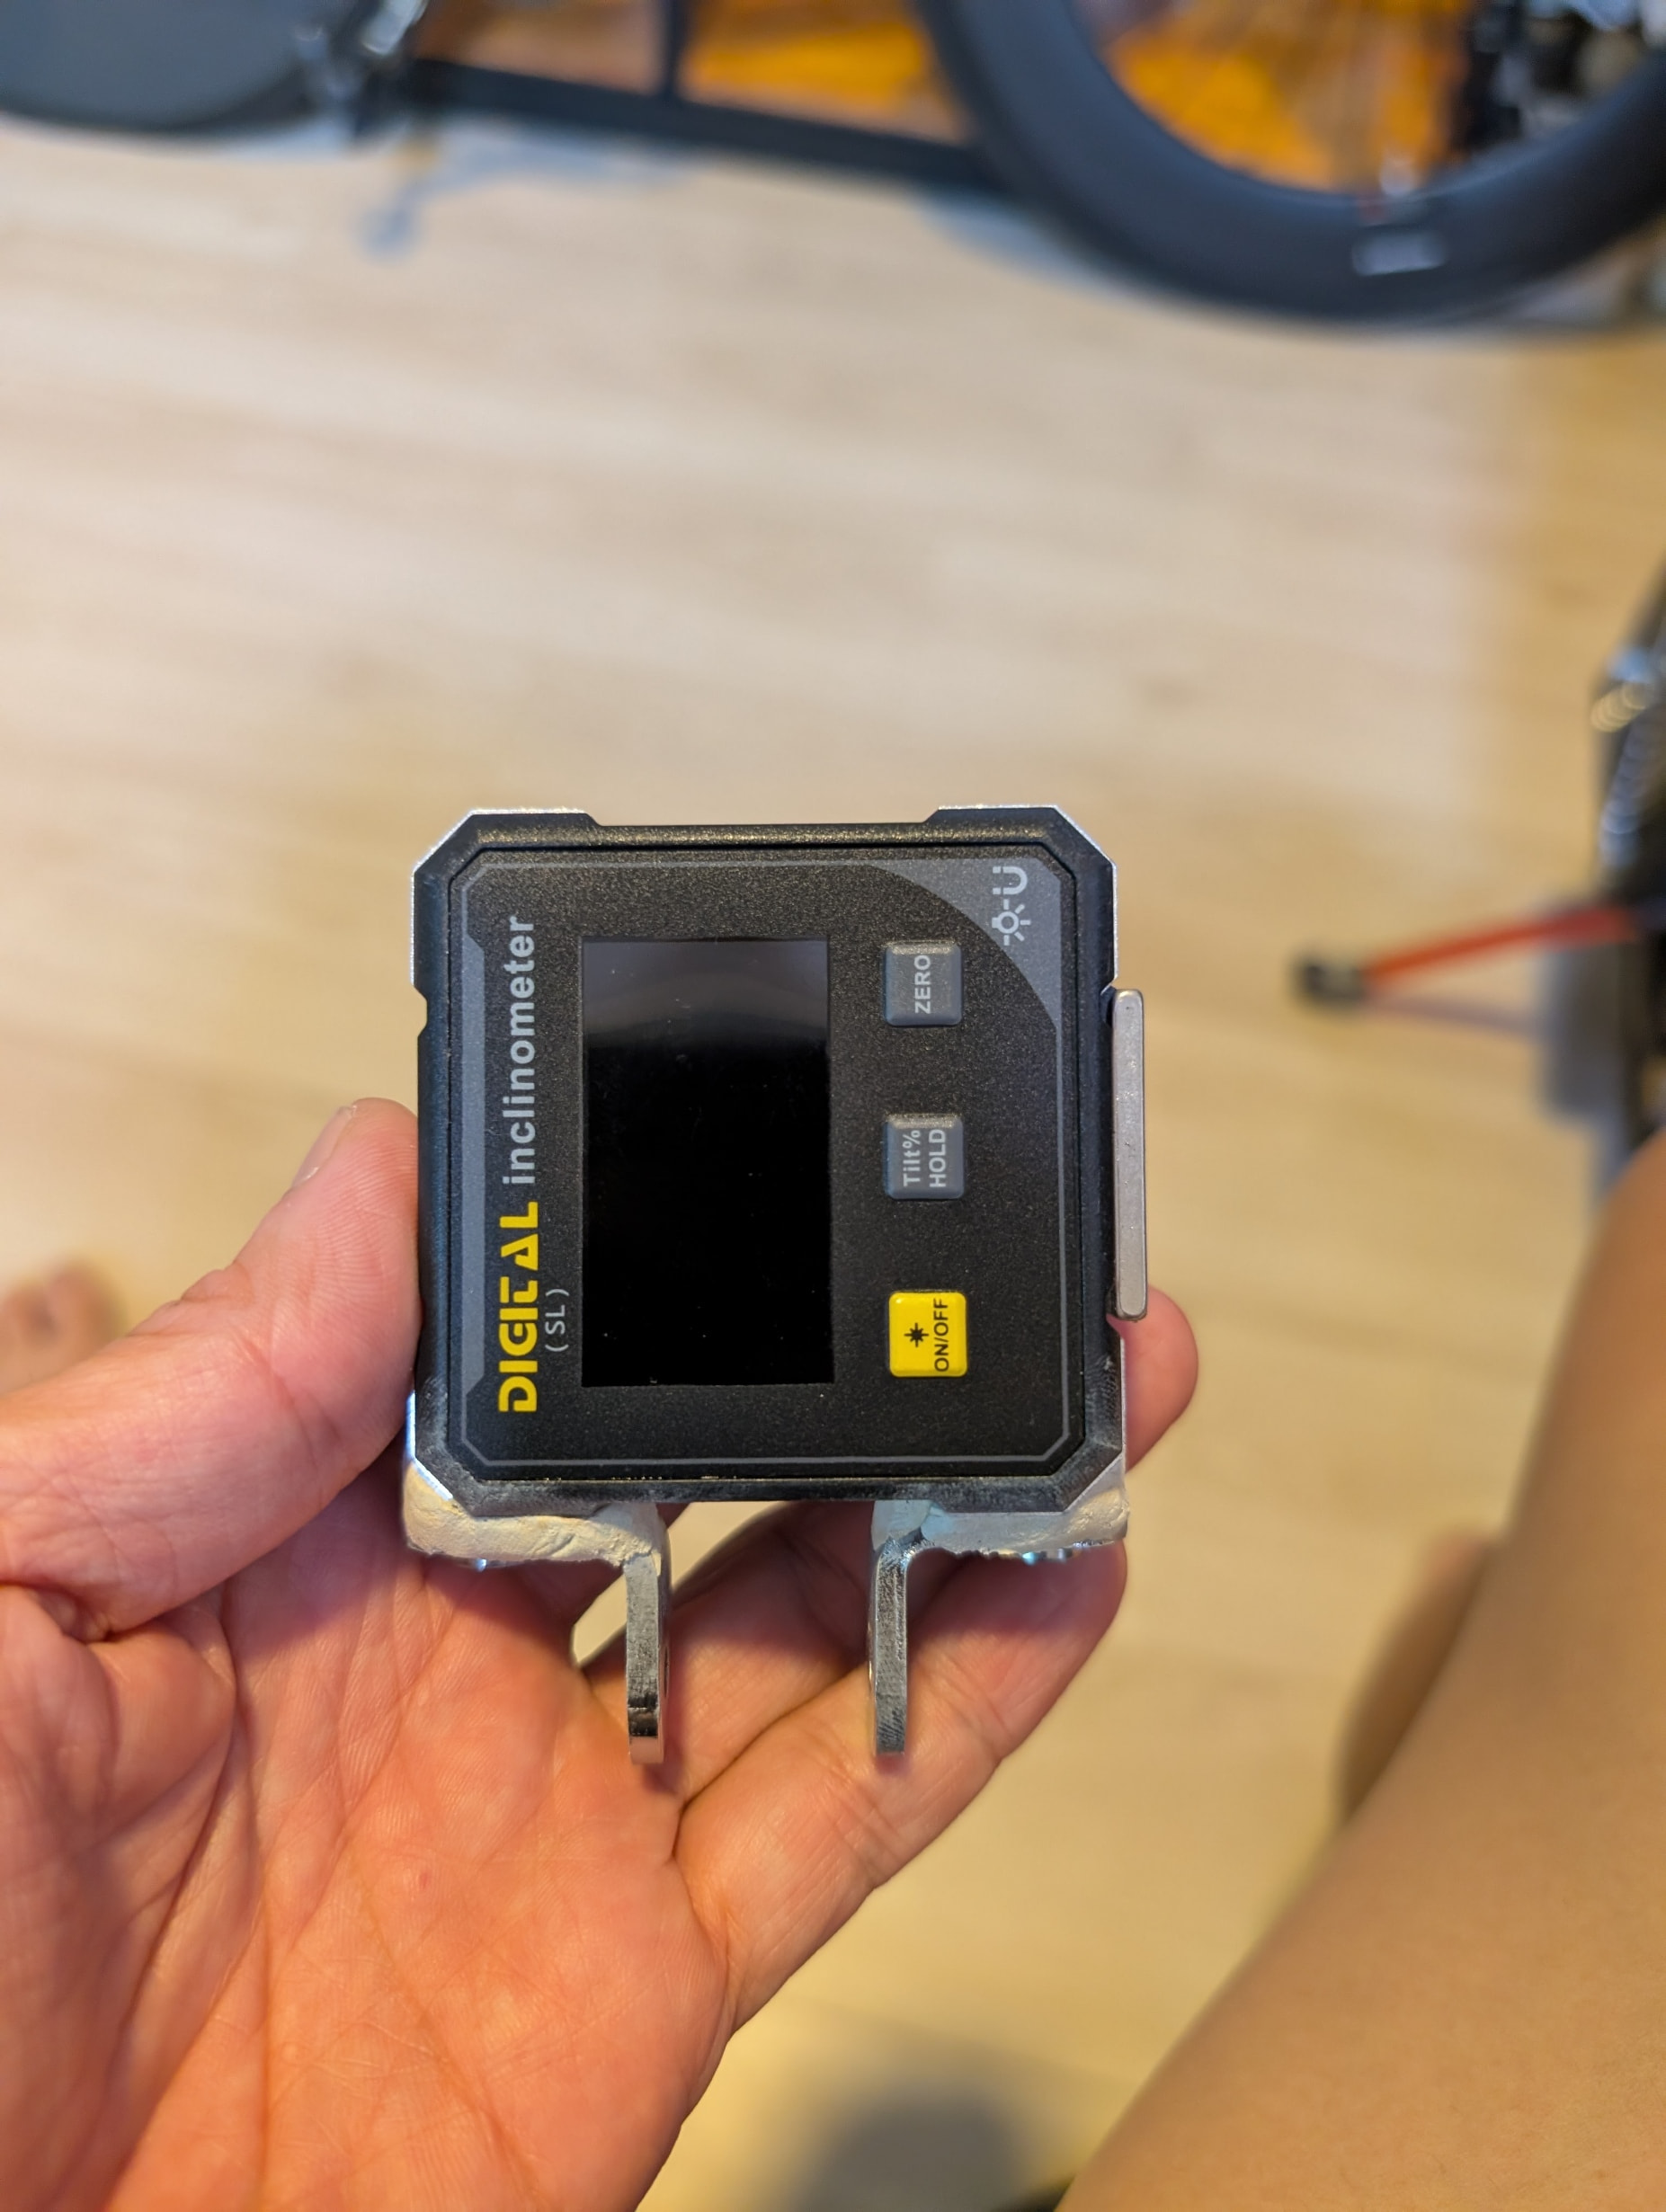
I’ve also added a makeshift laser pointer/digital level epoxy mounted onto steel angle brackets that sit on the beam. This helps align the wheel with the stem. It’s a little finicky, but it’s worked quite well so far. Finicky, because both the stem and fork are freely rotating, but if you sandwich the wheel between your legs, while rotating the stem (and the tool) using the laser pointer as a reference, it works well. The bracket mount for the laser pointer would like be 3D printed, for greater precision as well. You’ll see a magnet glued on to the digital level as well - that’s for mounting onto Abbey’s Fit Kit for a digital readout of saddle inclination.
The old school lever position trick was to hold a ruler to the straight part of the drops and rest the lever tips on that to set the lever height. You could do something along those lines - perhaps with a bent piece of metal or a 3D printed shape.
Bizarrely whilst searching for an image of the ruler trick, this article came up, which might help you:
Kind of both really, I have the exact same contact points on my bikes and I am awaiting a surgery on my hands, it’s pain, even if I knock the bars slightly, it sets off the condition.